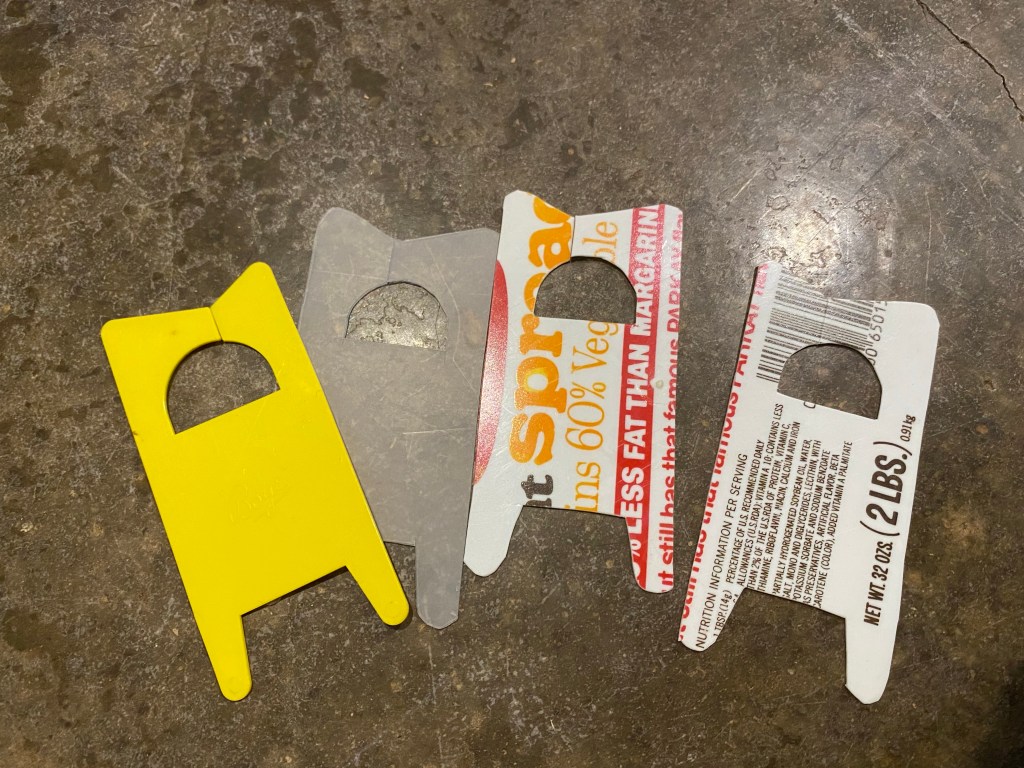
The apple doesn’t fall far from the tree. I was going through my Grandma’s knitting tools (I have inherited quite a few craft tools from both sides of the family), and found some home made yarn bobbins. My Grandma was an avid knitter and very skilled. It looks like Grandma used the commercially produced bobbin (yellow one on the left in the photo) as a template, and cut the others out of margarine tubs and other thick plastic. Very nicely done.
Three yarn bobbins made by my Grandma probably 30-40 years ago on the right, commercial bobbin (yellow) on the left
After making the baby hats from the rainbow acrylic yarn, I was left with a skein and a half of the stuff. Hm. The yarn has very short sections of color that repeated, could I knit it to make vertical stripes? The answer is: sort of. The color sections were not precise, so as I knitted I decreased or increased on the edges so the teal color lined up with the row before. I could then knit straight across without puckering the center of the fabric (although this might have been an interesting experiment as well). The resulting stripes undulated in interesting ways. Keeping the increases and decreases on the outside made the edges curl and pucker, but not entirely unpleasantly. It does help the edges curl in and hide the strange tan color the manufacturer threw into the mix.
Variegated yarn knit by lining up color
Since I did not have enough to make a long scarf, I opted to join the ends to make an infinity scarf. I used the Kitchener stitch and a section of the rainbow repeat to join. I had to undo the foundation row and slip the loops onto a needle, then use a yarn needle to perform the steps of the stitch. There is a learning curve to the Kitchener stitch, but it is well worth the effort! I can see the join, because the colors don’t match up as well as I hoped, but the fabric is solid and smooth at the join, not a bulky seam. (There are many online tutorials for the Kitchener stitch for those interested, so I won’t repeat them here.)
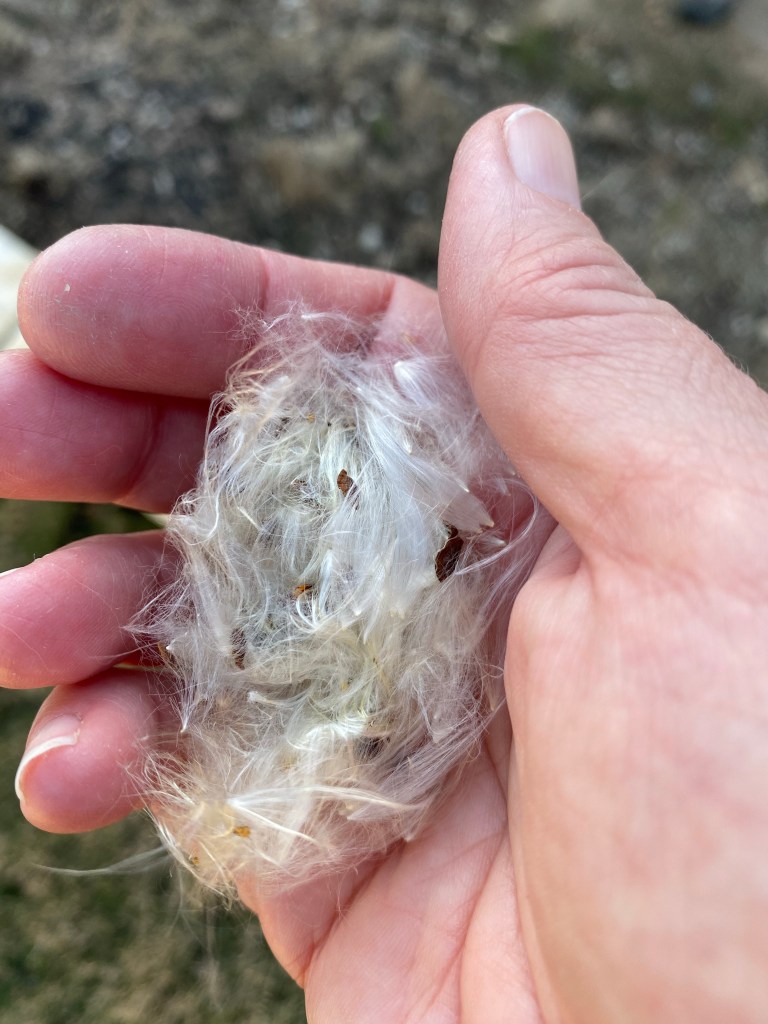
My father-in-law has tropical milkweed growing around his house, and when we were visiting, it was going to seed; putting out lovely fluffy seeds. Hm. Can I spin it?
Tropical milkweed seeds
We gathered the fluff and I separated out the seeds. I didn’t have a spindle or flicker or any fiber processing tools with me (what was I thinking?!?), so I hand teased out the fiber and borrowed a pencil to attempt to spin the fiber.
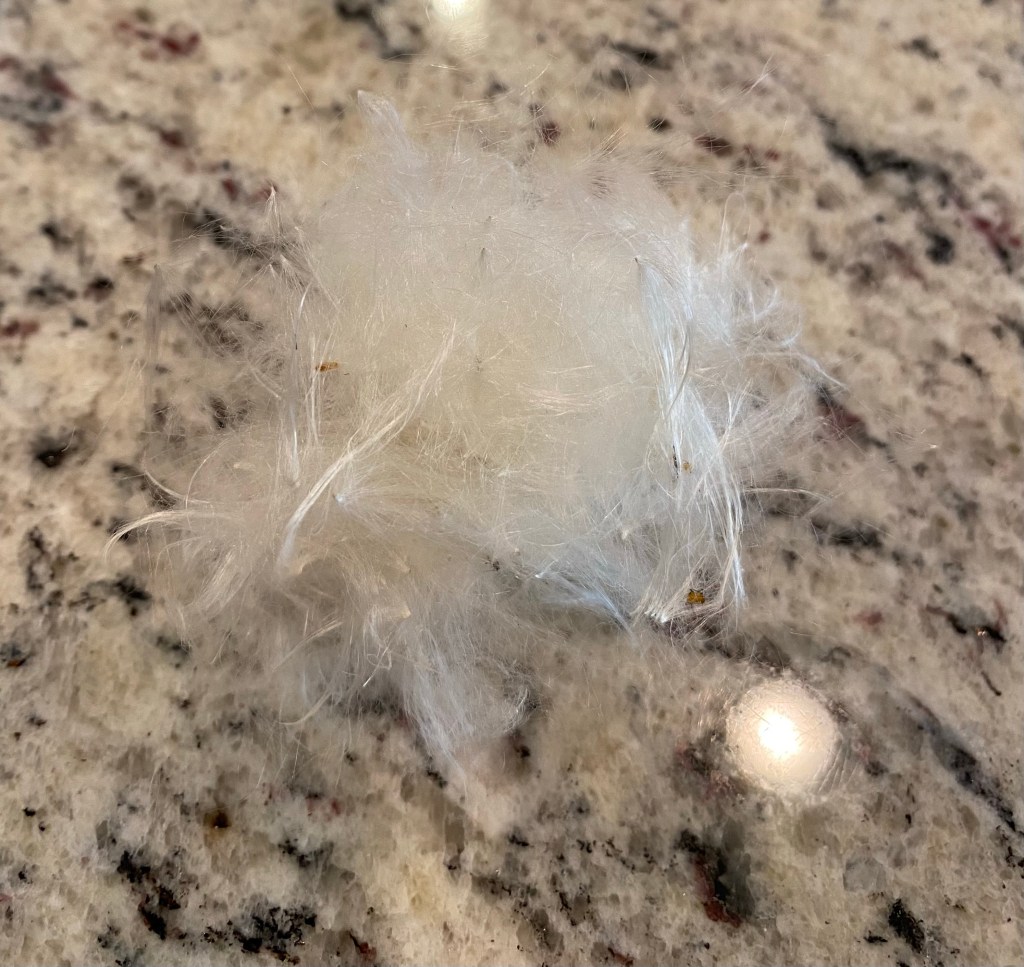
Milkweed down with seeds removed
I would have preferred to spin these short fibers with a supported spindle, but after many determined attempts using a pencil to hold the spun single, I was able to at least achieve the semblance of yarn. The single was very fragile, so I doubled it to make a 2-ply yarn. The bit of yarn is brittle, but very soft. It is a thing to spin milkweed down, as I researched later, but most of the resources I found blended the milkweed with other fibers to give it strength. As my strand stands, it is really just an exercise in attainability, to see if I could. The yarn isn’t suitable to much purpose, however, it was a very enjoyable experiment.
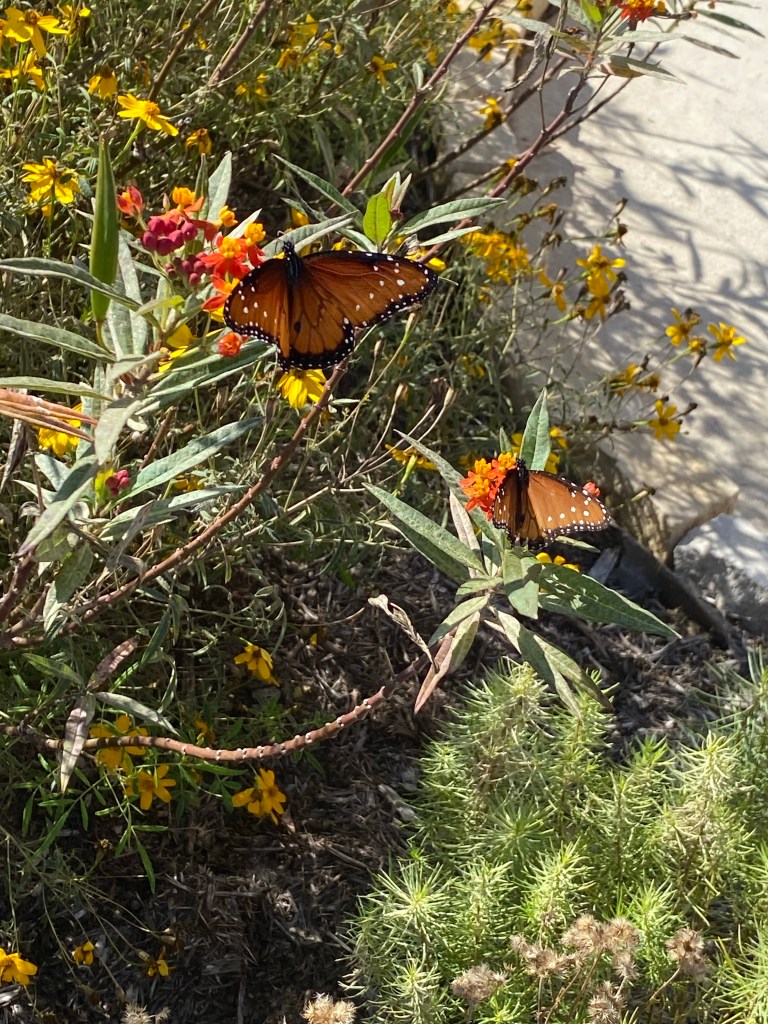
2-ply hand spun milkweed downButterflies visiting the tropical milkweeds
I thought a French-style rolling pin would be a nice easy turning project. Hm. I started with a maple wood blank and roughed in the shape, which is tapered at each end. These rolling pins do not have moving parts, but are used by rolling your palms across. I intended the center of the pin to be 2” in diameter, but it is much harder to get a long straight section than I thought! I stopped chasing the illusive straight line in order to preserve some of the diameter, which ended up closer to 1 3/4”. I finished by sanding down in increments to 400 grit, then wet the whole piece, let it dry, and sanded with 400 grit again. I then used a acrylic paints to decorate the pin with daisies for my mother-in-law. To keep everything sealed, I applied seven coats of tung oil by rubbing it into the surface in thin layers.
French style rolling pin with daisy decoration along the side
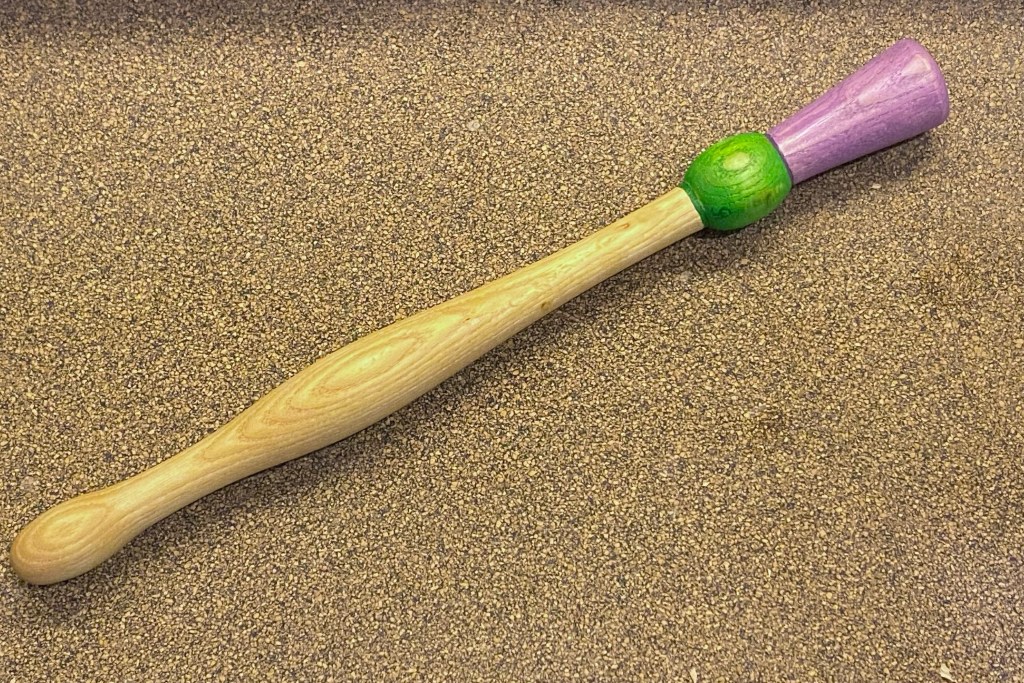
Since the Scottish Spurtle, a tool used to stir porridge and stews, is often turned with the handle in the shape of a thistle, I decided to go a step farther and paint the handle thistle colors as well. I turned the spurtle from a maple blank, sanded it down, then used thinned acrylic paints to paint the bulb green and the bloom purple. I also added a bee on top. Once the acrylics were dry, I sealed it in many layers of tung oil because tung oil is food safe.
Bee painted on the end of the spurtle handleFinished Spurtle