Making clouds

I felt the need to card my washed cream alpaca fiber. All of it. I don’t usually do it all at once, but go as needed because the rolags are the most airy and open right after carding, which makes spinning easier.

Washed alpaca fiber (left) and carded alpaca fiber (right)

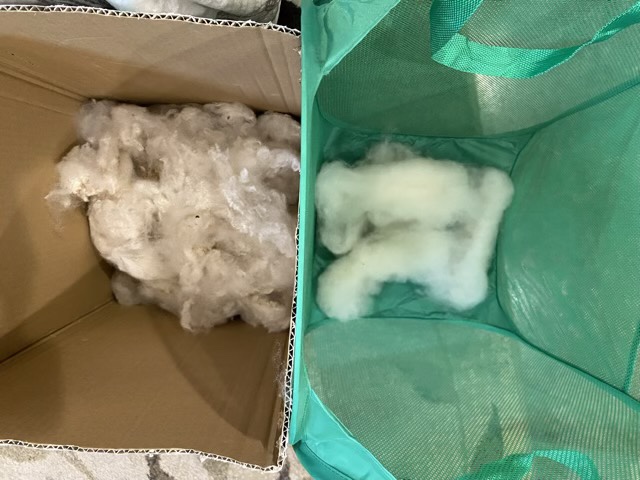
It is therapeutic to turn the chaotic mass into fluffy white clouds. Even though I washed the fiber, it still has a significant amount of dirt and vegetable matter, most of which comes out as I card it.

Carded alpaca fiber in a laundry hamper

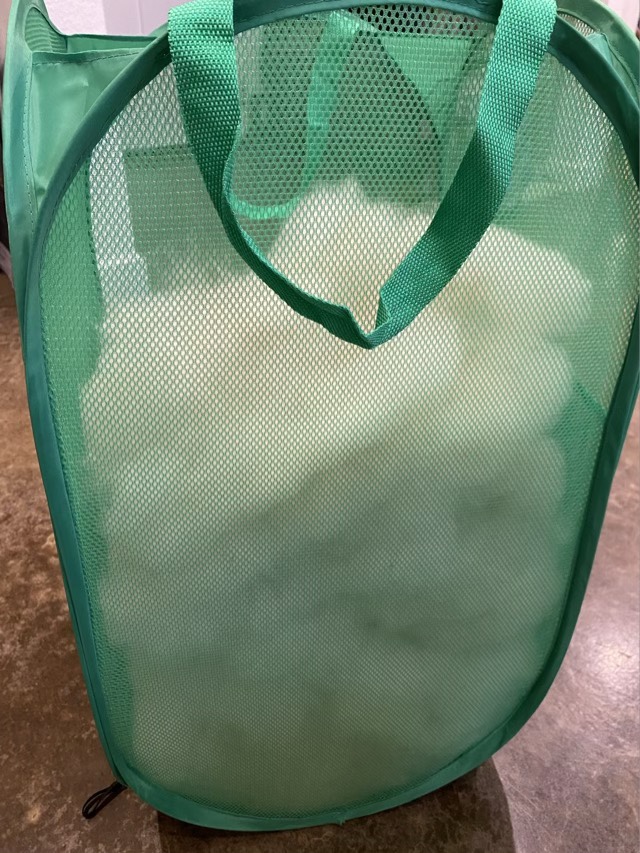
Carding also increases the volume of the fiber because the clumps and locks are opened up. The mass of fiber about tripled in size with carding.

Now to figure out a good way to get to spinning all these lovely little clouds. Although I can’t go for spinning walks yet, I do get some reprieve from the boot, as long as I’m walking on smooth even surfaces. Standing for long periods is also still problematic. Hm.

Guitar string rings

In looking for fidget rings to stick in easter eggs I saw a few guitar string rings. I have used guitar strings since my kids play, so it seemed a neat project to try. My strings aren’t aged much, we were having trouble with tuning one string and tried changing out all the strings. It turned out the issue was a broken washer in the tuning mechanism, and I had to replace the whole mechanism. Still, it left some wire wrapped strings with which to experiment.

Guitar string ring with pressed glass faceted beads

I found some beads in my stash that would fit onto the guitar string. I used one of the beads as the anchor, gluing both ends of the string into the bead. The other beads are not glued and can be rearranged, although they are quite stiff.

Three guitar string rings

I rather like the look of the beads on the guitar strings, but they aren’t as fidget friendly as I’d like. I think maybe a tube bead with a wider inside diameter might work better. Time to sift through the stash again!

Tying it down

We are down to the most skittish of cats in my neighbors colony needing to be caught and taken to be fixed. The slightest breeze ruffling the trap cover sends them running. So I did a little tailoring on the scrap of sheet I use to cover the trap. I sewed seams along the backsides for a close fit, then sewed buttons and button hole elastic along the bottom so it won’t have room to billow.

Button and button hole elastic sewn on the bottom of the cover

The button hole elastic did not come this thin. When I was in a frenzy of making fabric masks and all the thin elastic was sold out, I bought thicker elastic and cut thin strips, leaving a narrow button hole band. It works quite well for this purpose.

Trap on its side showing how the button and elastic hook around the wire
Trap with secured cover

I left the front part of the cover loose so it can easily be put back to set the trap, and be pulled forward when the cat is caught to help reduce freakout. The trap is also sitting closed at my neighbors house so the cats get used to seeing it (and not only seeing it when they see me).

Organizing and protecting

So now that I’m back to posting things for sale on Etsy, I needed a way to organize and protect my inventory. In the past I would tuck boxes into a cupboard, but then have to rummage through the boxes when something sold. This time I bought a file box with hanging folders, and am tucking the cards and wood work into the folders and labeling.

Labeled hanging folders to organize Etsy stock
A look down into the hanging folders

This should keep my inventory safe and dry (rather than on a table or counter where anything could happen), and I know where everything is!

That was inevitable.

I was hoping to make it through knitting my Grandma’s blanket without having to rip anything out. Alas, it was not to be. I missed a cable cross over row, but luckily caught it two rows later, so only had to frog it (rip rip) back two rows.

Error in the knitting

Ripping out knitting is a bit terrifying (I always think of getting a runner in pantyhose). Luckily, I learned how to make a lifeline by picking up the target row with a spare needle set. Unfortunately I didn’t look up the directions before I did it. (Here is a link to good instructions for next time.)

Picking up the good row

The mistake I made was picking up the left leg of the purl stitches instead of the right leg.

Yarn caught. Oops # 2.

The final ripped row was still threaded through the work. Rather than pull the entire skein through, I cut the yarn and made an overhand knot at the end of the row (so I can undo the knot and weave in the ends later).

Backward stitch. Oops # 3.

When I picked the the left leg of the purl stitches, it also made those stitches backwards on the needle.

Making the purl stitch from the right leg.

To make sure these stitches didn’t get twisted, I had to make my purl stitches from the back side of the loop. The knit stitches were all fine. It was an unfortunate mistake, but it is fixed now and I can continue on!