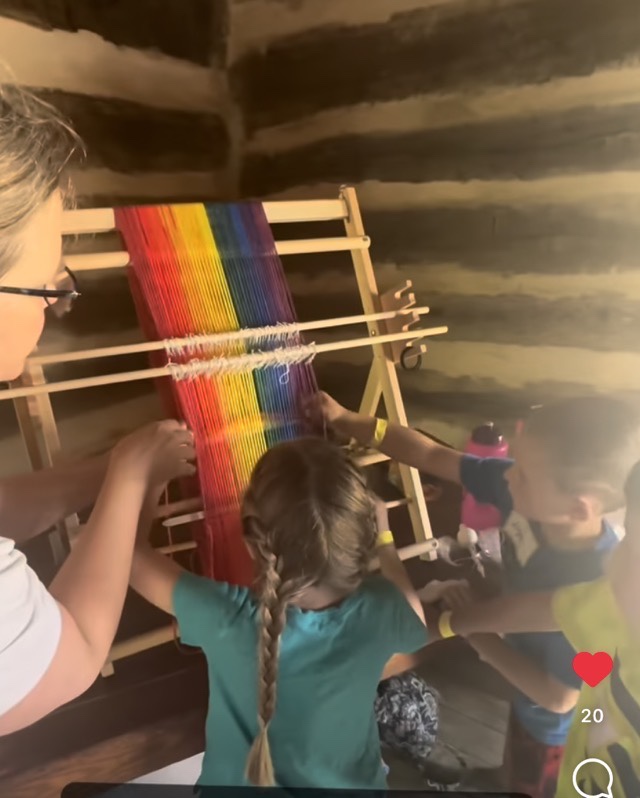
The prep I did for the weaving demonstration for a local kid’s camp was worth it. The demonstration went smoothly and most kids had a chance to pass the shuttle through and change the shed. Of course I completely forgot to take any pictures, so the still below was taken from the day summary video Doss Heritage posted.
Weaving in progress (still from Doss Heritage video)
I did take a picture with a skein of the yarn I used, but it was after the fact. I think we are going to do another camp, so I’ll leave the loom setup rather than finish this weaving.
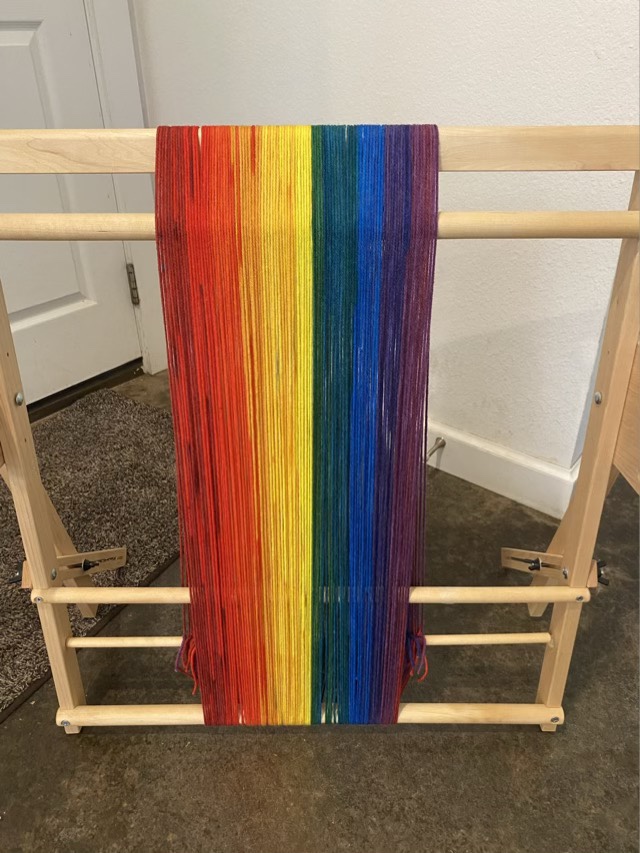
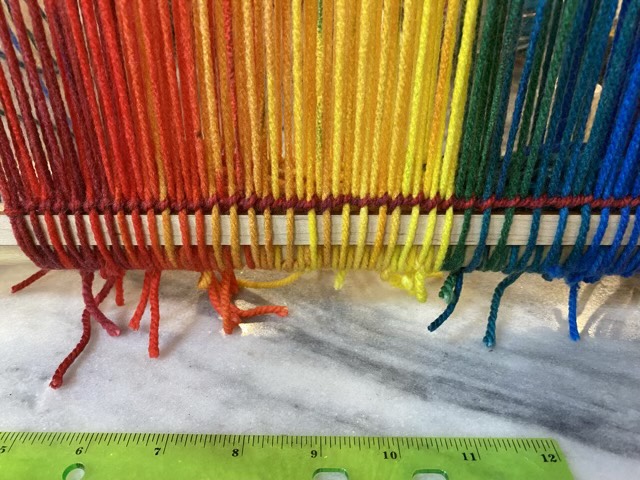
In quilting, when you cut a centered motif out of a printed fabric, it is called fussy cutting. Not sure what it is called when you do a similar thing with gradient yarn, but that’s what I did to warp my tapestry loom.
Tapestry loom warped by spectral color from a gradient ball of yarn
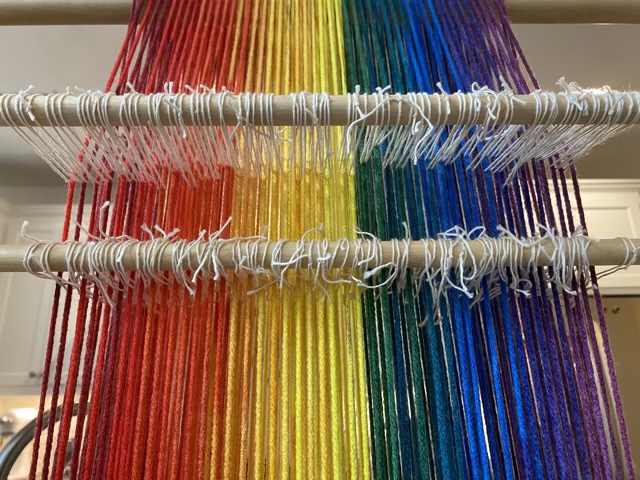
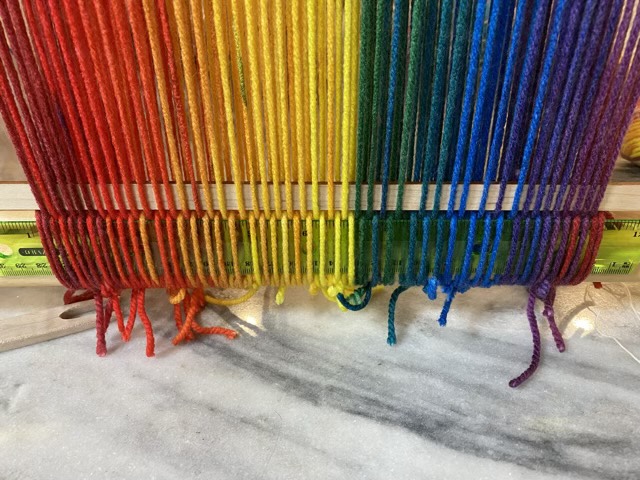
I needed a demonstration setup for a local kid’s camp. I was demonstrating weaving, a friend was spinning, and another was carding. I thought it would be neat to see color shift across the rainbow both in the warp and the weft. I setup string heddles because this is a step up from picking, which is what is usually demonstrated in art classes in school. String heddles are consistently sized loops of yarn that go around one warp thread, then around a heddle stick. Properly setup for plain weave, the heddles will lift every other warp thread. Switching heddles changes the shed, which is what the shuttle with the weft yarn passes through. I tested my heddles with a ruler and a pickup stick until I had everything correct. (I didn’t at first, and had to undo and redo.)
String heddles installedTesting the heddles with ruler and stick
To set a secure first row and space the warp threads, I twined a row. Twining in weaving involves two threads twisting around each other and the warp threads.
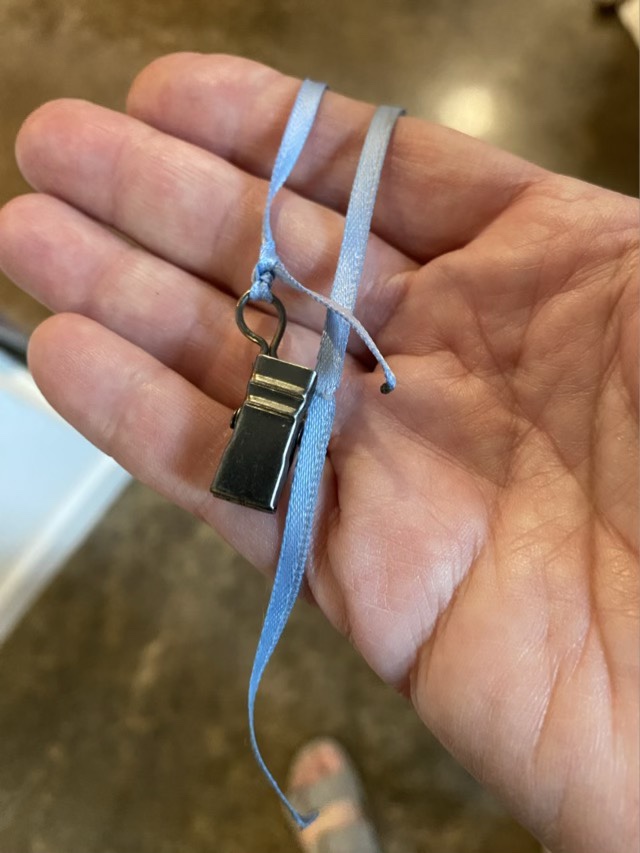
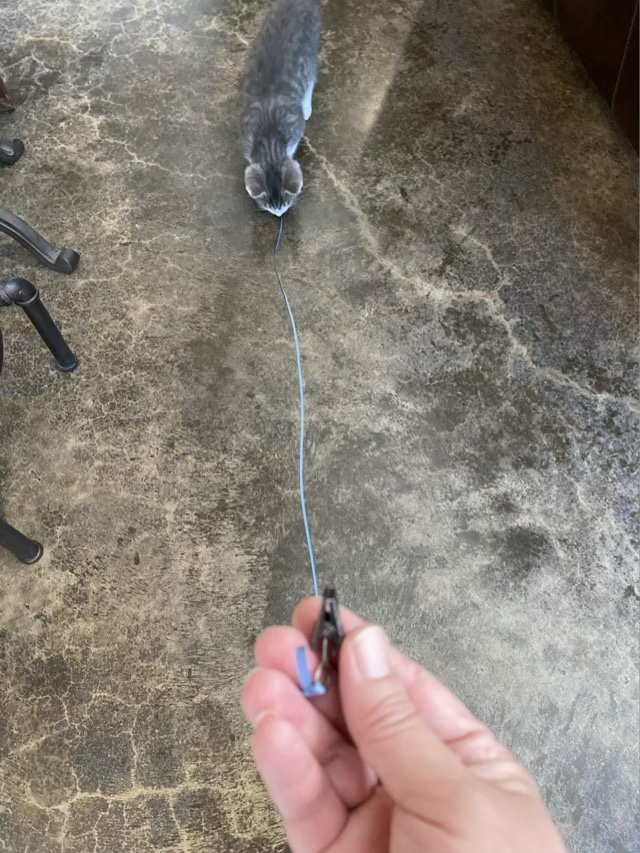
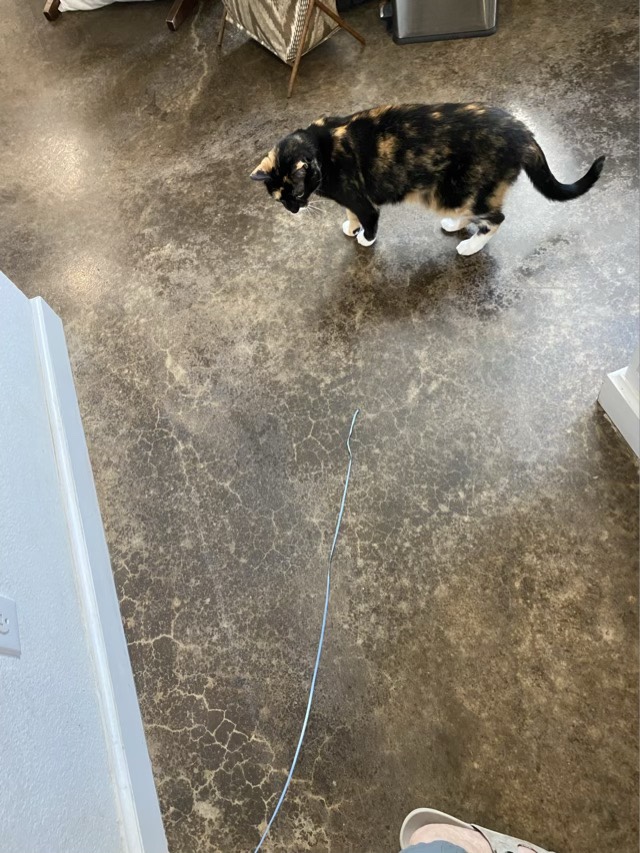
The Texas summer is ramping up, and I don’t like walking when it is hot outside. Luckily, I have a large kitchen counter with room to walk circuits in the house. To keep the kitten occupied, I tied a ribbon to a small clip and clipped it on the back of my shirt.
Ribbon tied to a clipKitten following the ribbonIzzy also finds the ribbon enticing
The drier air is also better for my spinning, since heat, moisture, and pressure are the factors that felt wool. Missy the dog also thinks spinning time is kick the ball time, and it is amusing to watch her figure out the timing to drop the ball in my path so I can kick it before walking past. So yes, I walk the house spinning with a drop spindle, kicking the ball for the dog, trailing a ribbon for the cats. I am walking entertainment, but I’m getting in those steps!
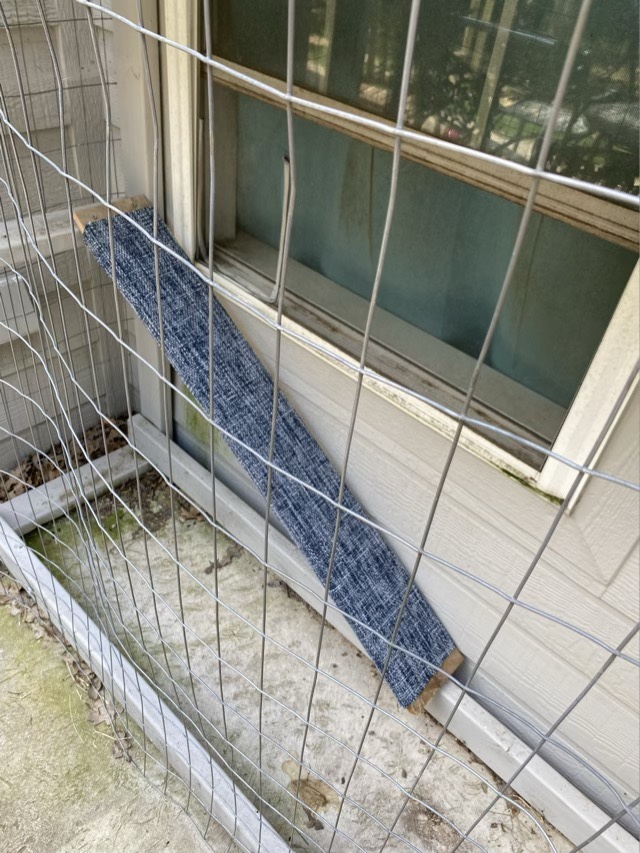
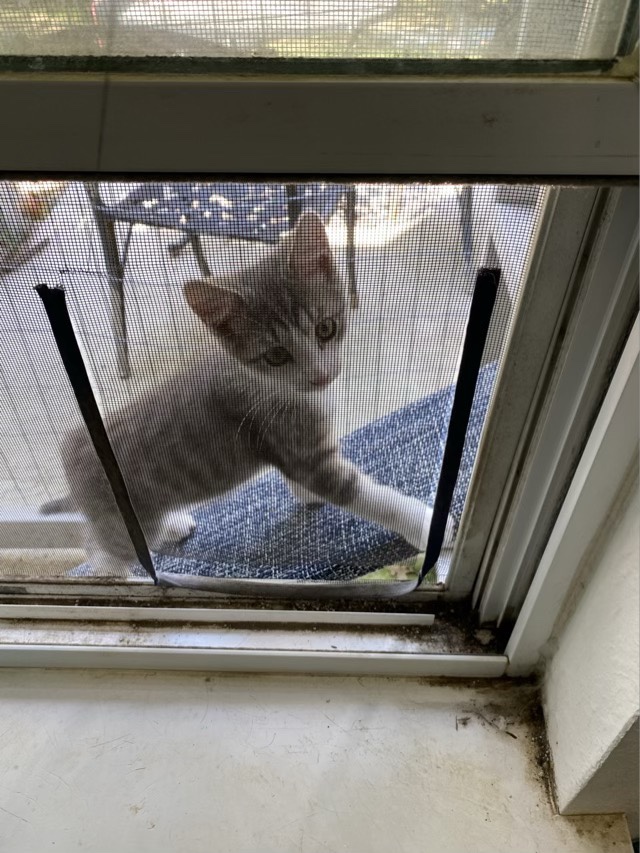
Thor the kitten was very interested in going out into the catio. The problem was, he is too small to jump back in the window. Hm. I grabbed a length of hardwood, wrapped it in outdoor fabric, secured the fabric with heavy duty staples, and screwed the end of the board to the catio structure. Now he has a ramp.
Kitten ramp
Like all good accommodations, this one can be used by everybody (well, every cat body), or easily by-passed by the older cats.
Thor using the kitten ramp.
Thor took a very long afternoon nap after spending time exploring the catio. He is relegated to the bottom layers until his muscles develop and his limbs get longer to make the big jumps possible, but that is OK because it gives Izzy the adult cat a place to escape.
After finishing spinning the single, I made a two ply yarn from my hemp sample. I transferred the yarn to my niddy noddy, then tied it in four spots and removed the skein.
Hemp yarn off the spindle onto the PVC niddy noddySkein of 2-ply hemp yarn, before finishing
The next step is to boil the yarn, which still gives me trepidation. It will happen, but I need to sneak up on it.