Not that I’m excited

I have signed up for a steeking class. Steeking is cutting knit material; the trick is to do it without having the whole mess unravel. The class instructor promises to show us several methods to accomplish this feat. Several methods. Color me eager. We have homework before class starts, make a knitted tube. I have used some hand spun Clun forest yarn because I over spun it and it is rough to the touch, so I have to no aversion to cutting into it.

Knit tube of hand spun Clun Forest wool yarn

And because I’m me, I also made a second tube out of scrap cotton yarn. I blocked both pieces and when they are dry I’ll be ready for class… in a month.

Blocking knitted tubes

Crane fly rest

I found a crane fly resting on my door wreath.

Crane fly on paper flowers

It is spring, so there are crane flies every where. The first year I moved to Texas I was alarmed at the size of the “mosquitos”, until I found out that these long-legged beasties are not blood suckers. Most varieties only live in the adult stage for about a week; long enough to look for a mate to make new crane flies, but not long enough to bother about eating.

Year 2 on my origami wreath

I am most impressed that the wreath has held up. I made it last year and it stayed on the front door for many months. The paper flowers are just wired in, so I can reuse the grapevine wreath, but it looked so good when I pulled it out of the closer that I just hung it back up. Where it hangs there is no direct sunlight, and it is sheltered from wind and rain.

Purpose of the shoe loop

How very considerate of the shoe designer to put a tension loop on my sneakers. It is just right for anchoring a braid so I can use my foot to apply tension so the braid comes out even and straight. I do appreciate thoughtful design.

Tying the end of a braid to a shoe loop to apply even tension

Next spindle size

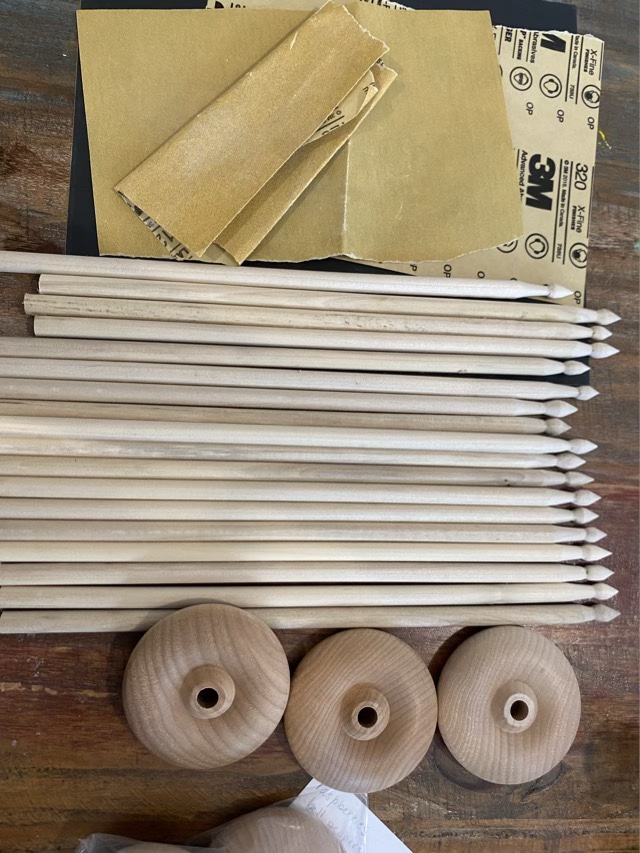
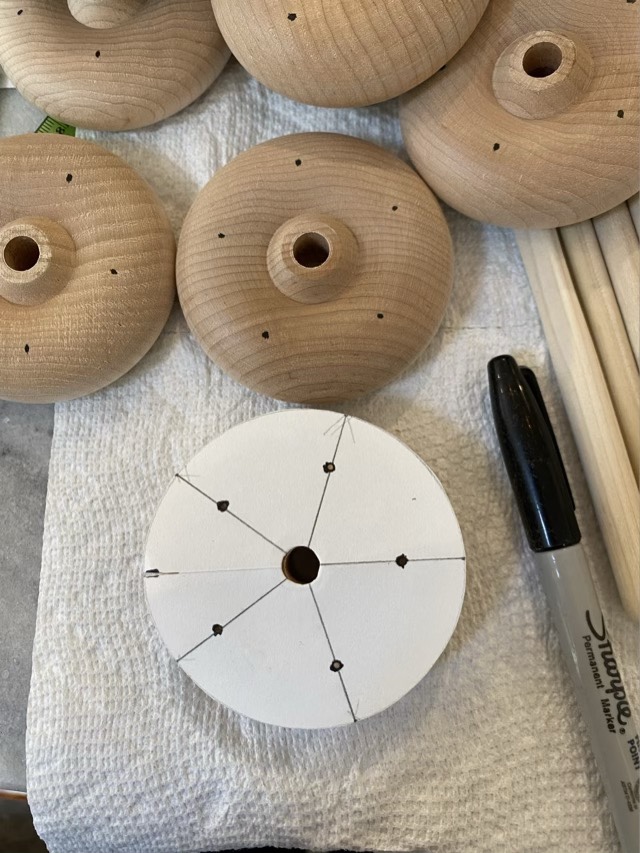
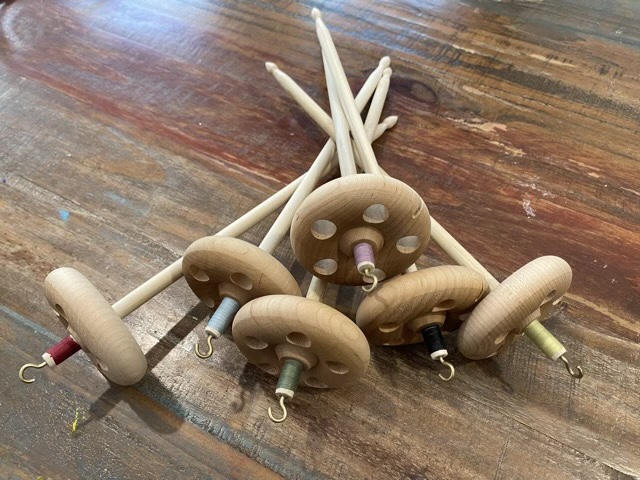
In developing my 3D printed spindle design I’ve had three sizes printed up. The smallest works well, but the bore of the shaft is a little small. The largest version had a good sized shaft, but wasn’t as sturdy and was a little unwieldy. I’m hoping this new middle sized version is the winner.

Three sizes of spindle 3D prints

First, though, I need to sand down the printing artifacts, which are small bumps of filament that didn’t quite go where they were programmed to go. Filament is like that. Resin printing has less of these artifacts than filament printing, but the PETG filament is tremendously more durable. Plus it makes the spindle look like a calcite crystal. Nice.

Sanding a 3D printed spindle

What not to do with an inkjet

My laser printer died years ago, but I still have a stack of transfer paper (think temporary tattoos, or candle decals, I used it for fusing iron oxide to glass, but they don’t make toner like that anymore), so I thought I would see what happened if I put it through my inkjet printer.

Inkjet print on transfer paper designed for a laser printer

First, the ink puddled after printing, separating up into bumps and changing the texture of the print. Now this looked really cool on the octopus, but made other prints just look muddy. Second, the ink didn’t dry, even after using a hair dryer. Well, could I transfer the print anyway? Maybe just pressing the wet ink against a surface?

Transferring the ink to skin by pressing

Instead of wetting the backing and sliding off the decal, I just pressed it against my skin to see what would happen. The transfer wasn’t fantastic, but it was interesting, until I touched it.

Ink rubs off skin (photo credit to my eldest)

The ink didn’t stay on my skin either, well, part of it did, but a good portion easily rubbed off and gave me dirty fingers. That won’t do either. So no printing on designated laser paper with an inkjet printer, at least not without more investigation into print density and drying methods. Yup, that is where I’m leaving this post. Not everything I attempt works, which is OK because there is still data gleaned and learning occurring.