I noticed that my eldest’s Prisma colored pencil case was full of pencil tips. My hypothesis is that the pencils got sharpened, then the tips break in transit. To try to prevent future breakage, I grabbed a strip of foam sheet and used double stick tape to hold it in the end of the box.
Photo description: Shallow metal box with six sharpened colored pencils, and a white strip of foam at the end next to the pencil tips. Off the sides of the box are a pair of scissors, more foam sheet, double stick tape, and unsharpened pencils.
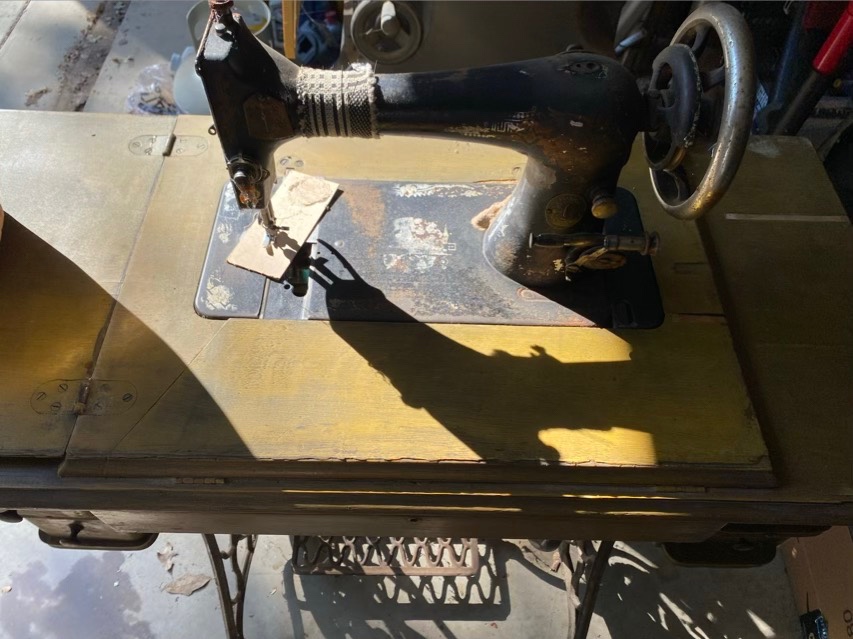
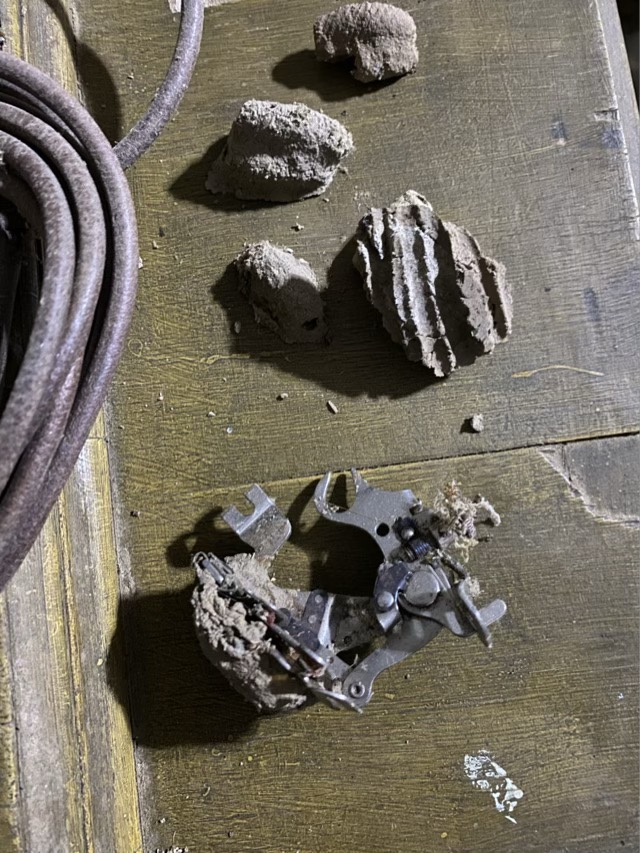
I have recently moved my craft supplies into a new space. I did have everything in one side of a master closet with a small work bench. I’m not sure how I fit it all in that space, as it now fills a regular bedroom. No pictures yet, I’m still sorting and evaluating, but I have setup three folding tables, and decided I had room for a fourth. Before I could go buy another folding table, I spot a working treadle sewing machine for sale for $50. Hm. I’ve actually wanted one of these for a long time, but either didn’t have the car space, or the floor space, or the money (restored sewing machines can be pricey). But at that moment I had the space, and I had the cash. I bought it and my husband helped me fetch it. There is a reason it was reasonably priced. It was stored in a feed room in a barn. Yup. But the wheel turns. The owner bought it from the original owner a few years back (I’ll let you do the math here in a moment), but didn’t get around to using it. It had a bag of parts that went with it, and I’m still counting the wasp nests that hitched a ride. It is living in the garage until I can do a basic clean.
Treadle sewing machine that has seen much use and neglect
I found the serial number and looked it up. This machine is a model 27 and on May 1, 1907, 70,000 machines were allotted. So it is 116 years old and I am the third owner. Hm. It definitely needs some TLC and oil. My plan is not to restore it to new, I rather like patina and that it shows its age, but I will remove the rust, stabilize what I can, and see if I can get it functioning well. This should keep me occupied as the kids head off to school. Oh, and I’ll post updates of course.
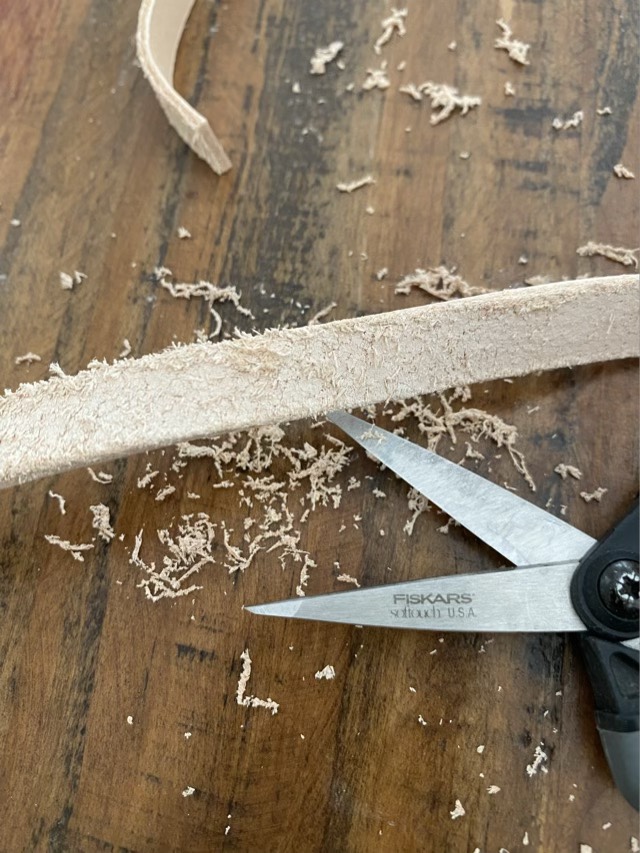
I recently finished a commissioned order for leather wrap bracelets with a saying. I used 1/2” strips of tooling leather, which were a little fuzzier on the back side than I’m used to, so I trimmed the “fuzz” as a first step.
Trimming off excess leather on the back of a tooling strip with scissors
Next I wet and smoothed the edges of each strip round with a slicker. I found a wooden slicker tool awhile back, but am not impressed with it in the raw state. I think I will give it a good sanding and glossy finish before using it again.
Wooden slicker tool and three wet strips of leather
I have multiple options on making the saying on the leather: I have stamps, leather tools, and my pyrography kit. I haven’t done pyrography on leather, so really wanted to see how it might work. I took a scrap piece of tooling leather and did some experiments.
Scrap leather with “Find” written with pyrography
I found that the heat of the pyrography pen, when at about 5 and a half, would burn into the leather and make a mark like stamping, but also darkened the leather. This was what I was hoping for! I could do the sentence free hand. I also found that it was better to dye the leather first, then burn it, then seal it.
Laying out the design on a paper strip “Find Joy and Meaning where you can, and file the rest appropriately.”Dyed and burned bracelets with buttons unassembled, the shorter one was my test case
Once the pyrography was done, I cut in the button hole and sealed the bracelets. When the sealant was dry, I punched holes for the button and used waxed linen to sew on the button. The leather had become stiff, so some bending and moving freed up the form some.
Finished bracelets sitting on the windowsil
I do really enjoy pyrography, so this was a fun project and discovery!
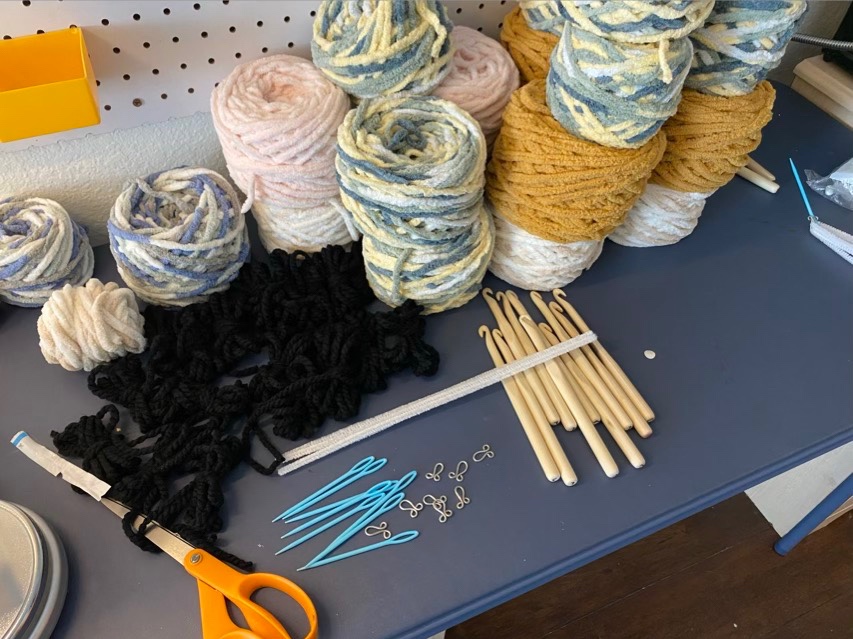
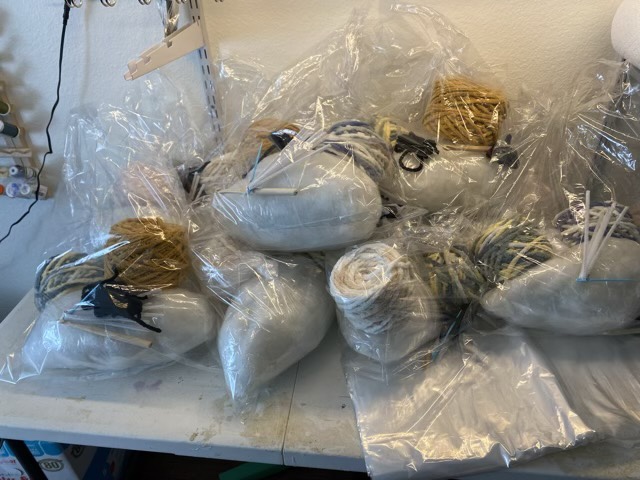
Rather than take separated supplies to my crochet class, I made up individual kits. Each kit has enough yarn to make two amigurumi animals, yarn for the face, a wooden crochet hook, a wire stitch marker, a yarn needle, chenille sticks, and stuffing.
Measuring yarn but subtractive weighing
To divide up the yarn, I placed the big ball of yarn on the scale, tared it, then wound off onto the ball winder. When the scale read the value I needed (negatively), I snipped the yarn and started a new ball.
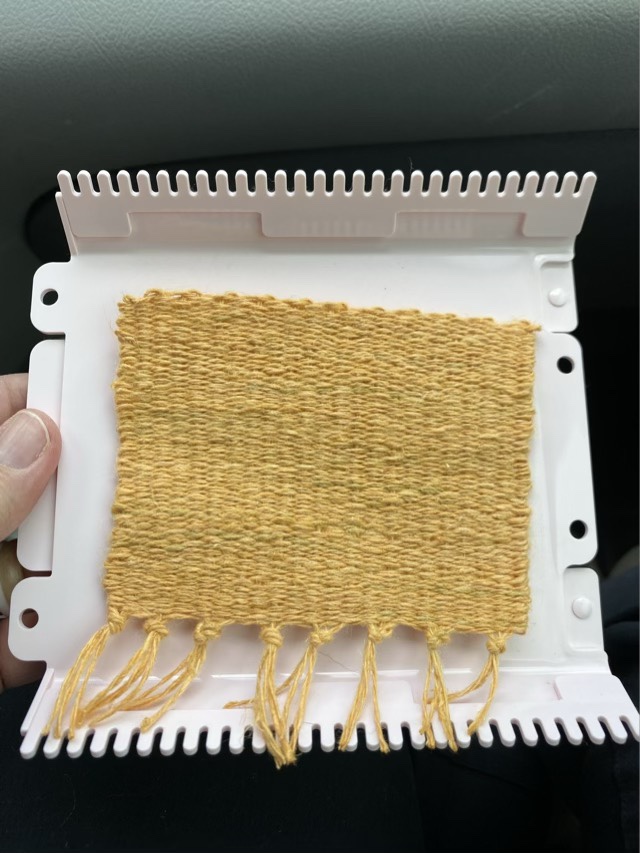
I recently used points to get a Clover mini loom. I have been using scraps of cardboard to weave samples of my spun fibers to go in my fiber journal, so this was an upgrade!
First finished linen swatch, forgot to take progress photos, warped for fringe on the bottom only, came out a weft-faced weave
I started by following directions, amazingly, but the spacing of the tines were very wide and gave me a weft-faced weave, where the warp threads are completely covered by the weft yarn. This is the technique used for tapestry weaving, but not what I was looking for.
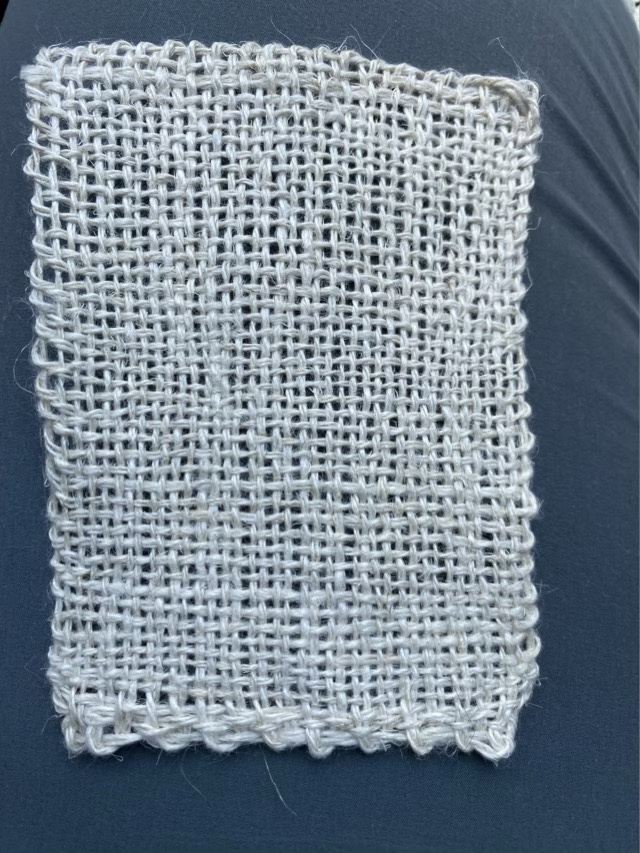
Linen warp doubled up and wrapped completely around the loom, starting with a twined row to space the threads
The next attempt I doubled the yarn in each slot by wrapping the warp yarn completely around the loom. This gave me fringe on top and bottom when it was finished, but the weave came out with both the warp and weft showing.
Linen woven swatch with knotted fringe
I moved on to my hemp yarn, and of course I forgot to take progress photos, but I doubled up the warp thread by making loops around the tines, resulting in a fringeless swatch. I found I didn’t need the twined first row to space the threads. It came out a bit wonky, but I am seeing process improvement.