Tablet weaving

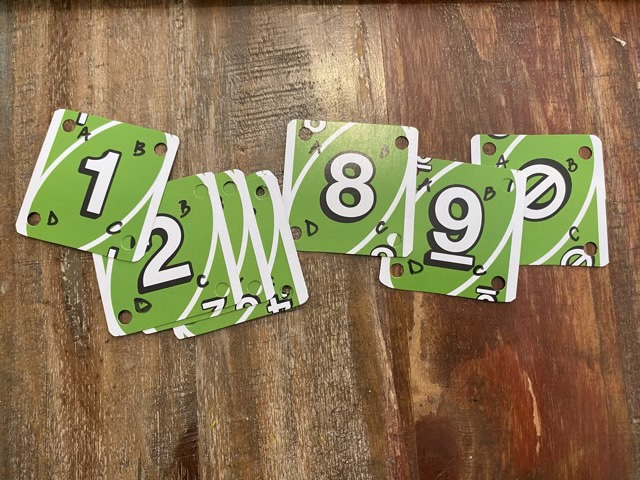
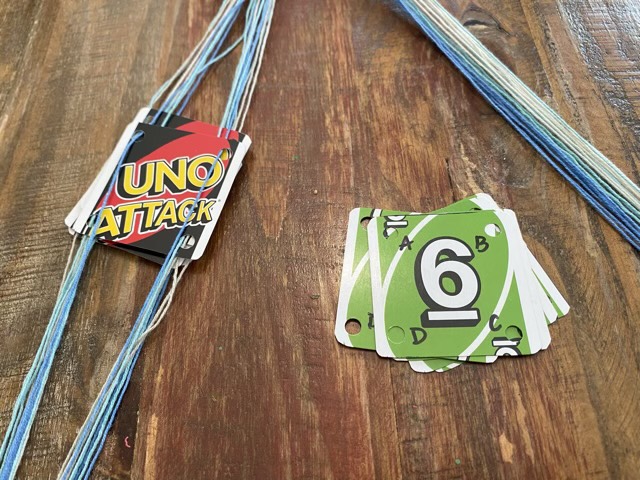
I caved. I’ve been seeing bands made by tablet weaving for years, but didn’t see why I should expend the effort. It makes a strip of fabric, a small thing, what’s the point? Curiosity got the better of me, and I found instructions here to get started without buying anything. I made my “tablet” or cards from old UNO cards (we have SO many different decks), which conveniently are already numbered.

Tablet weaving cards made from an UNO deck

I used thin yarn leftover from several projects and two chairs spaced a distance apart to make the warp threads, knotted the end, then threaded them through the cards according to the directions.

Half of the tablet cards threaded with warp yarn

I used the back-strap method of applying tension to the warp threads, which means I attached one end to my belt, and the other to a stationary object. I experimented with: my toe, a door knob, and my steering wheel (when parked). When not weaving I used a cable needle (like a giant safety pin) through one hole to hold the cards together.

Starting weaving

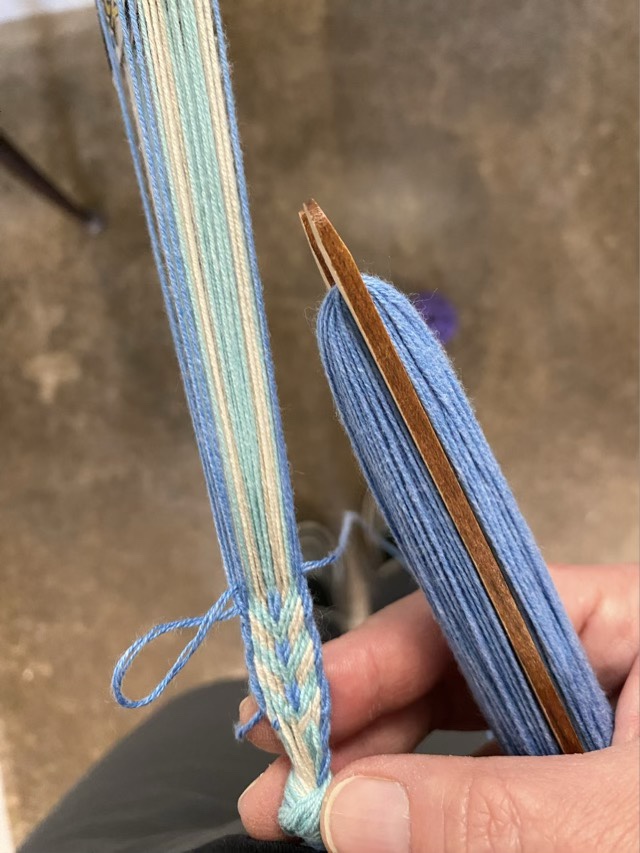
To change the shed (which threads are on top or bottom), you rotate the cards forward or backward. This is absolutely brilliant, and a kind of weaving I can totally get behind. The possibilities for patterns are immense, the weaving goes quickly, and is done in less time than on a wide piece or a picked pattern. I definitely had learning woes, I thought I was weaving too tight, but I was actually too loose, but it was a worthwhile experiment.

Done weaving.

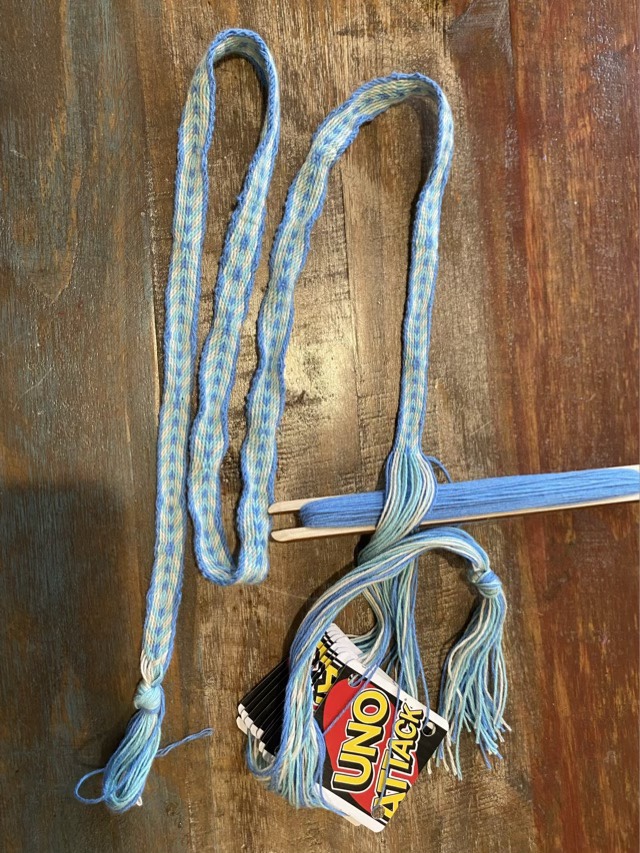
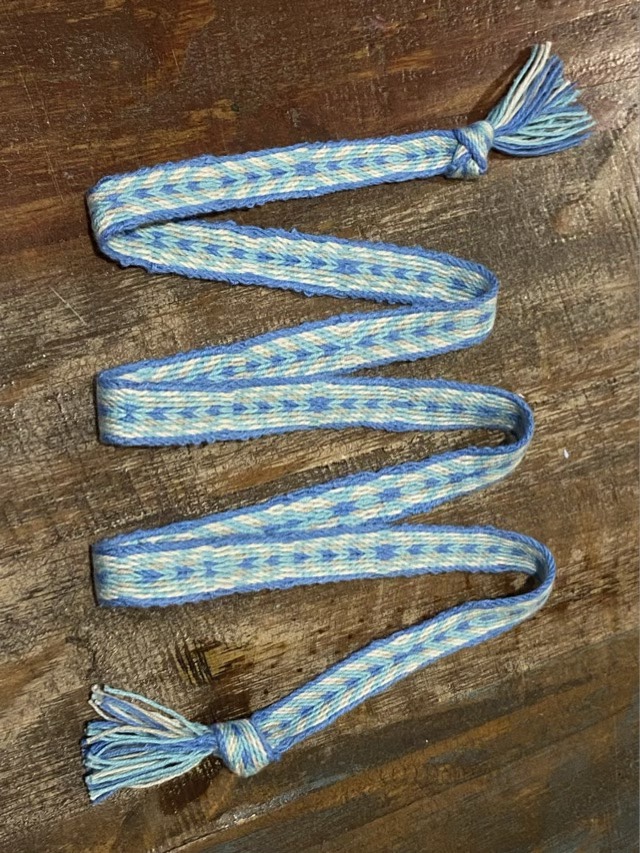
The ripples in my band are because I wasn’t tight enough with my weave. I knotted the ends and cut off the extra warp, then ironed the band. It isn’t perfect, but I want to do more. (I do need a better way of keeping track which way I turn the cards. Squirrel.)

Ironed band showing both sides

I have also added an inkle loom to my wish list, which would enable me to keep tension on the work at all times and not have to go looking for a stationary object.

Crocheted duster vest

I obtained a crochet pattern for a vest published in 1969 and decided I needed a duster version for an upcoming chorus show that is featuring 60s songs. I had some fingering weight cotton in my stash and I doubled it, combining three different blue colors with two different grays to get a fade on the garment.

Crocheted duster vest

It was a very easy pattern, just chains of 5 joining the previous row made of chains of 5 with a single crochet. I aimed to make it mid-calf length, but the net pattern now stretches nearly to the floor! It crocheted up fairly quick as well, because it is comprised mostly of air, which also makes it not hot to wear. Yay for netting.

Spindle size tests

I’m still working on the design of my 3D printed spindle. I’ve now had a local printer make up three sizes, and have tested them all with the same fiber blend.

Three spindle sizes with corresponding cops of single spun yarn

We aren’t there quite yet. I need some input from other spinners, and we need to change the printing density to reinforce the neck. The smallest version has never broken, but the hole in the yarn ball is too small. The largest has a great diameter hole in the cop of yarn, but is unwieldy. The middle one is the closest to feeling right, but still needs some adjustments.

Better as a decal

I bought some temporary tattoo paper actually designed for inkjet printers (see my fail post here). I still had to leave the prints out to dry overnight (the instructions said an hour, but I didn’t find that adequate), but the ink stayed where it was put. These temporary tattoos come with an adhesive sheet, which had a small learning curve, but not too bad. I tried one on my arm and … meh. Even though it is thin, it isn’t thin enough to mimic a real tattoo; it is more like a plastic bandage, wrinkles and all. Hm. I tried applying one to a glass sheet out of curiosity and tada! We have contact.

Temporary “tattoo” applied to glass

This is an intriguing use of material. The current limitation is that the surface needs to be water resistent. In order to remove the backing, it has to be dampened with water, which could potentially wreck havoc on paper items. Experiments continue.

Decal applied to glass and held up in front of a window

Not that I’m excited

I have signed up for a steeking class. Steeking is cutting knit material; the trick is to do it without having the whole mess unravel. The class instructor promises to show us several methods to accomplish this feat. Several methods. Color me eager. We have homework before class starts, make a knitted tube. I have used some hand spun Clun forest yarn because I over spun it and it is rough to the touch, so I have to no aversion to cutting into it.

Knit tube of hand spun Clun Forest wool yarn

And because I’m me, I also made a second tube out of scrap cotton yarn. I blocked both pieces and when they are dry I’ll be ready for class… in a month.

Blocking knitted tubes