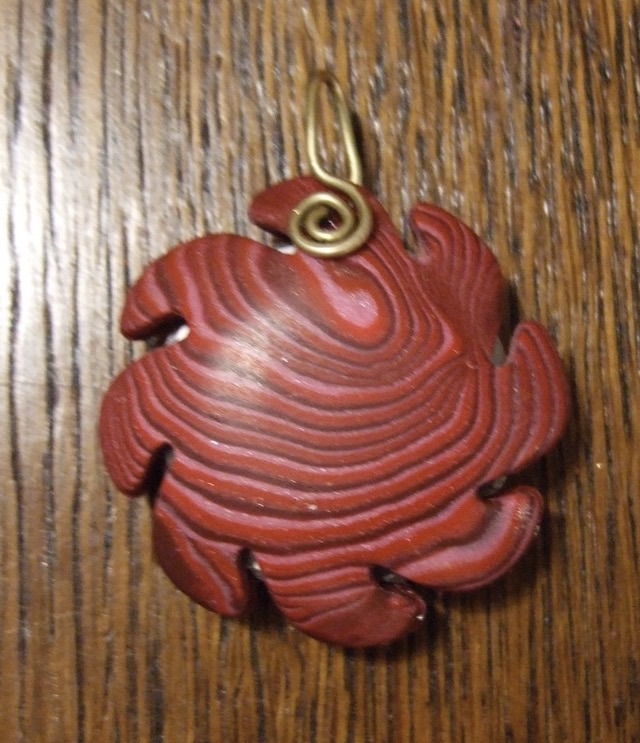
I had a long period of time in which Sculpey clay was my go-to medium. I found this photo from March 2007 of a thread cutter made from layered oven bake clay surrounding a wheel cutter blade with a brass wire loop. I formed each side of the cutter using a mold that I made, baked it, sanded it, then assembled it, probably with glue (tsk). The loop was properly made with a mechanical connection: prongs that went into holes in the clay.
Photo description: striped red thread cutter with indents to allow access to the blade inside, but protect from accidental cutting
I made several of these at one point. If I were to attempt to make them again, I would make sure there was a mechanical connection holding the blade between the sides. I’m sure the glue didn’t hold up to time or dropping.
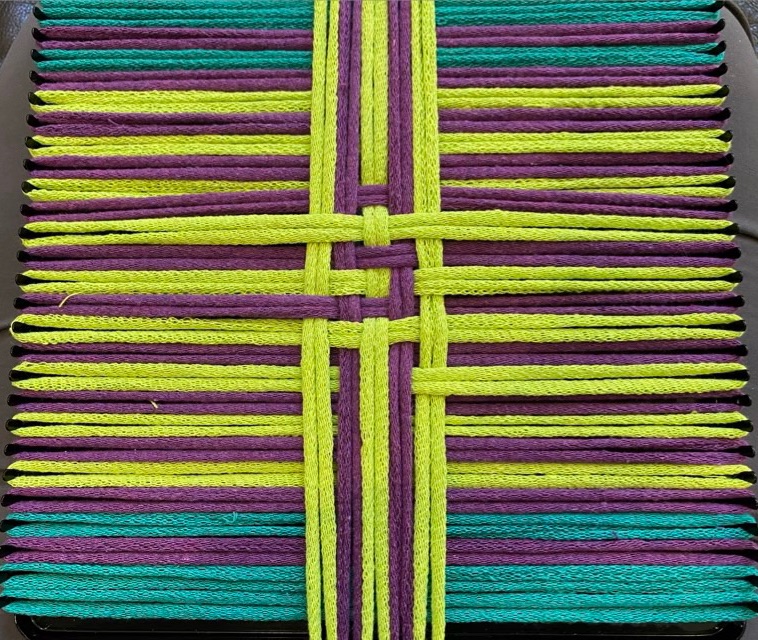
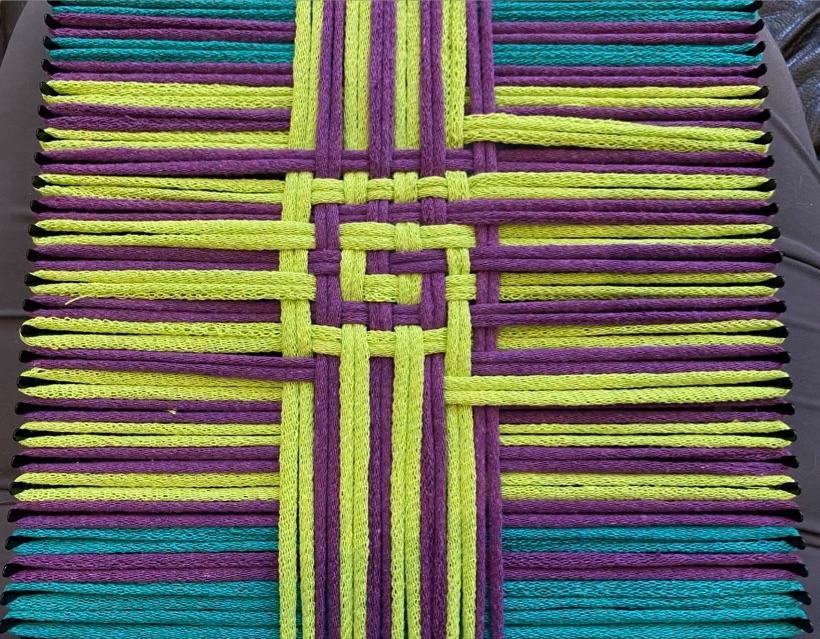
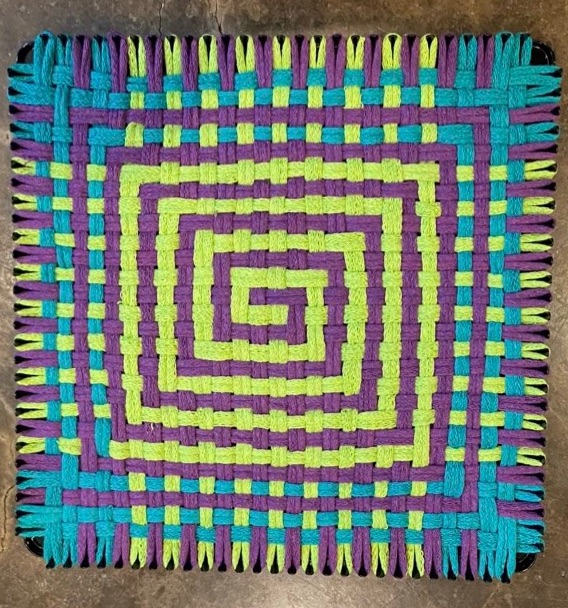
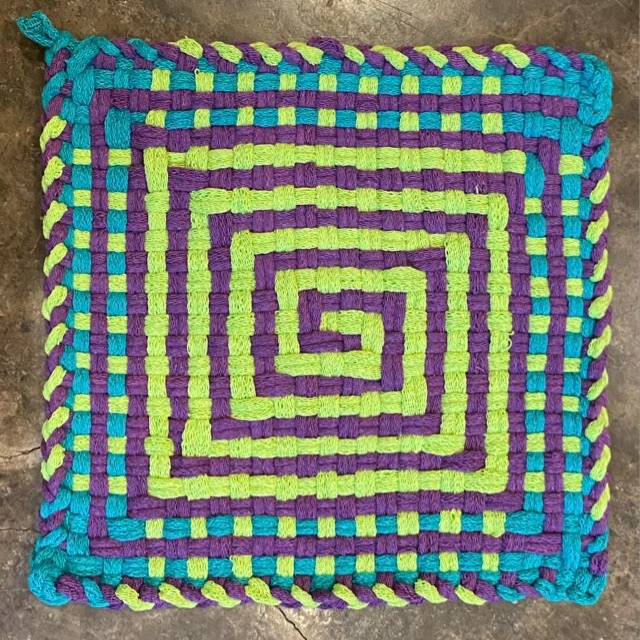
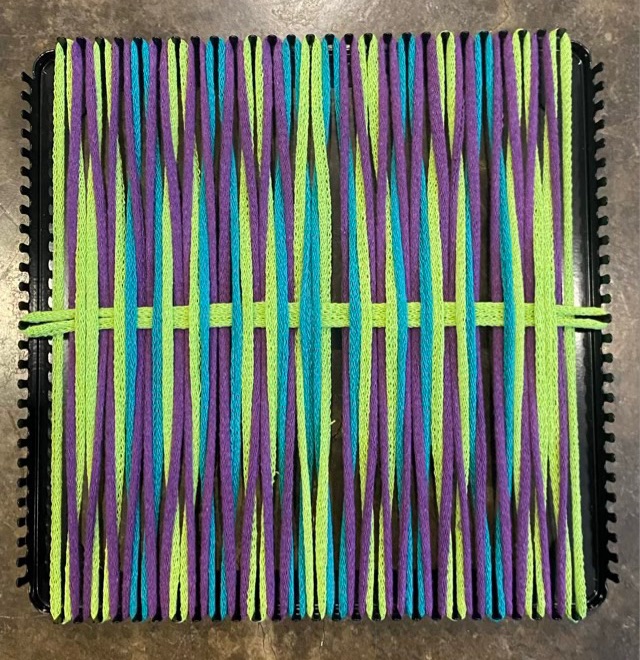
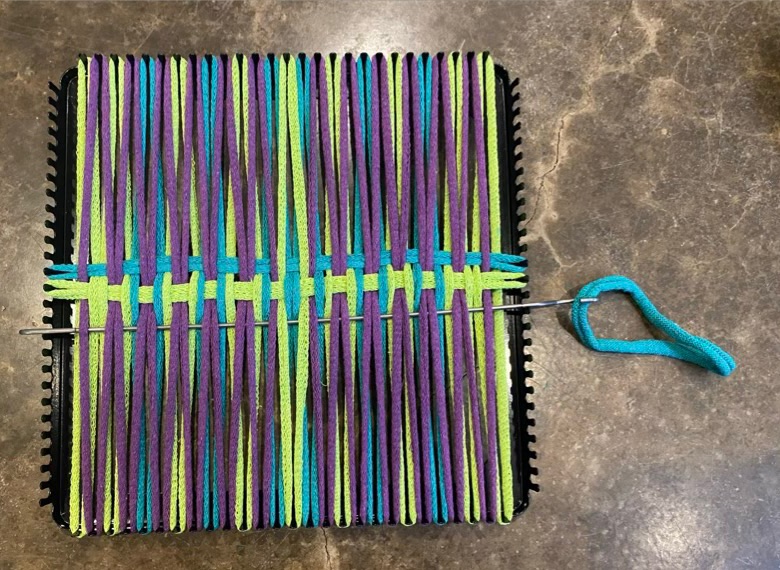
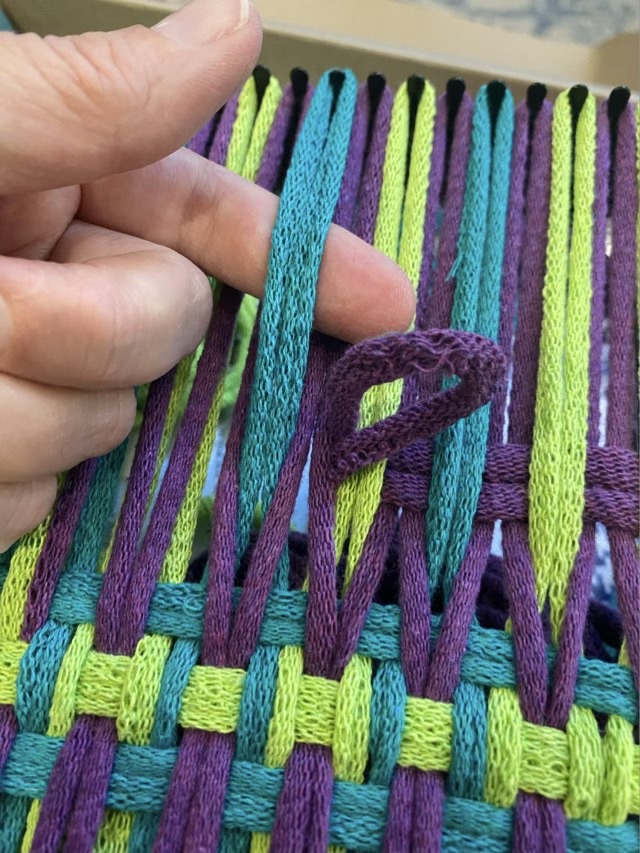
Once again I was down to the last set of cotton loops for a potholder loom. I actually started several patterns gleaned from Pinterest, didn’t like them, and took them apart. Once woven, the knitted cotton loops are quite robust, but if woven and unwoven repeatedly, they have a tendency to unravel. I needed to make a choice and stick to it. I love spirals so decided to tackle a spiral pattern potholder. This was easier decided than done. I did find a picture of a spiral potholder, but couldn’t wrap my head around the sequence of under overs working straight across. I ended up working from the center, slowly adding loops on each side and meticulously tracing the spiral, fixing the woven path as I went.
Photo description: potholder pro loom with horizontal loops set and five vertical loops woven together only in the centerPhoto description: more loops added, the spiral growing out from the center of the loomPhoto description: spiral is largerPhoto description: weaving complete, the spiral disintegrates toward the outside because I ran out of purple loops
The key to the spiral is that sometimes loops go over two, rather than one opposing loop. These floats happen at the corners when the color needs to be continuous. The order of loop color is the same for the vertical and horizontal.
Photo description: finished potholder with chain edge and corner loopPhoto description: back side of the same potholder showing an equally interesting V pattern
I managed the make this whole week a throwback with this series of potholder experiments! The loops are now all gone and the looms have been absorbed into my weaving tool box. I plan to use the pin looms with yarn next. Tomorrow will be an actual throwback post.
When I bought the potholder loom kits for my kids, I bought one regular size and one Pro. The Pro box still had intact seals. I fixed that, and thought I might make a small bag because the Pro potholders are larger and there were only enough loops for two projects. The loom also has an odd number of pins, rather than the even number for the regular loom. It opens up different design possibilities. I wanted to experiment more with twisting with my first project with a Pro loom. I counted all my loops and divided them in half, then came up with a design based on the number I had of each color.
Photo description: first pass, the center horizontal loop going through twisted adjacent strandsPhoto description: second pass on either side of the center horizontal loop, hook tool showing how the strands are picked up in pairsPhoto description: closeup of the third pass in process, showing how the horizontal loop returns the twisted strands to the original positionPhoto description: potholder loom with the center pass with two passes below the center, returning the loops to the original position, and four passes above the center, showing the twisted loops
The overall pattern when weaving is three fold: twisted path, plain weave, plain weave.
Photo description: weaving finished with the last four passes in plain weave on the top and bottomPhoto description: finished potholder with chained edge and corner loopPhoto description: opposite side of the same potholder
I was going to make a coordinating but opposite twist design, but it turns out when the strands are twisted the opposite way, the pattern is just being worked upside down, it doesn’t look different. Hm. I don’t want twins, so I’ll try something completely different for the next potholder.
So now that I’ve pinned a couple potholder pictures on Pinterest, my feed is flooded with pin looms covered in cotton loops. I saw a partially woven potholder that had adjacent loops twisted over each other. There were no instructions or guidance, so it took me a bit of experimentation, and I didn’t make an exact replica, but I did enjoy working on a new technique.
Photo description: potholder loom with loops hooked vertically across alternating warm (red and orange) and cool (dark blue, light blue, and green) colors. One green loop woven horizontally in the middle, skipping the first strand, the next two strands are twisted so the warm color is up, then strands 4 and 5 are twisted the opposite way so the warm color is up. The horizontal loop goes under the warm colors and over the cool colors twisted together across, with twist direction alternating.Photo description: two more horizontal strands added on either side of the center strand with no twisting, the warm color went under the cool colors on the first set of loops, and the cool horizontal color went under the warm colors, this set of loops are woven in the original pairs as with classic potholder loop weaving.
I found it easiest to work this pattern from the center. I twisted one strand from each adjacent loop together then ran the weaving loop through the center of the twist. I then twisted the next two strands in the opposite way. It took some mistakes and undoing to get the pattern right. I found if the warm colors were up I probably had the twist right. The next two loops are woven normally for potholders, where the horizontal loop goes over or under both strands of the same vertical loop. After the second pass, the vertical loops are in the original position and I could make another twisted pass. So even though it was challenging to puzzle out, the actual weave technique boils down to three rows: one twisted, two plain.
Photo description: weaving finished, shown still on the pin loom, mistake in bottom right
In the finished weave, the strands aren’t twisted, but rather curve back and forth vertically, which makes an interesting X pattern. As I write this post, I noticed a weaving mistake. Ah well. It is a potholder. I do find that if I leave a pattern for a bit and come back, I’m more likely to spot such errors. I was too eager to cast this one off.
Photo description: same potholder finished with a chain edge, except on the top where the twisted path made for a stable edge.Photo description: back side of the same potholder, showing horizontal stripes of warm and cool colors
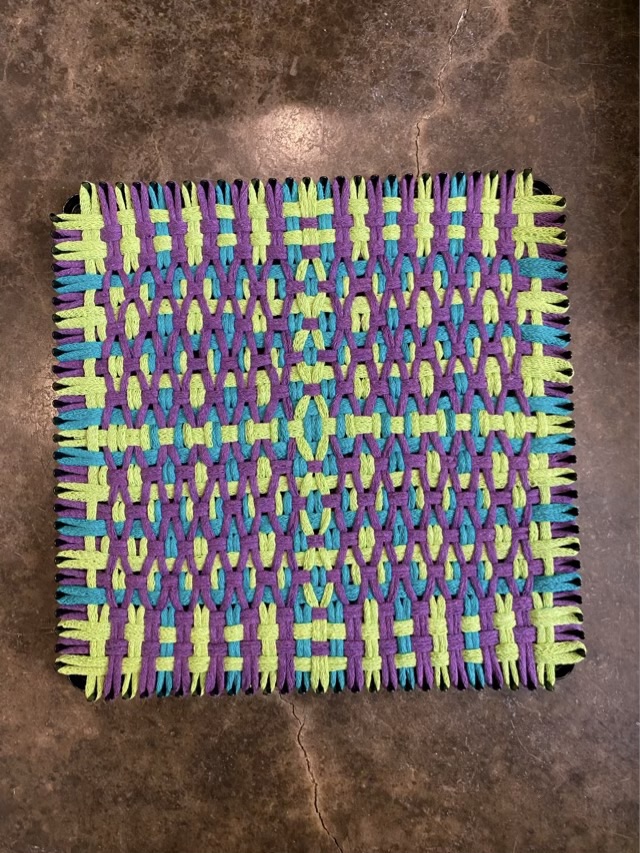
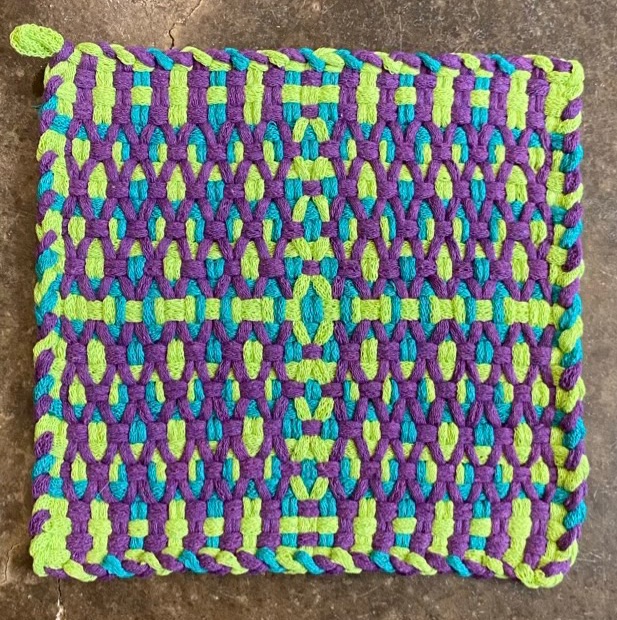
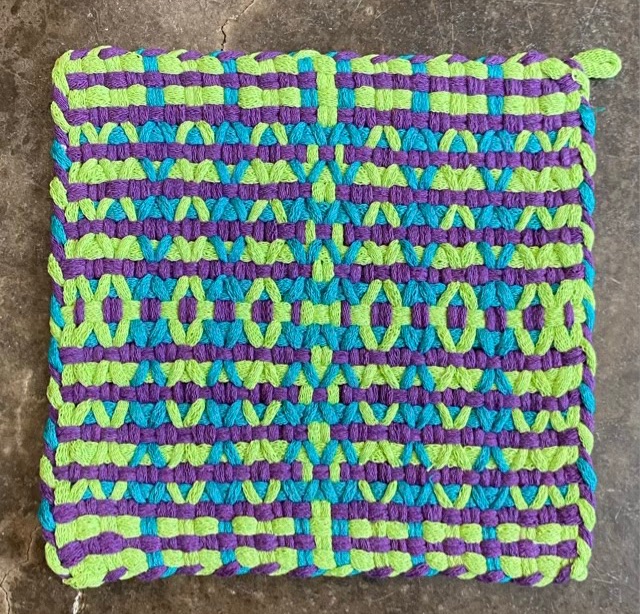
Many of the pictures of woven loop potholders are taken when the work is still on the loom. This makes it easy to see the order of the colored loops by looking at the colors on the pegs. For plain weave potholders, this is all the info needed to recreate the pattern.
Photo description: potholder on the loom in light green and dark green, the vertical loops have 9 alternating colors, which then repeat, giving two light green loops in the center and light green on the outside. The horizontal loops switch this, with the dark green doubled in the center and on the outside.
Since the loom was out, and there were still loops left, I had to give this neat directional pattern a go.