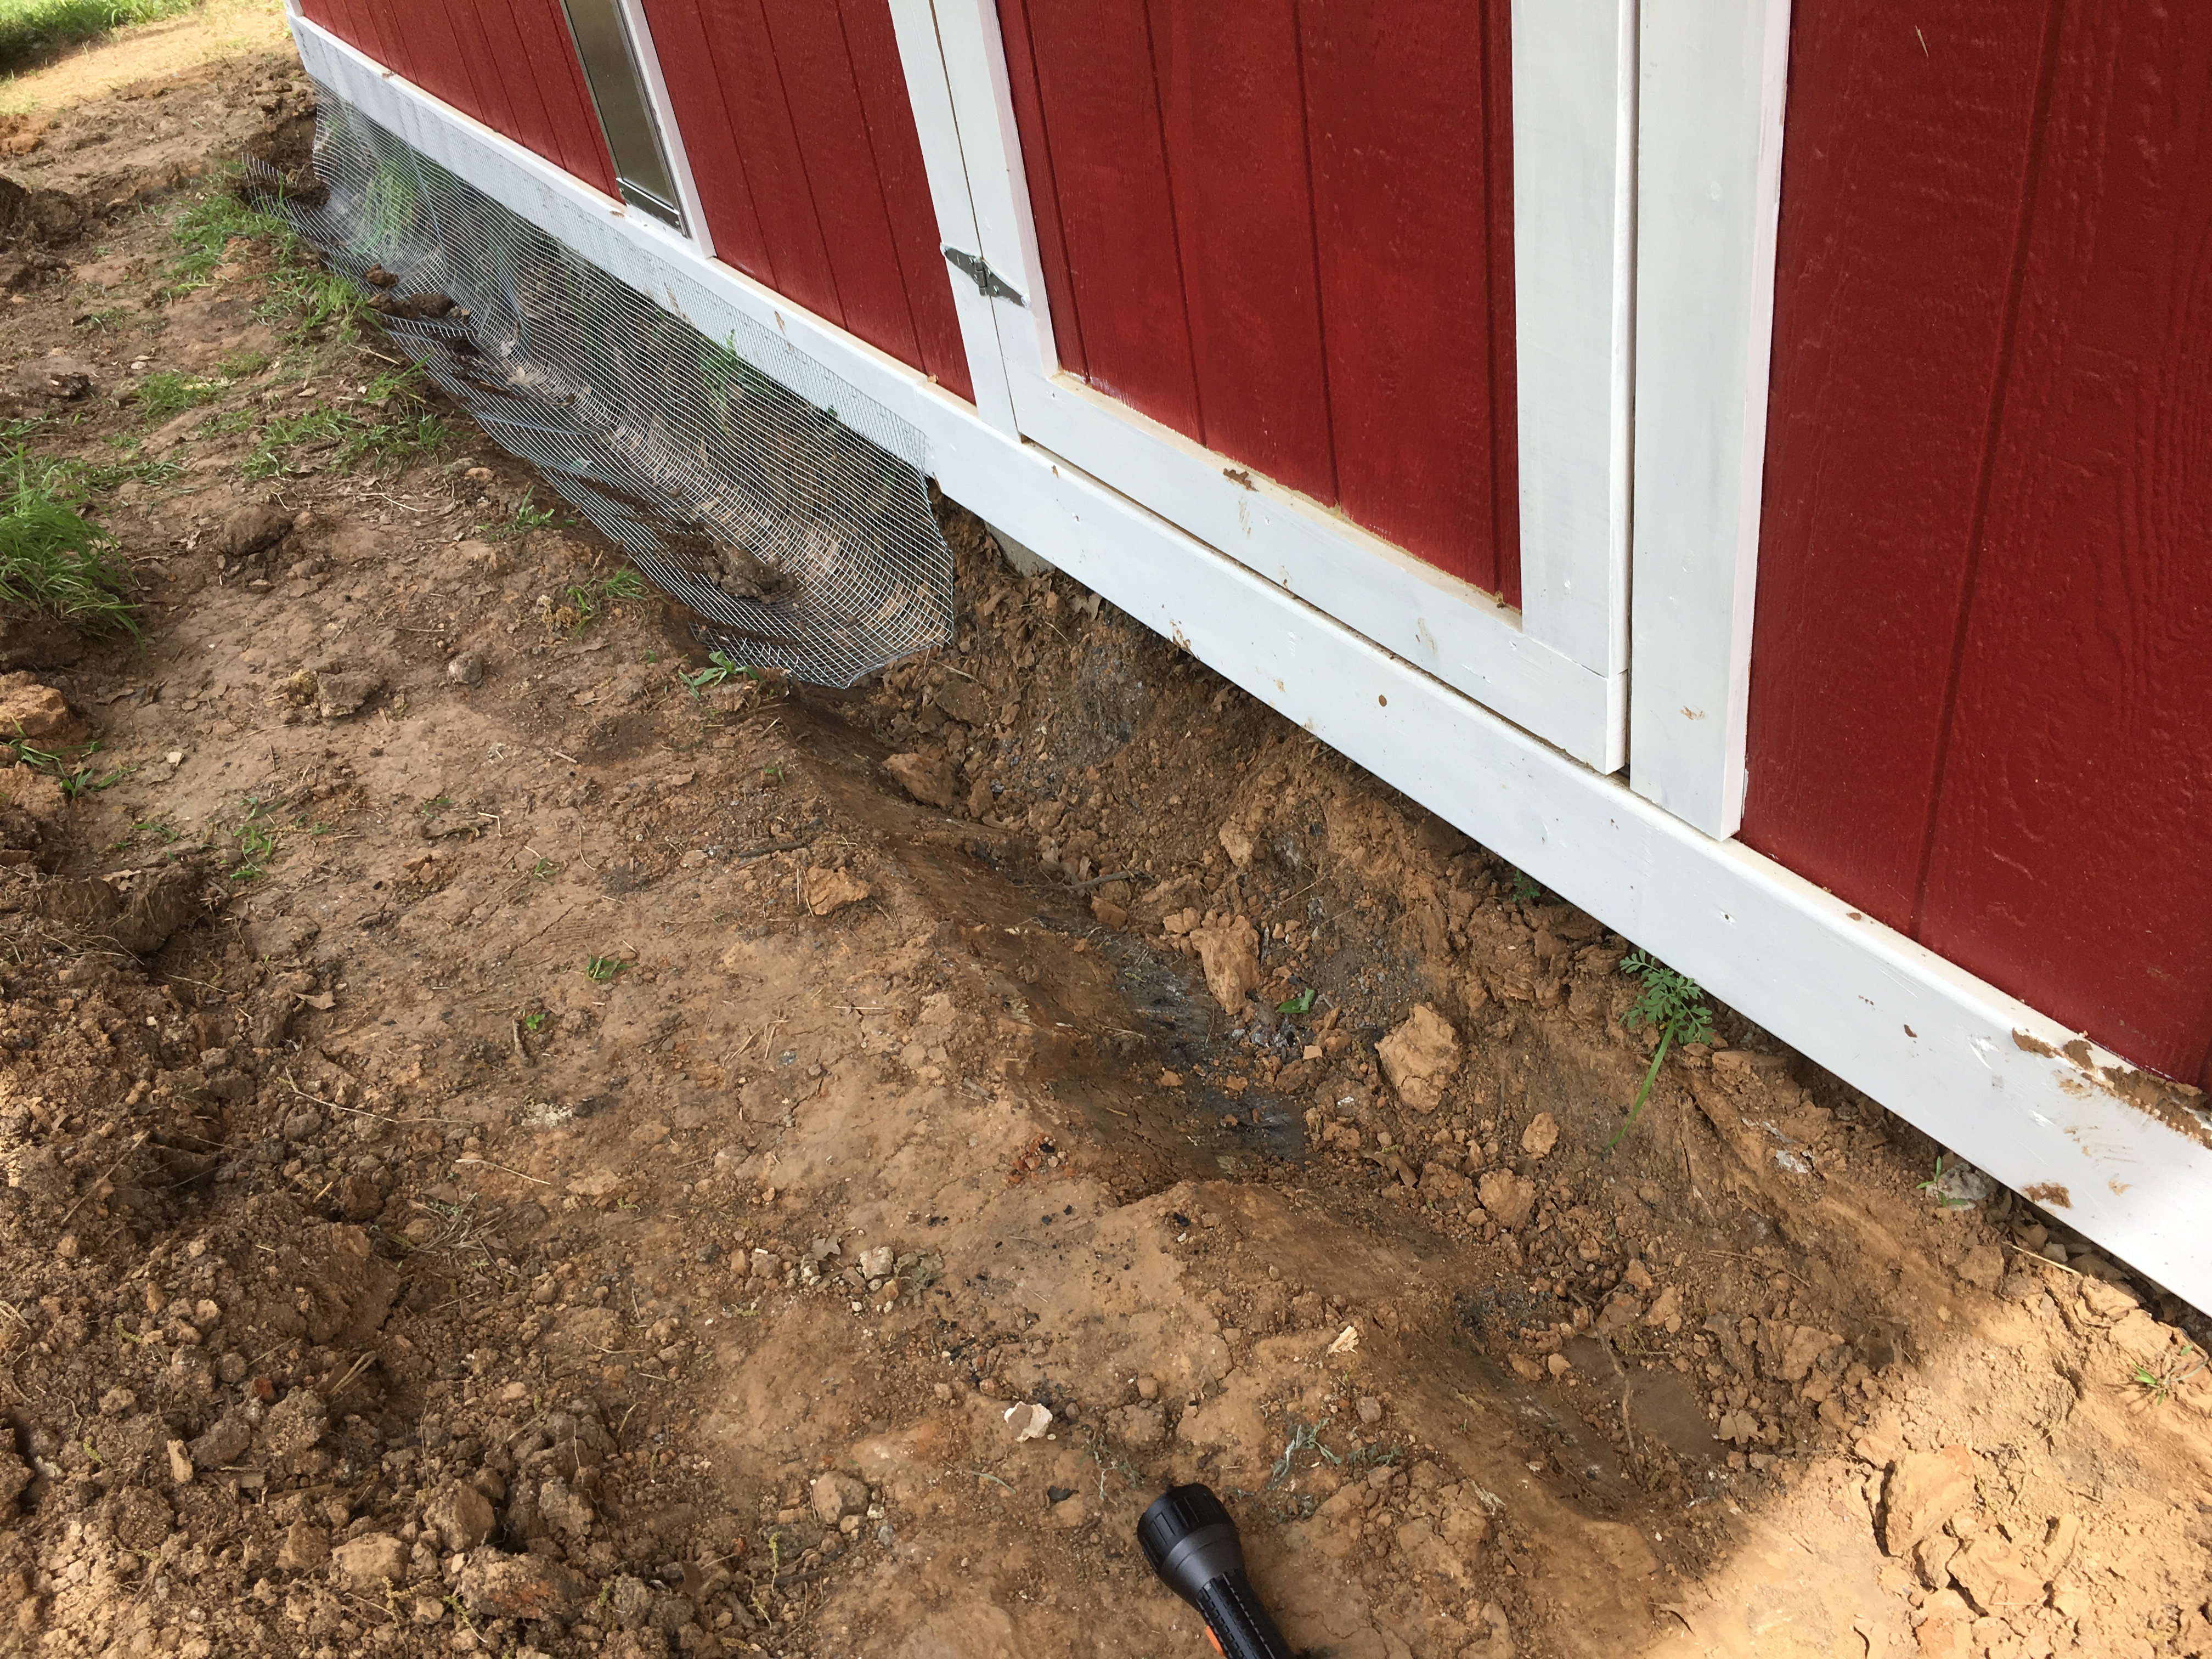
or the hardware cloth, as you wish. I finished installing the hardware cloth around the base of the coop and used batten boards to secure them.
I then backfilled with dirt most of the way around. Some of the areas we are going to line with landscaping fabric and fill with rock to help divert water flow. I also filled the front area with more dirt trying to make it a little higher than the surrounding terrain so the rain runoff goes somewhere other than by the door. We’ll see soon if it works.
The chicks are still growing like little weeds. Today I tried getting them to eat out of my hand. No problem.
We are having a cold front and I am concerned about the temperature of the coop. They have two Ecoglow heaters and both the food and water are nearby. Here’s hoping it doesn’t get too cold.
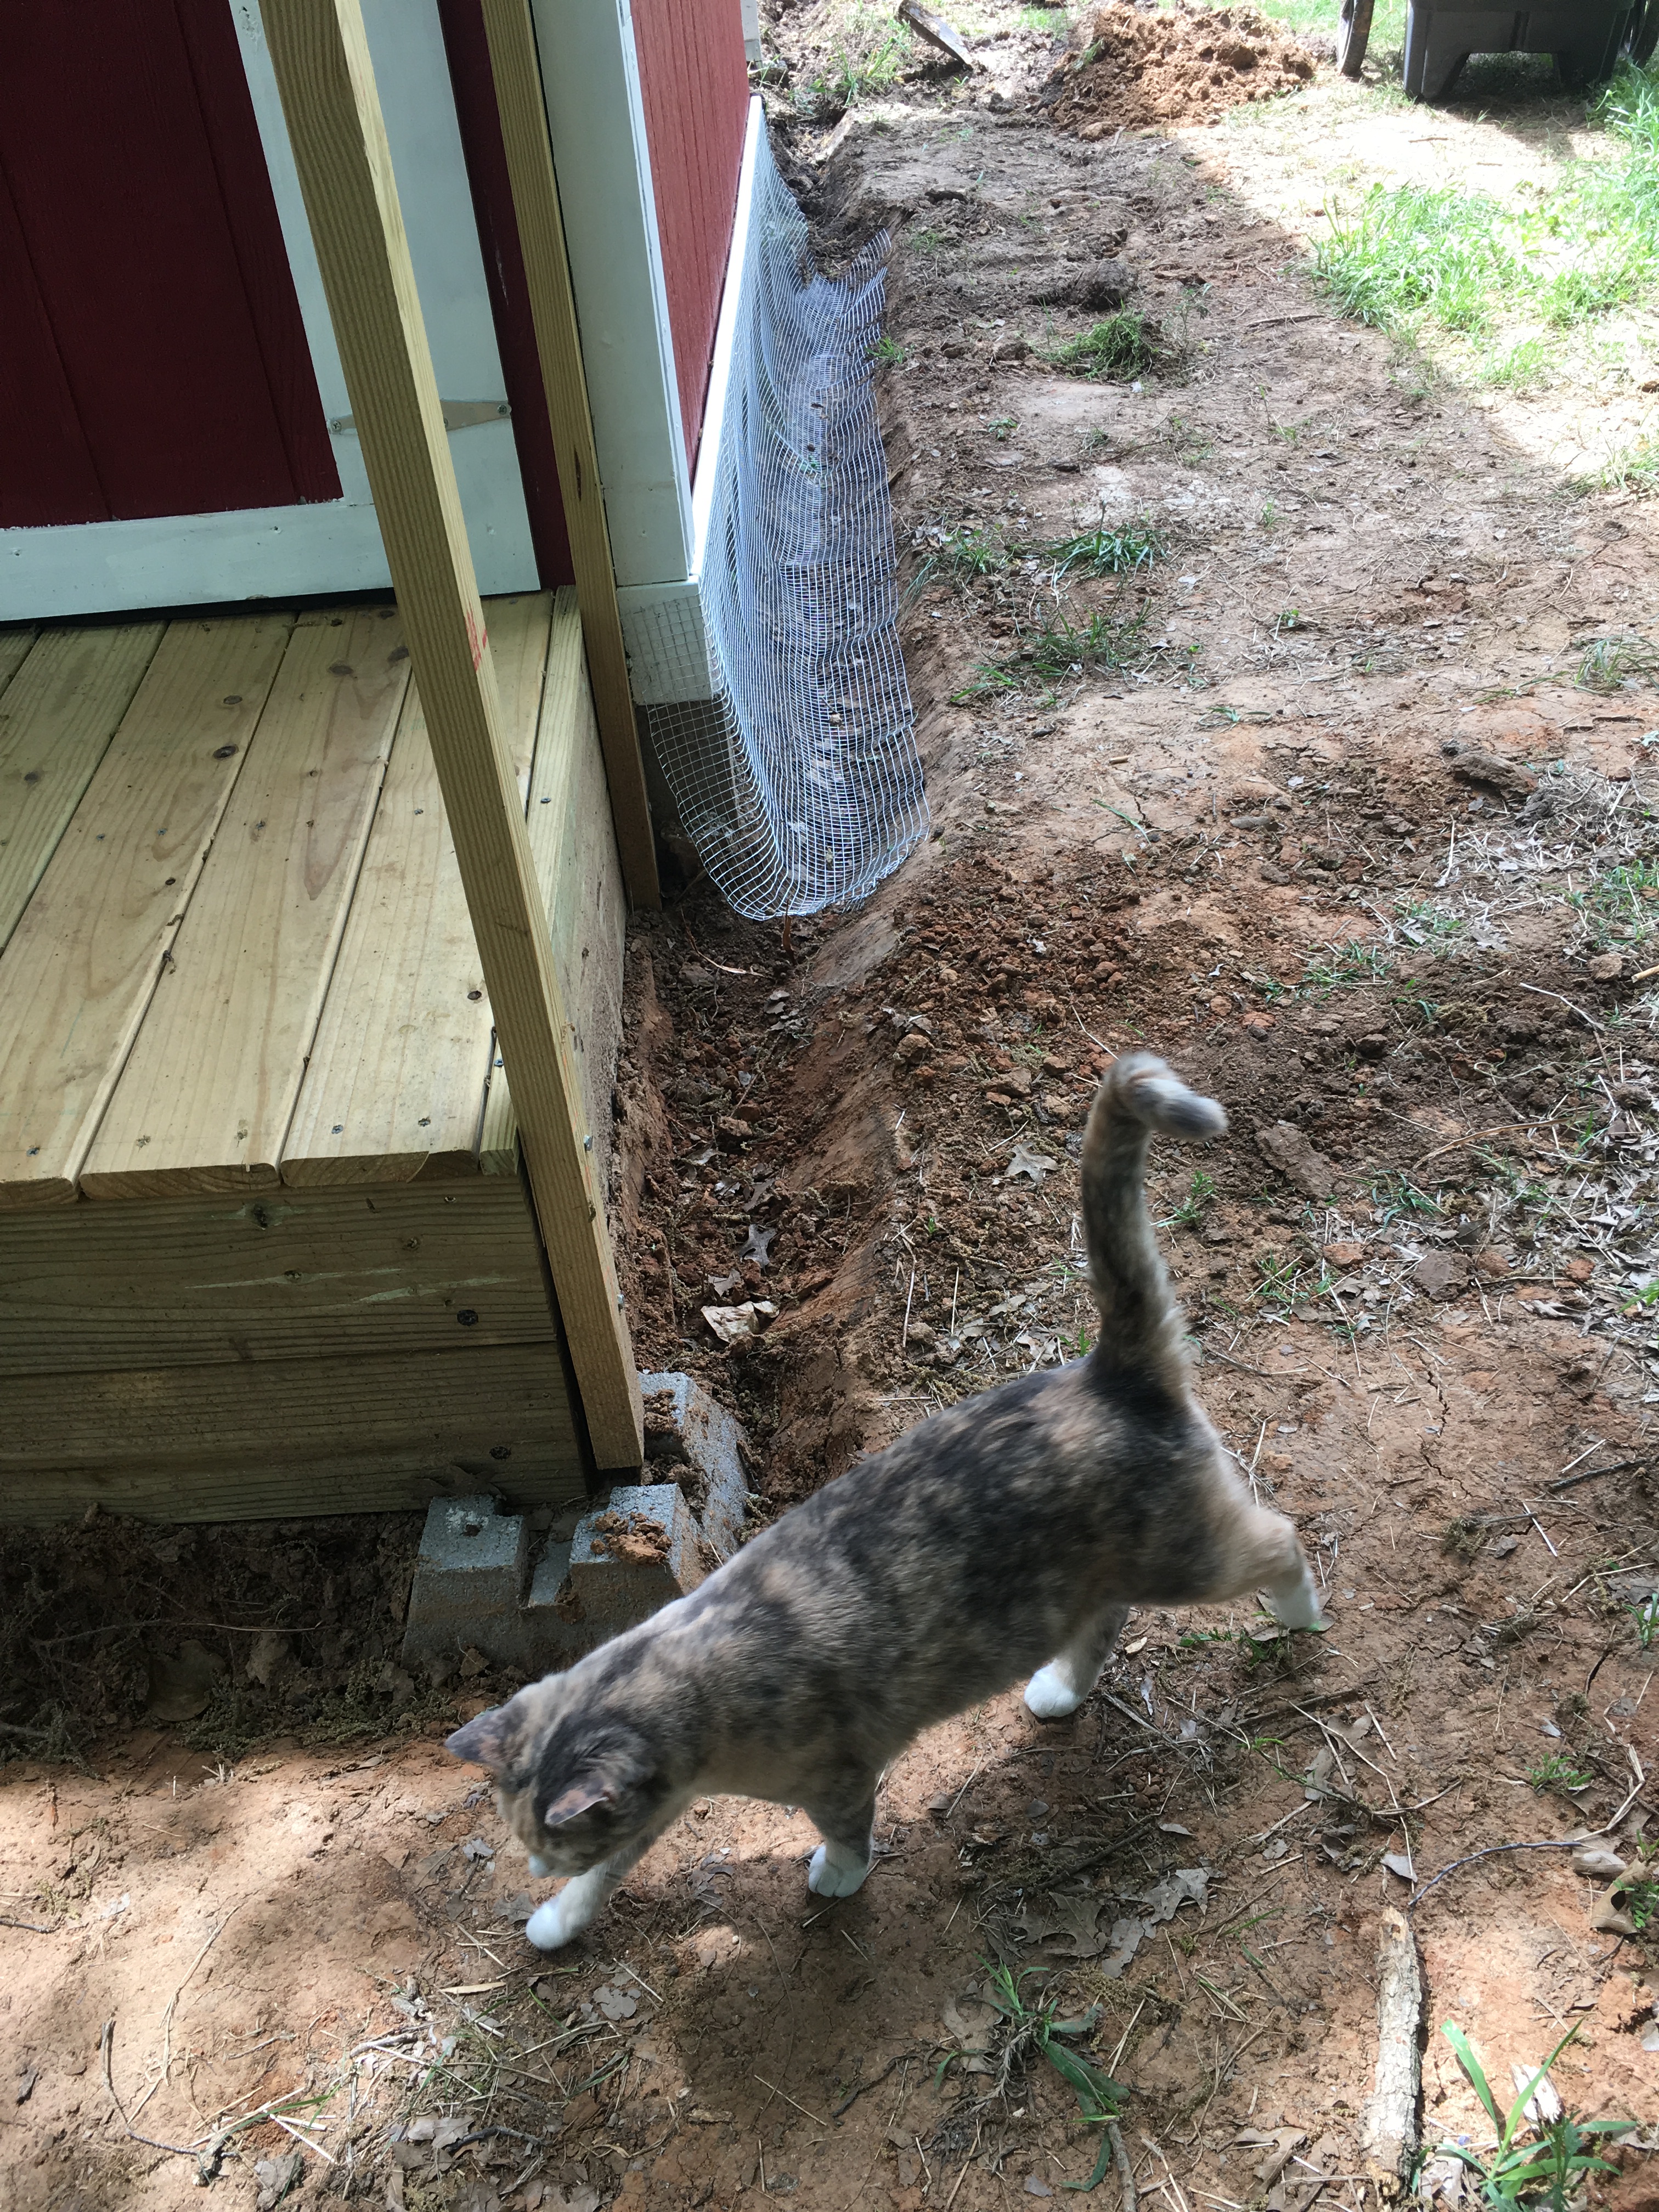
I spent most of the day installing hardware cloth around the base of the coop (in the trenches I dug earlier) to keep out digging predators. I checked under the coop with a flashlight to make sure I wasn’t locking anything in, and then Sophie casually sauntered in and refused to come out. Cat. I left the space under the front door open as I completed the rest of the perimeter so she could escape.
Proof of life. I did not trap the cat under the coop, hurray!
Once she did leave, I was able to quickly finish the install, then photographed her outside so the kids would believe me that I didn’t trap her underneath, as much as she wanted to be there! I used staples just to get the wire in place, and tomorrow I will install batten boards, since the staples won’t hold long term. I still need to put the wire around the steps too, but at least the cats shouldn’t be able to get underneath anymore.
The chicks are growing rapidly! We did a weight on everyone tonight, and some have over doubled their weight in less than a week. Tigger put on the most weight, gaining 39g. Schmoo only gained 13g. We have also put one bottle of water with only apple cider vinegar and the other with the electrolyte and probiotic solution (it really helps if I read the directions, sheesh). I raised both brooders to the second level and they seem to be OK with it. Here is a video:
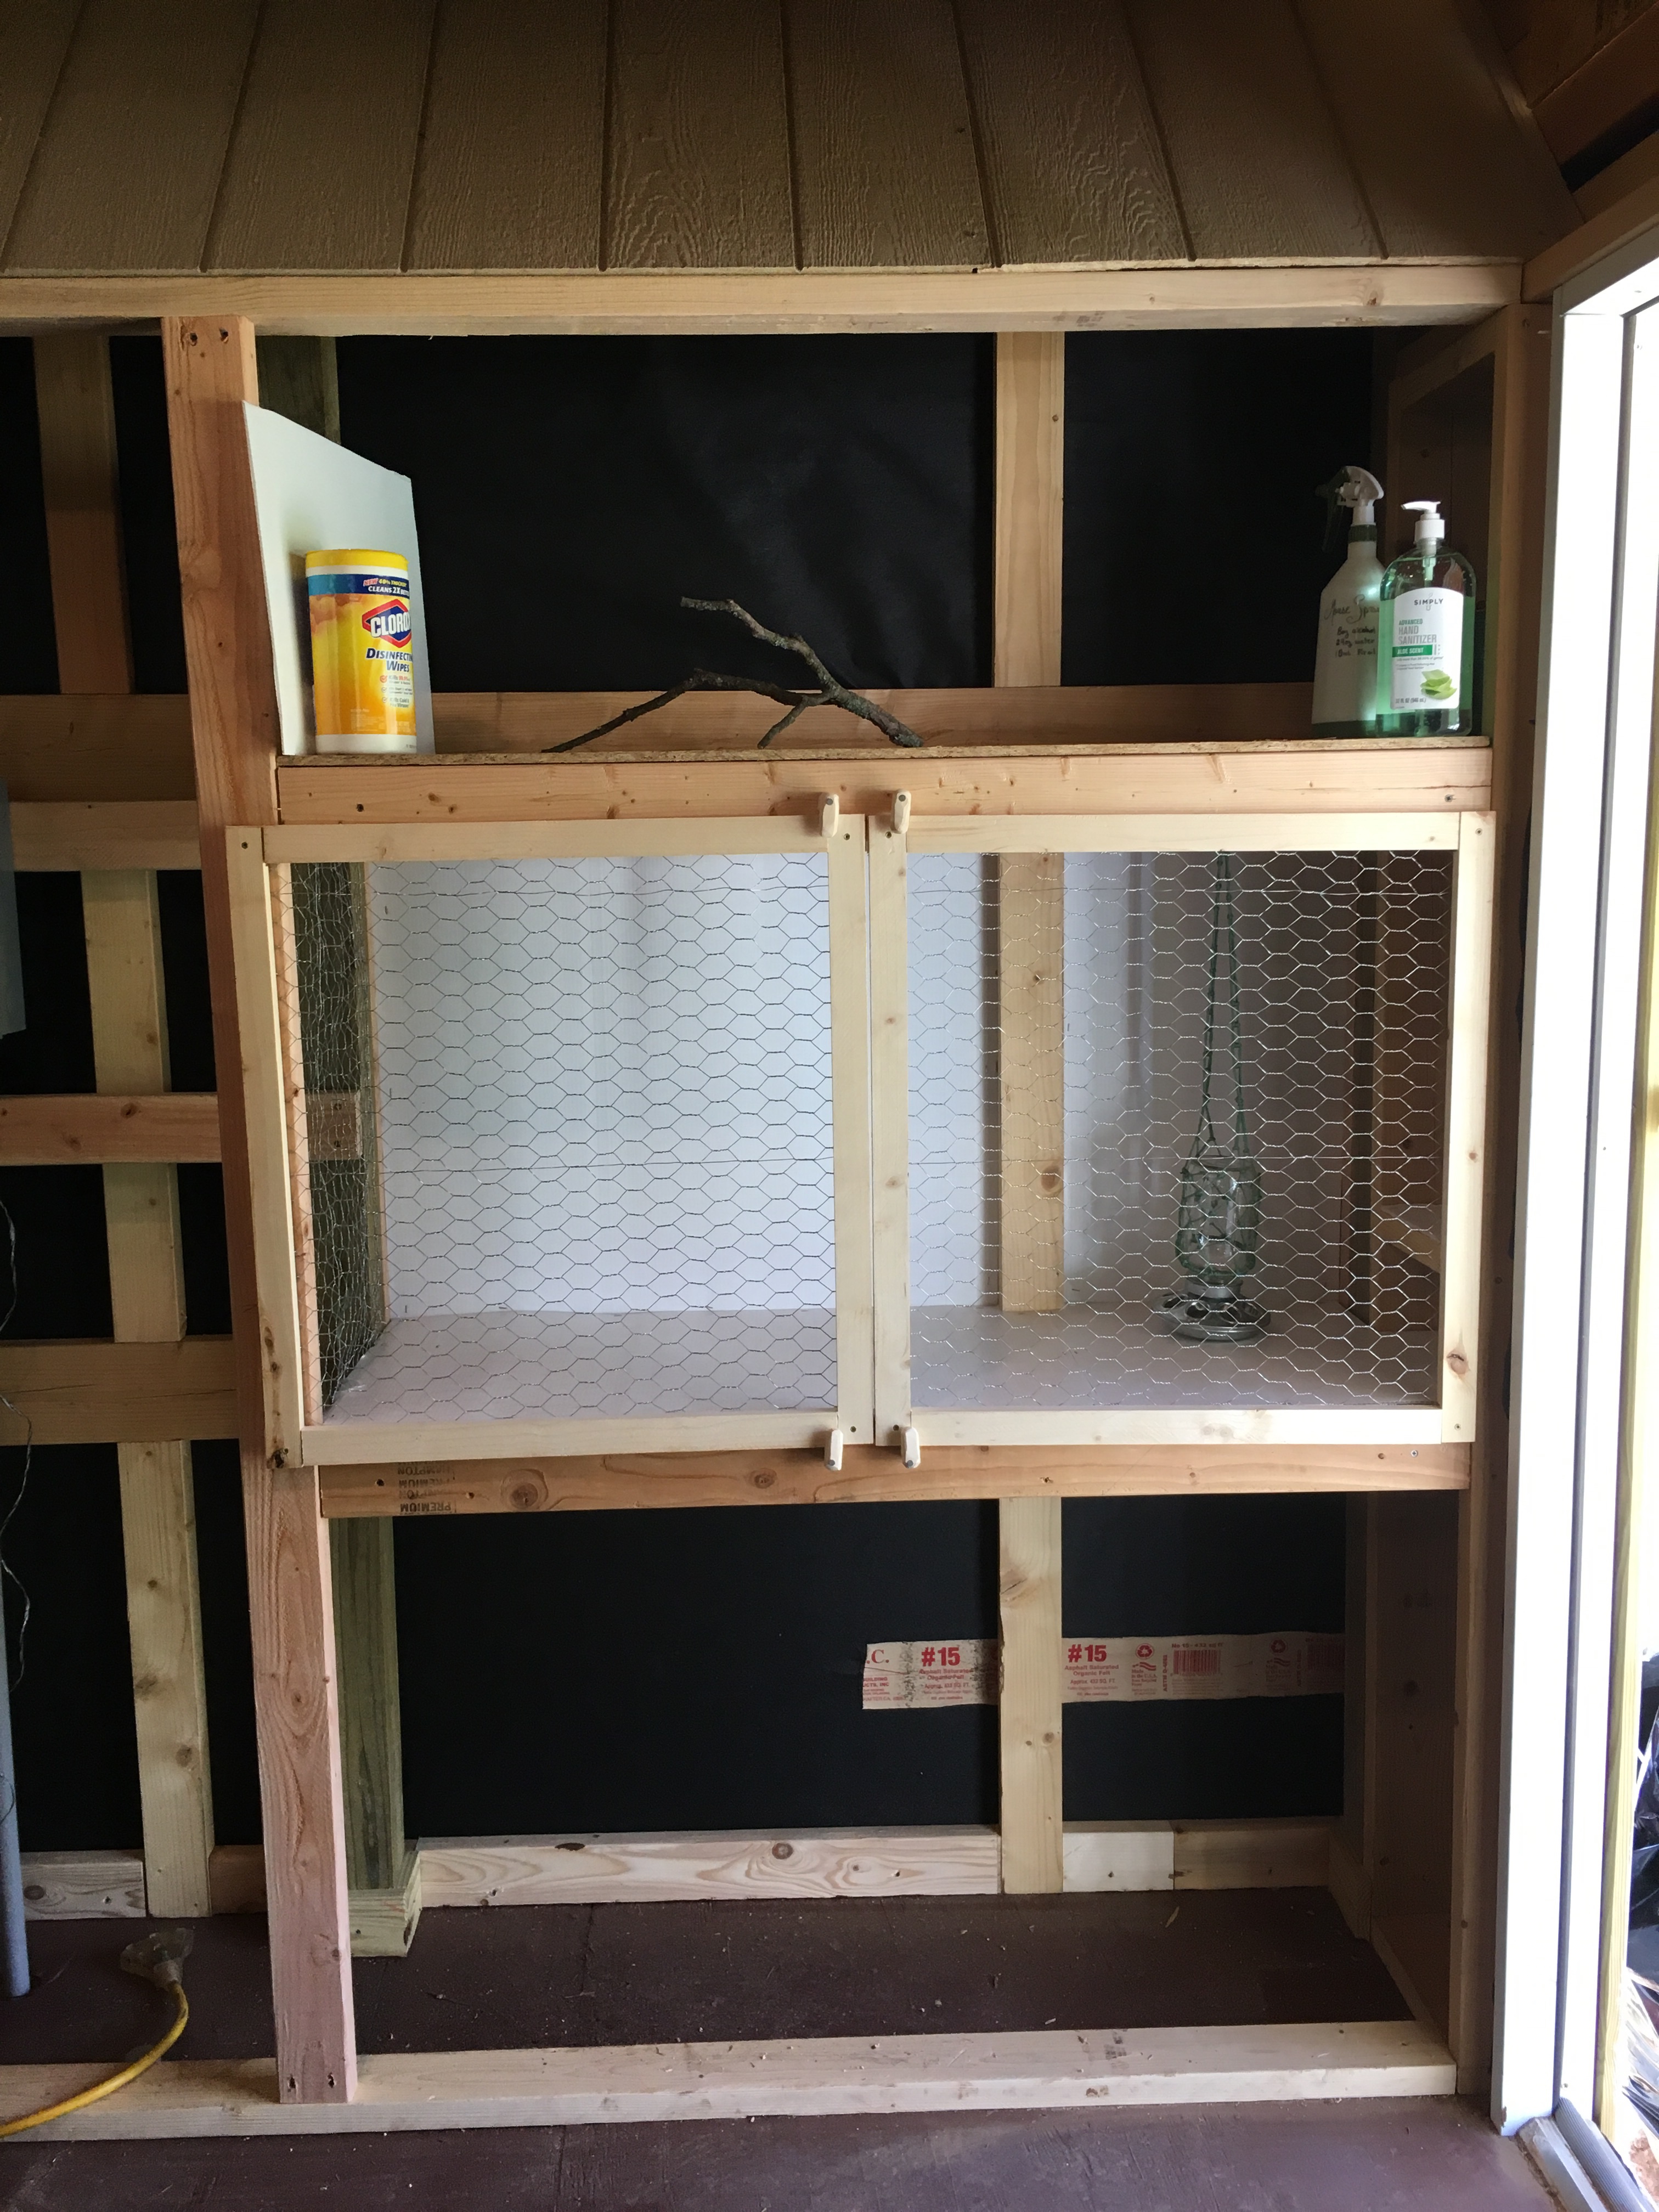
I was planning to brood the chicks in a spare dog crate, but then I started building shelves for storage and my folks suggested that it would be easy to build in an isolation/brooder shelf. So I did! (The brooder table I made can be used for nesting boxes, so no wasted work.)
New brooder/isolation ward
I covered the asphalt paper and OSB board with plastic cardboard to protect the surface from the chicks and vice versa. My eldest helped me make wood frames for the doors (she is learning to use power tools), and then I stapled chicken wire on the doors and the open end. We put metal rods (threaded was cheaper than non-threaded) inside to hang the water and feed containers.
I made wood latches to hold the doors closed (I used the band saw, band sander, drill press, and compound miter saw today, it must be a good day!), and used nails to hold them in place so they will still turn easily.
The brooder area is about at counter height, to make it easier to access and to not freak out the chicks by swooping down from above. There is still lots of storage space above and below (doors will come later, but before the chicks have free run of the coop.)
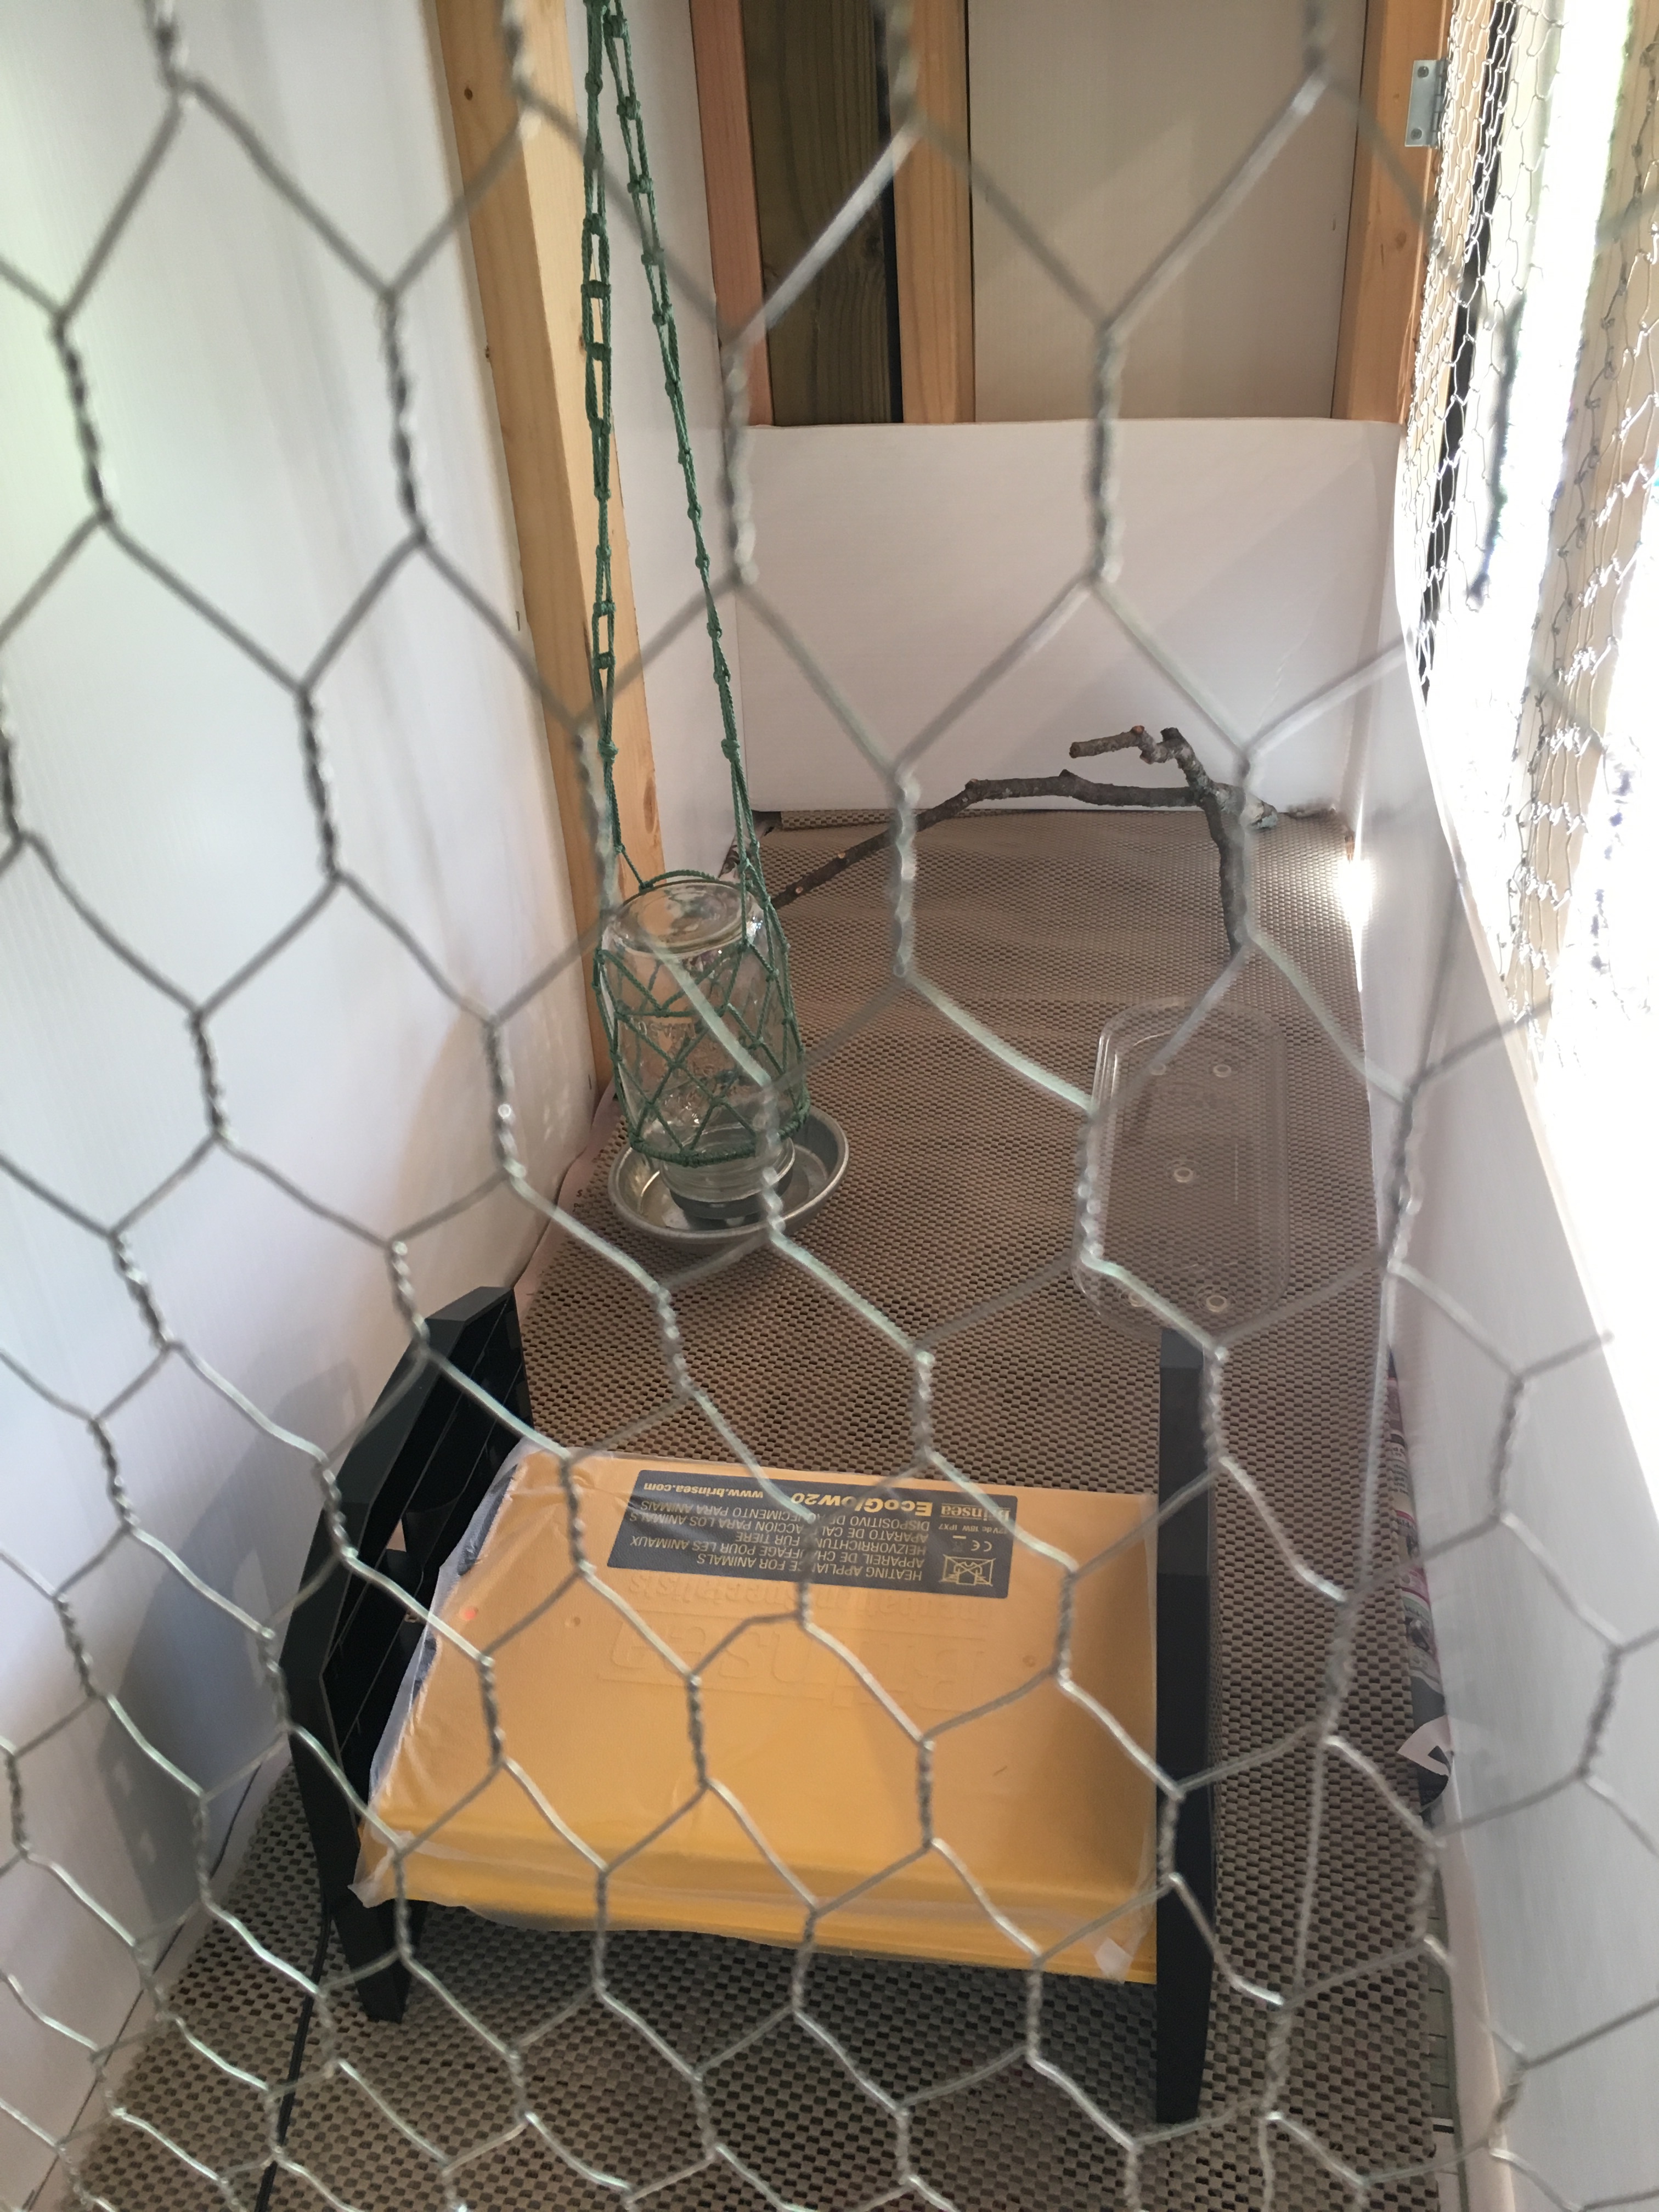
Brooder set up
I used another piece of plastic cardboard to make a draft barrier. My eldest and I worked together to line the brooder with paper and rubber shelf liner, and we put Press and Seal on the top and plugged in the warmer to make sure it works.
I have chick starter, electrolytes and probiotic to add to the water, more paper, more shelf liner…there is still quite a bit to do before the chicks are older, but I think we are ready for chicks.
Now, will they come this week? I turned on informed delivery with USPS and there are no notifications. Hmm.
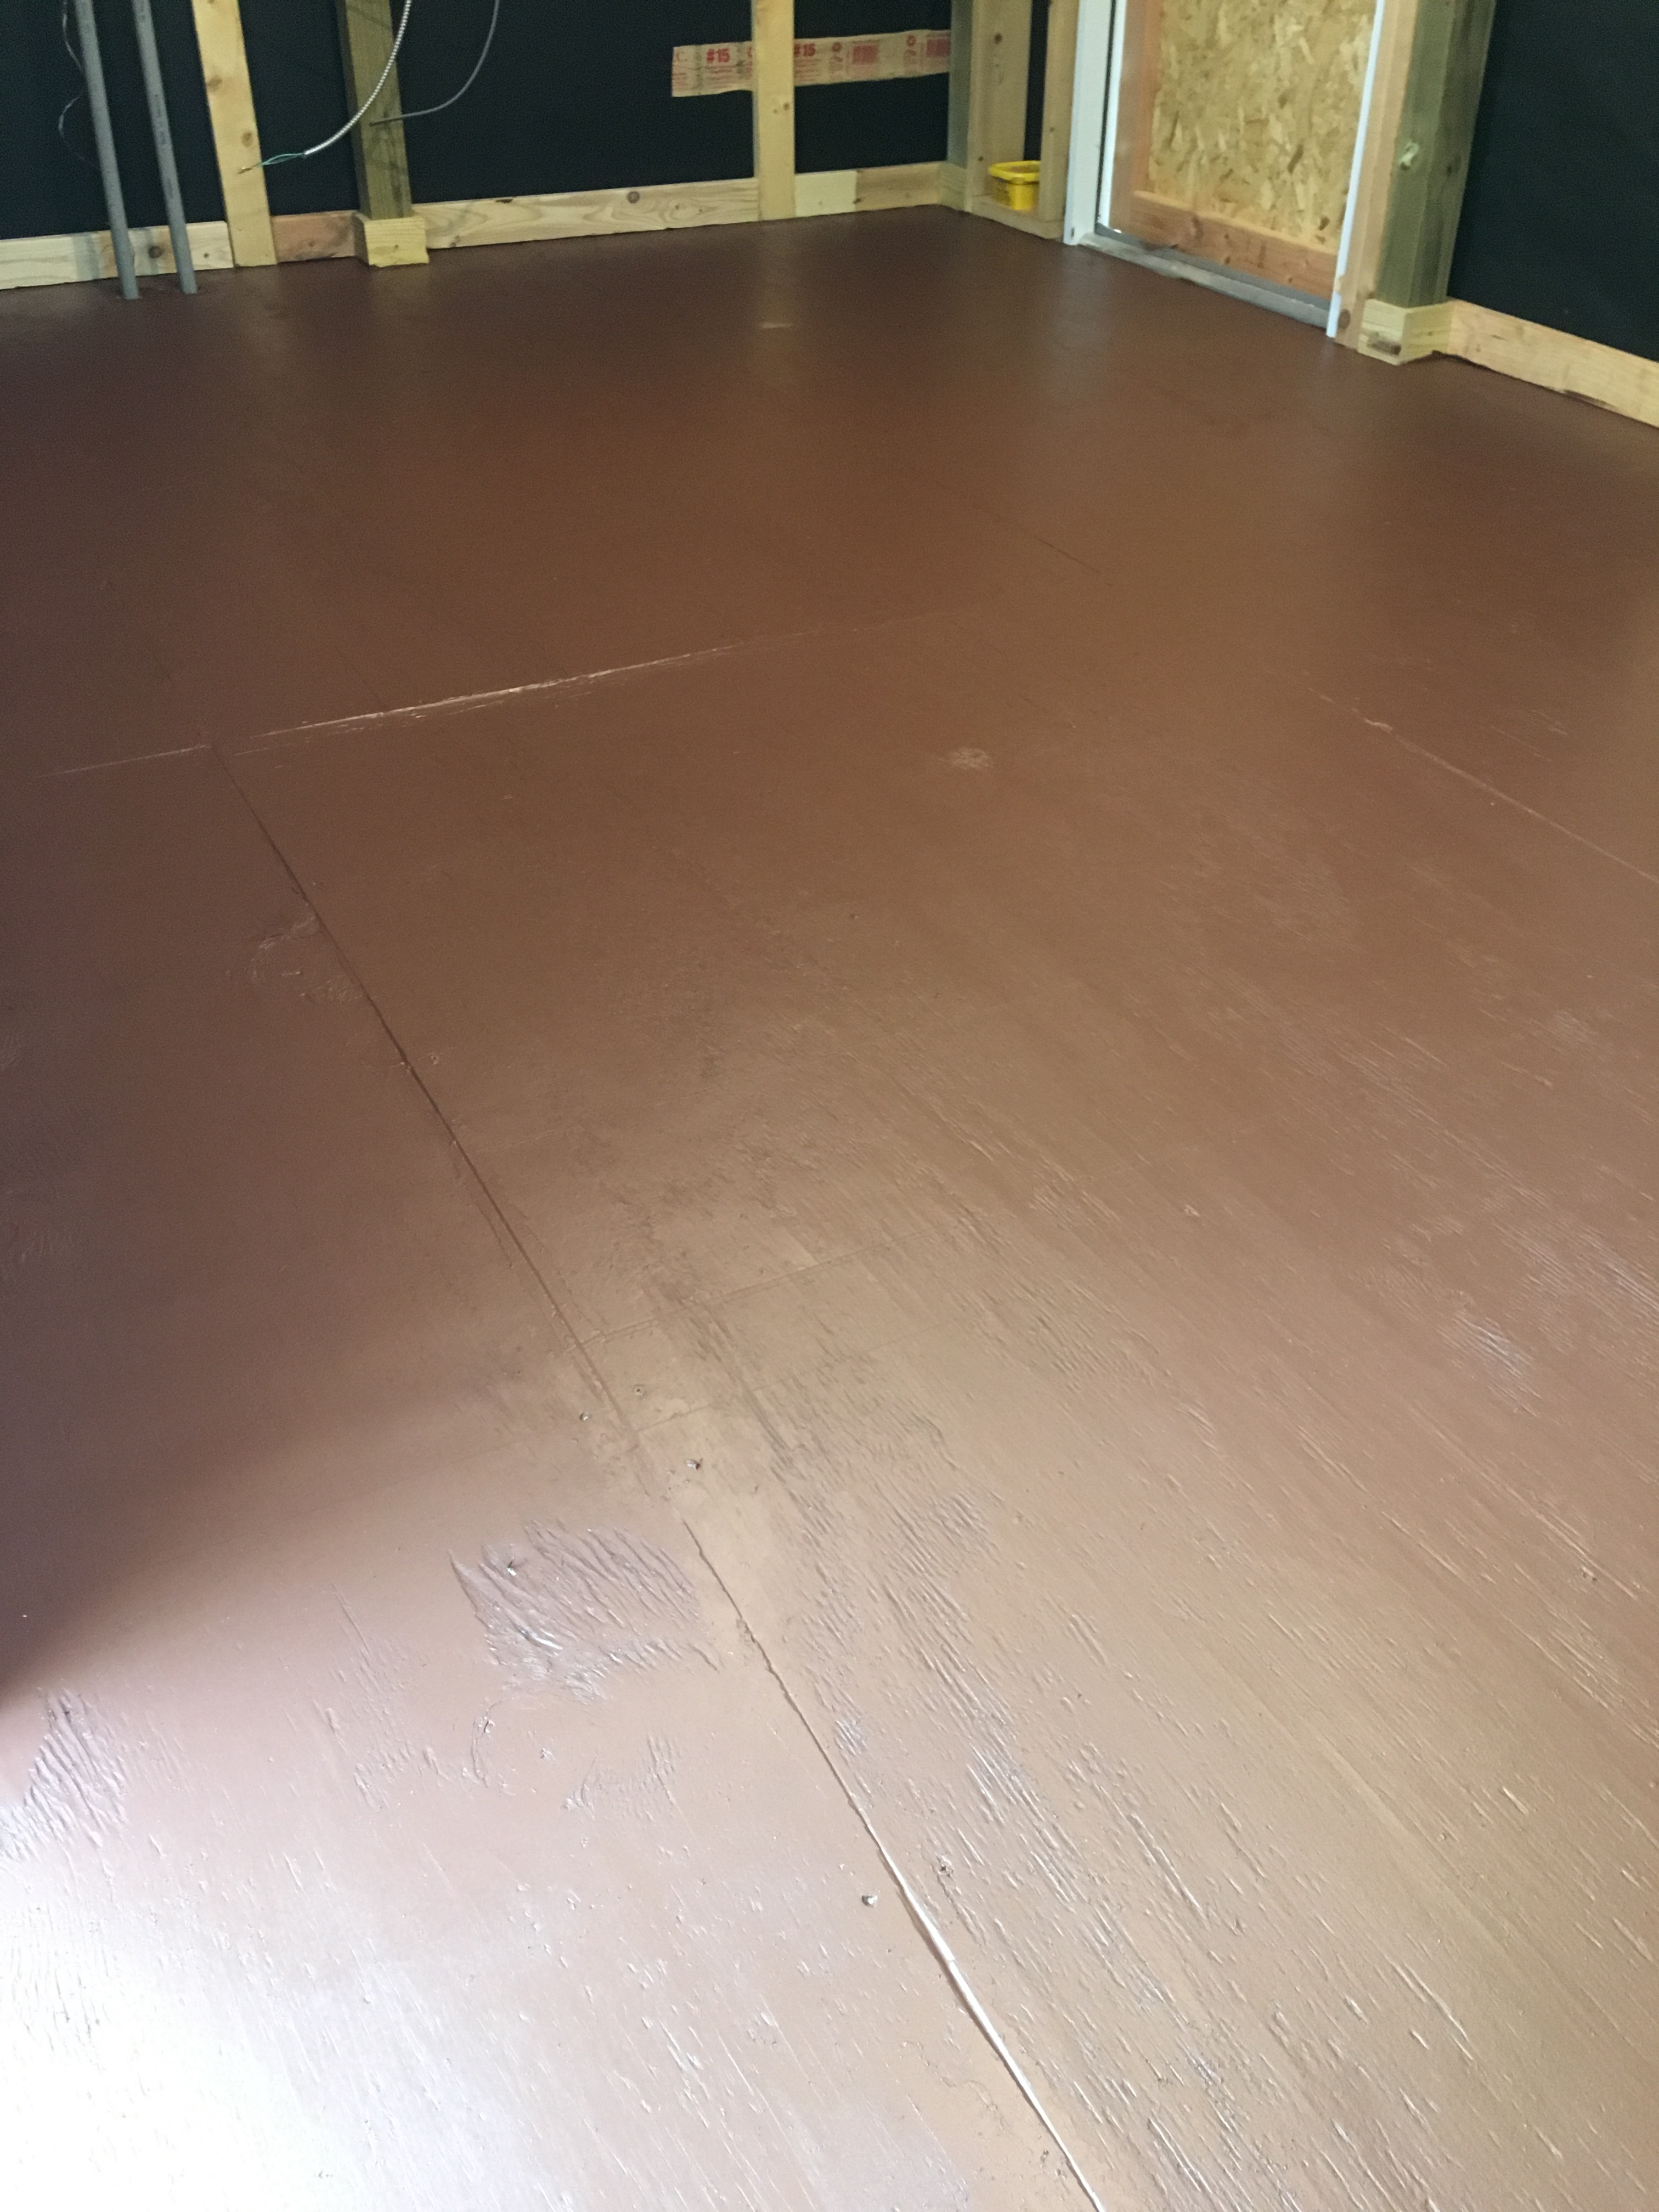
There was some debate on whether to paint the floor of the coop or not. Painted floors are more water resistant and easier to clean. But because most people keep some kind of litter on the coop floor at all times to make the clean up of the droppings easier, bare floor does just fine as well. It came down to: if the floor was to be painted, it needed to be now or never. This week is forecast to be beautiful and a can of latex floor paint is $23. So my husband and I cleaned out the coop last weekend, and this week I painted the floor a nice brown. I like it better than gray for floors. And it didn’t cost any more than the gray, except for about 5 minutes to get it mixed (I went to the store early on a weekday). Totally worth it.
The paint needs 72 hours to fully cure, so I should be able to move things back in this weekend.
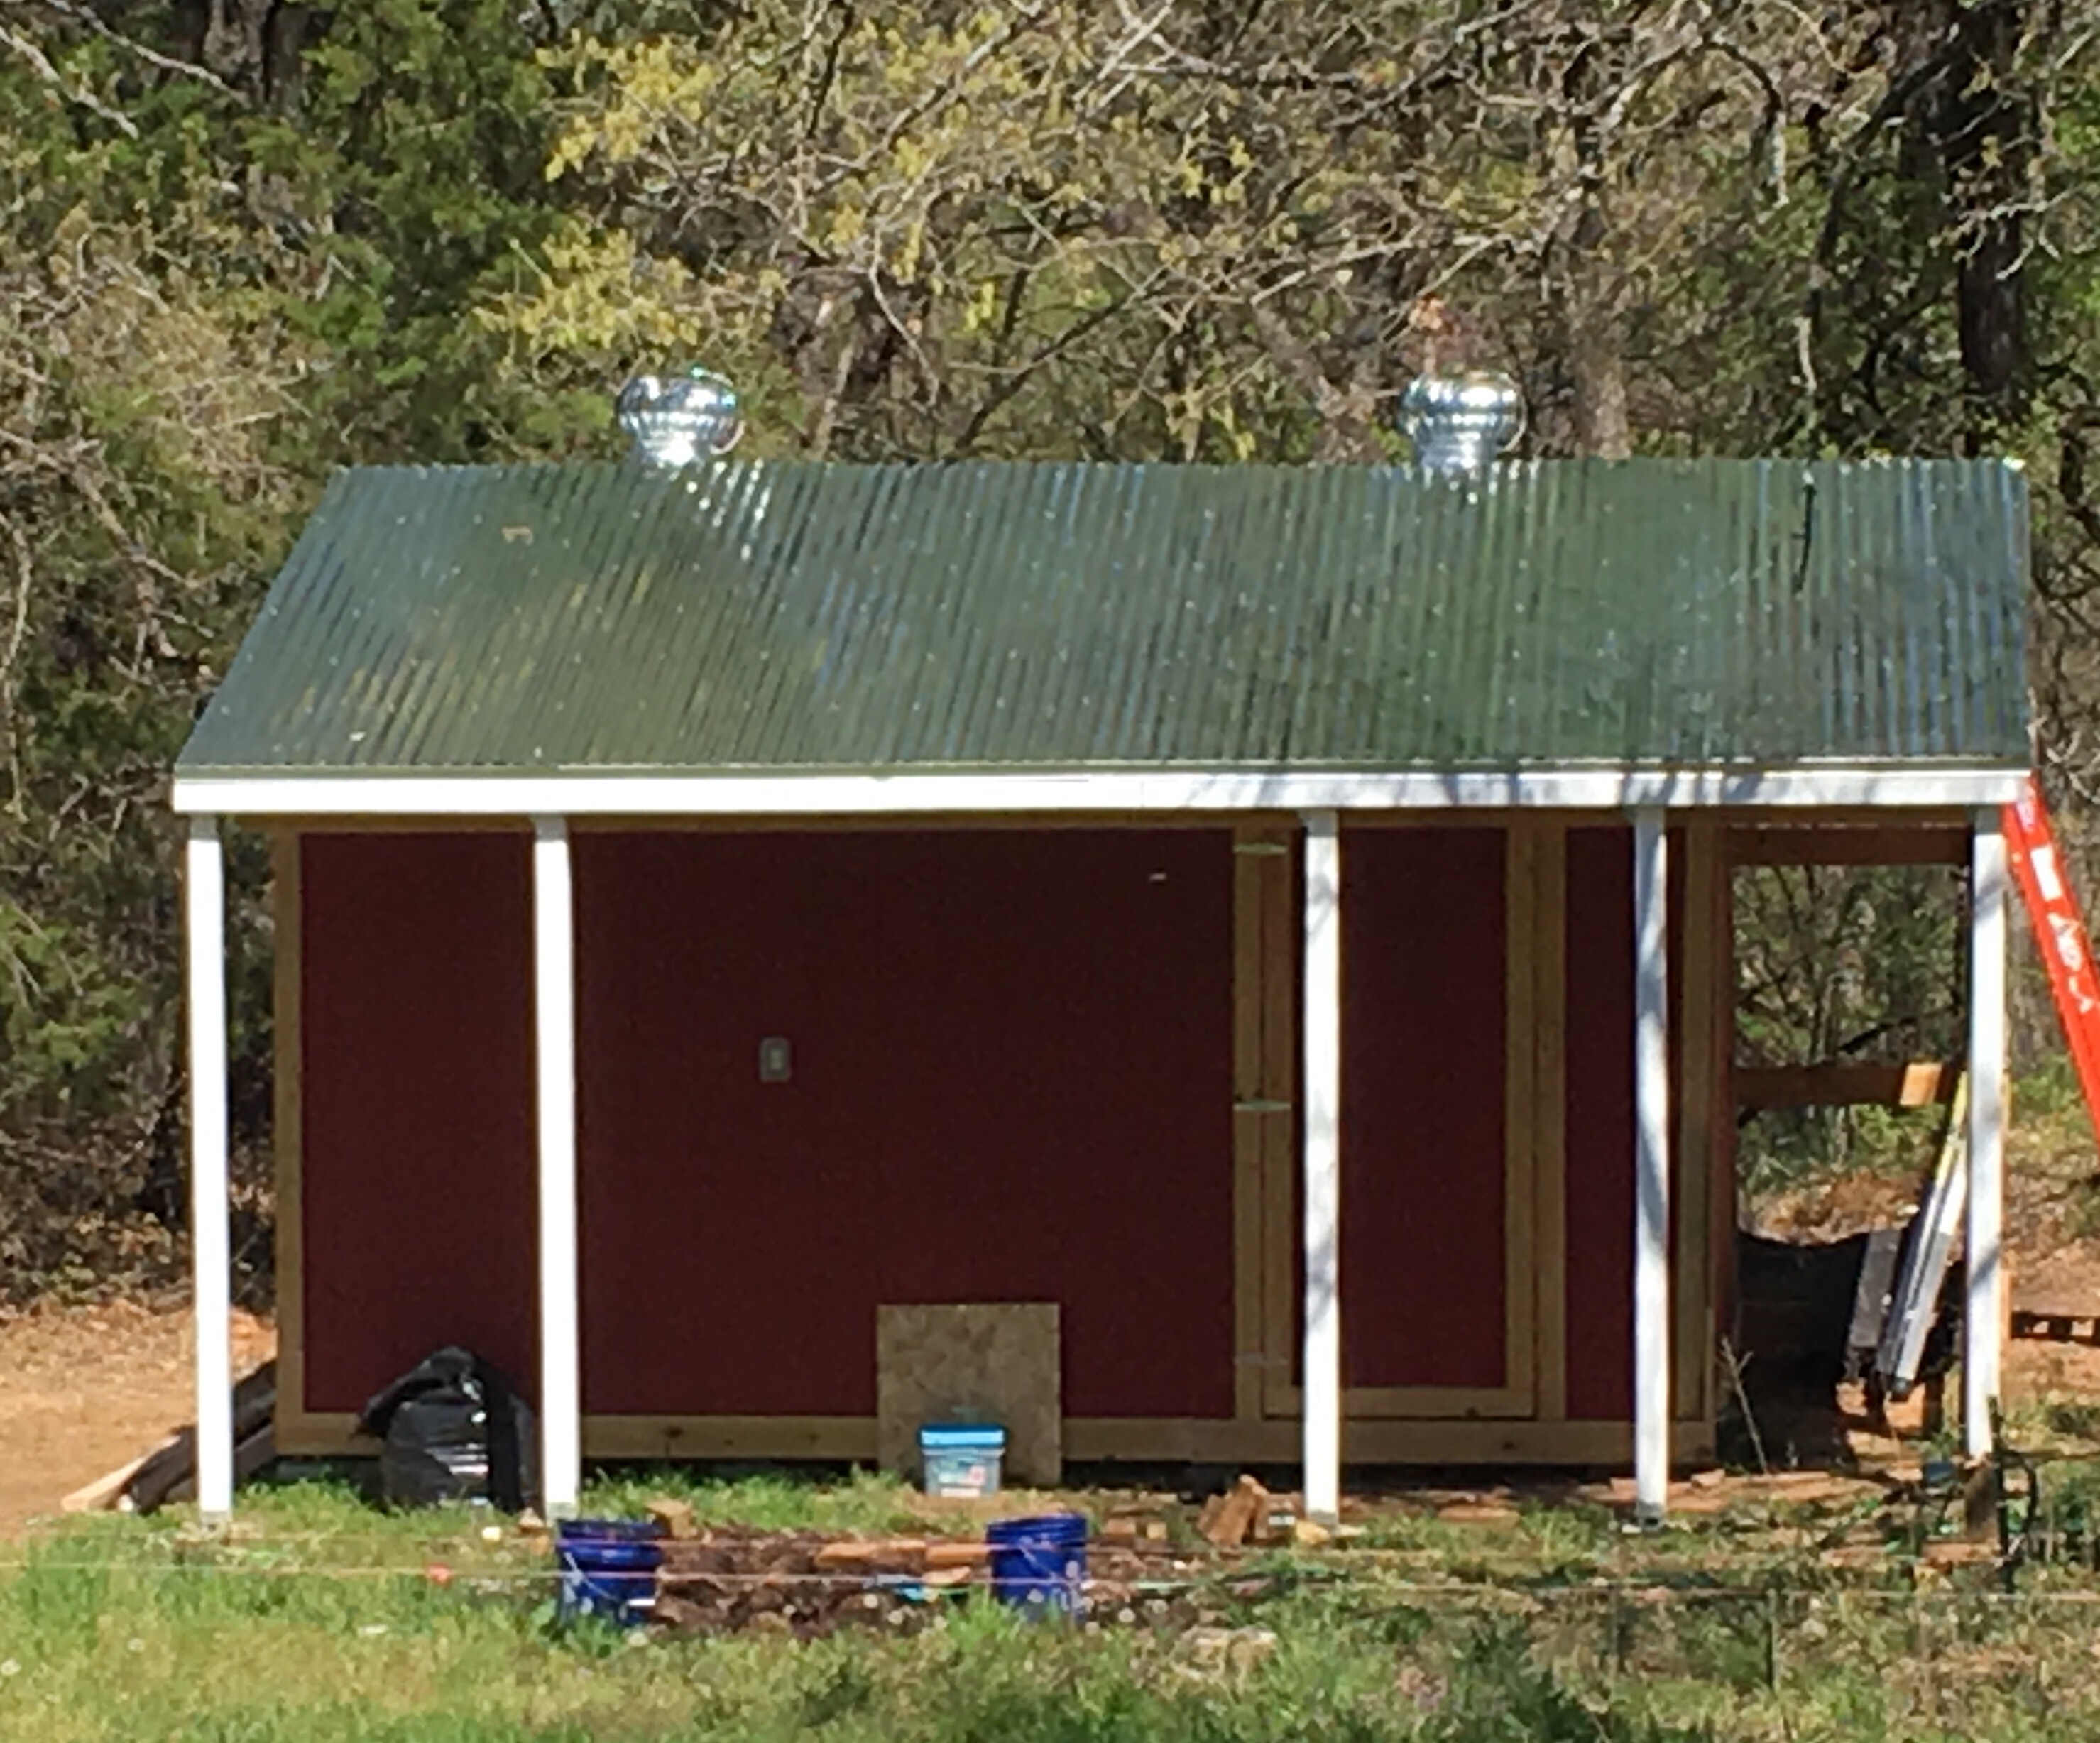
My husband put up the metal roofing last weekend! Hurray! Another tick on the check list. It is pretty and shiny right now, and reflecting the spring green from the budding trees.
I did paint the doors, but still need to get the trim painted. It was not in the cards today.