Chickens: 1 year plus, what has worked and what hasn’t (pt 1)

I thought I’d summarize some of the good and meh of our chicken choices so far! I’m going to break this up into parts, apparently I have much to discuss.

Faverolle hens

Faverolles: I do like this breed, even though mine are hatchery quality and not for show. After reading about what it takes to show chickens, I’m OK with not. My hens are friendly and will still get on my lap if it isn’t too hot. We do deal with bumblefoot often, but sanding down the roosts and perches seems to have helped. We get a variety of egg colors as well, which is interesting.

Tire Dust Bath: I was unsure of this at first, and so were the chickens, but after a few months, the hens really took to this dust bath. When I put in a new batch of wood ash, dirt, and diatomaceous earth, they somehow squeeze two of themselves in the tire to bathe together and there is a waiting line. Their feathers hold a ton of dust and the bath empties out faster than I can refill it. The tire came from our mechanic: I asked if they had any used and they had one that the recycler missed. It doesn’t hurt to ask!

Foot Baths: These are the best for my hens in the hot Texas summer. I bought large plant drip pans from the hardware store and I keep them filled with fresh water. When the temperature is forecast to be over 95, I put a gallon bottle of ice in too. I do clean these out 2 or 3 times a day, but I have a hose run into the coop with a spray handle, so it isn’t a big deal to do when I am out checking for eggs. The hens LOVE these. They go and stand in the water to cool off. Yes, they drink the water too (yuck), which is another reason I clean out the pans frequently. What didn’t work is the homemade AC unit using a styrofoam cooler, fan, and ice packs. It was a pain to setup, it was hard to keep the chickens from eating the styrofoam, and did not make an appreciable difference in the temperature of the coop.

There will be more lessons learned tomorrow!

Weaving wool

For Father’s Day I decided to weave my Dad a small tapestry with wool. I looked at the yarn I had available and decided I had the colors for a dog nose and tongue (yes, really). I wanted large blocks of color that didn’t need excessive detail, so a super closeup fit the bill.

Weaving the shapes upside down

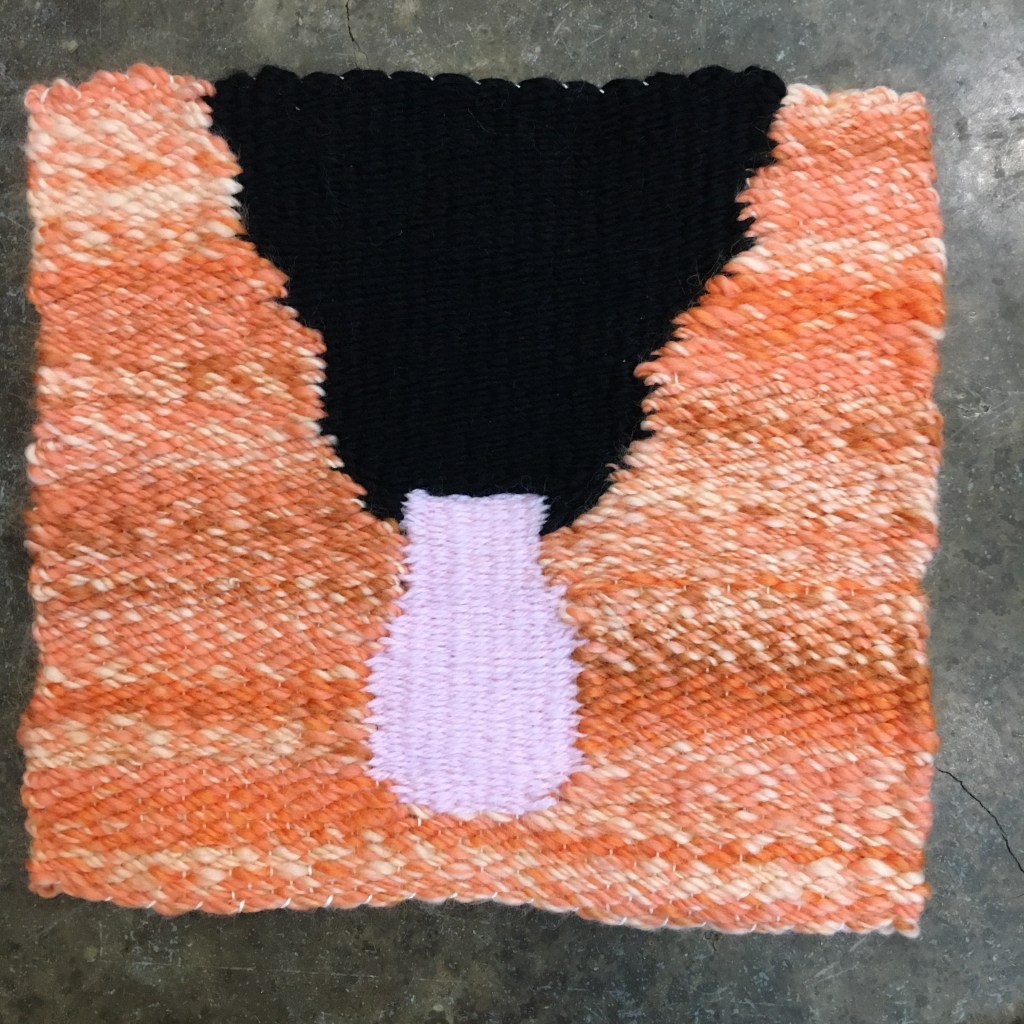
I warped the loom with thin cotton, and used store bought black and pink merino wool and my own spindle spun orange wool (mostly merino) for the weft. I wove upside down because I figured that would be easier with the shapes I wanted. I did make a sketch and used that behind the weaving as my guide.

Woven base colors finished and removed from the loom

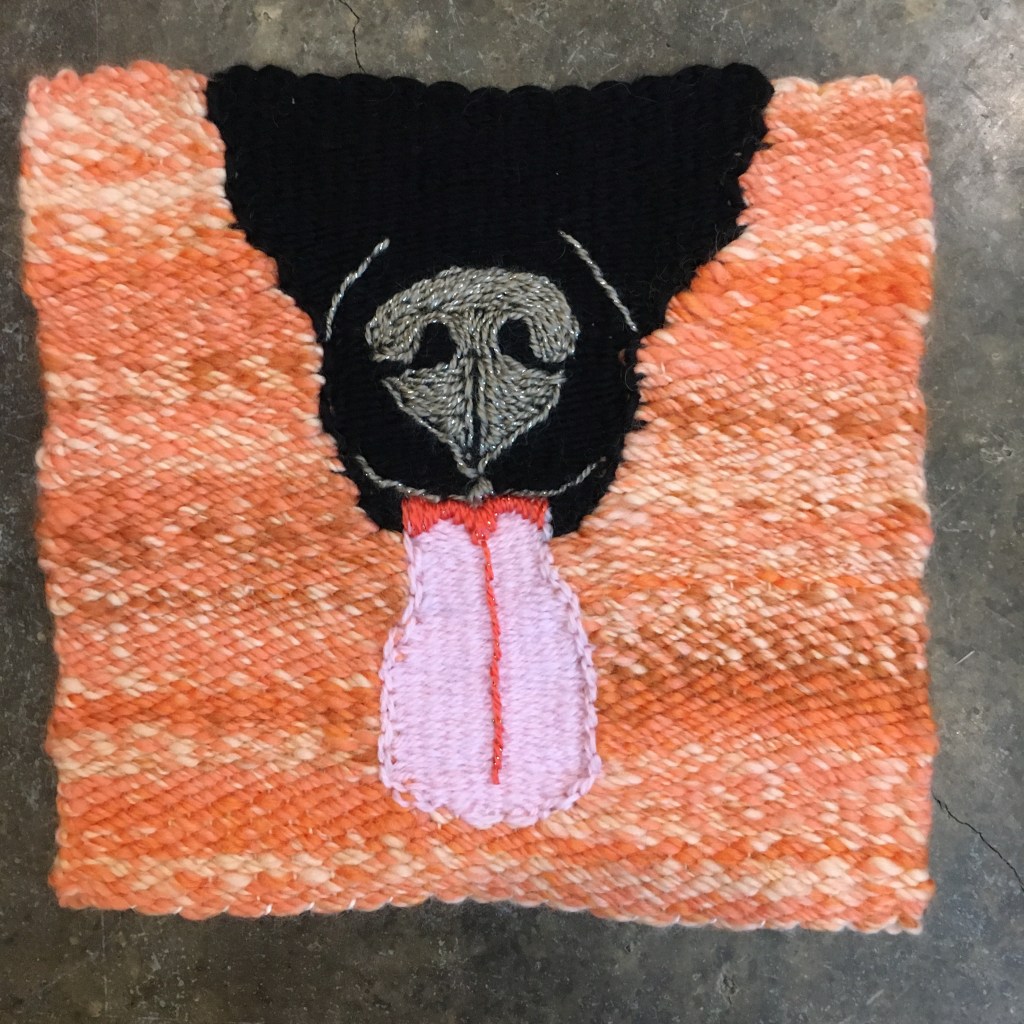
I found it easier to weave in the ends as I went. I finished with the fringeless method of pulling the weft through the work then weaving in. Although the shapes were recognizable as a tongue, probably a dog’s, I decided to add some embroidery to help define the shapes. I used a digital art program to sketch and refine the ideas before I attempted thread.

Digital sketch on photo of tapestry

I used the pink and black to outline and smooth out the blocks of color, then used a sparkly gray acrylic for the nose. I found the stem stitch served best. Definition on the tongue was made with a coral colored yarn.

Embroidered tapestry

To display the tapestry, I chose to mount it on a fabric covered frame. I had a pre-stretched cotton covered frame, to which I stapled thin batting, then a rough cotton fabric (of all the fabric in my stash, I like the texture of this best). I sewed the tapestry to the fabric using a curved needle and cotton thread. As I sewed I was able to even out the edges at least a little! I did label the back and attach hanging wire as well. The title of the piece is “Doggie Kisses”.

Mounted small tapestry

I may consider more small embroidered tapestries in the future. The process of making and even mounting this one was quite enjoyable!

Another one gone to seed

Carrot blossoms and unripe seeds

I now have a carrot that has gone to seed. It somehow escaped the harvest (which was rather a sad harvest, as I planted carrots just to see what happened, but didn’t prep our hard clay soil for carrots, so the roots were small and stunted). As it grew up tall and lush with the spring rain, I decided to just let it do its thing. The flowers are impressive bundles of white! I have since been reading more about carrot seed collection (this is a good article), and it will be interesting to see what, if anything, will grow from the seeds. This is a longer experiment; I need to wait until the end of summer when the flower heads turn brown, then collect the flower heads and let them dry completely before collecting the seeds.