Managing a tricky situation

Once again, when I pulled the center strand from my yarn ball, I caught too much and had a little wad of yarn. Previously I have spent considerable time untangling errant threads when trying to ply in this situation, but this time I carefully wrapped the excess yarn into a butterfly on my fingers, and held the small ball of yarn in my palm. There were still some tricky spots, but it went much smoother this way, until I got back to having even pull from the inside and outside of my ball. Wrapping yarn nostepinne style is my favorite way to make a center-pull ball of yarn, and making a two-ply yarn from a single ball is my favorite for when I am walking and spinning. I can take the ball of yarn off my spindle, snag the inside end, and start plying immediately, without having to transfer the yarn first. (And the balls of yarn with their slanted wrap are pleasant to look at.)
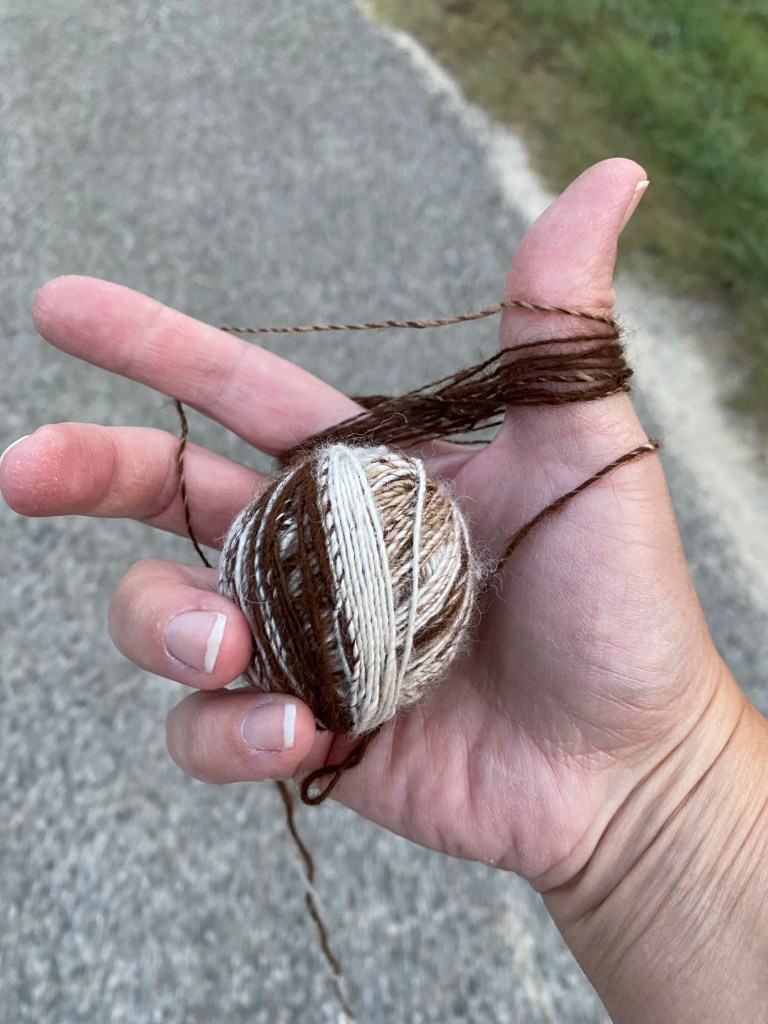
Excess yarn management using a butterfly

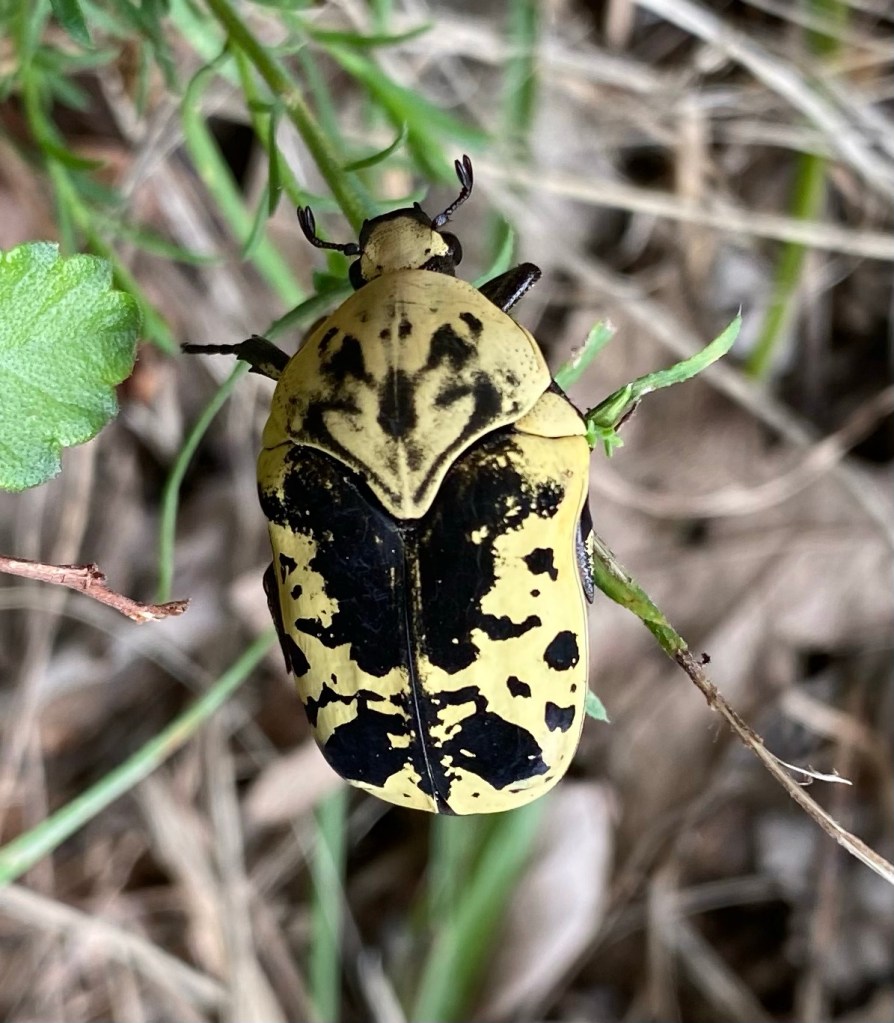
Harlequin Flower Beetle

I was tending the chickens when I saw a neighbor’s kitten watching something in the meadow. From a distance it looked like an ironclad beetle, so I had to go look. The kitten spooked, but the beetle didn’t. It wasn’t an ironclad beetle; it was larger, and yellow with black markings. As it struggled to climb up stalks (it was too heavy for the slim stems), I snapped a couple pictures. The iNaturalist app provided an ID: Harlequin Flower Beetle. This particular beetle was almost an inch long!

Harlequin Flower Beetle (7/8” long)

Knob fix

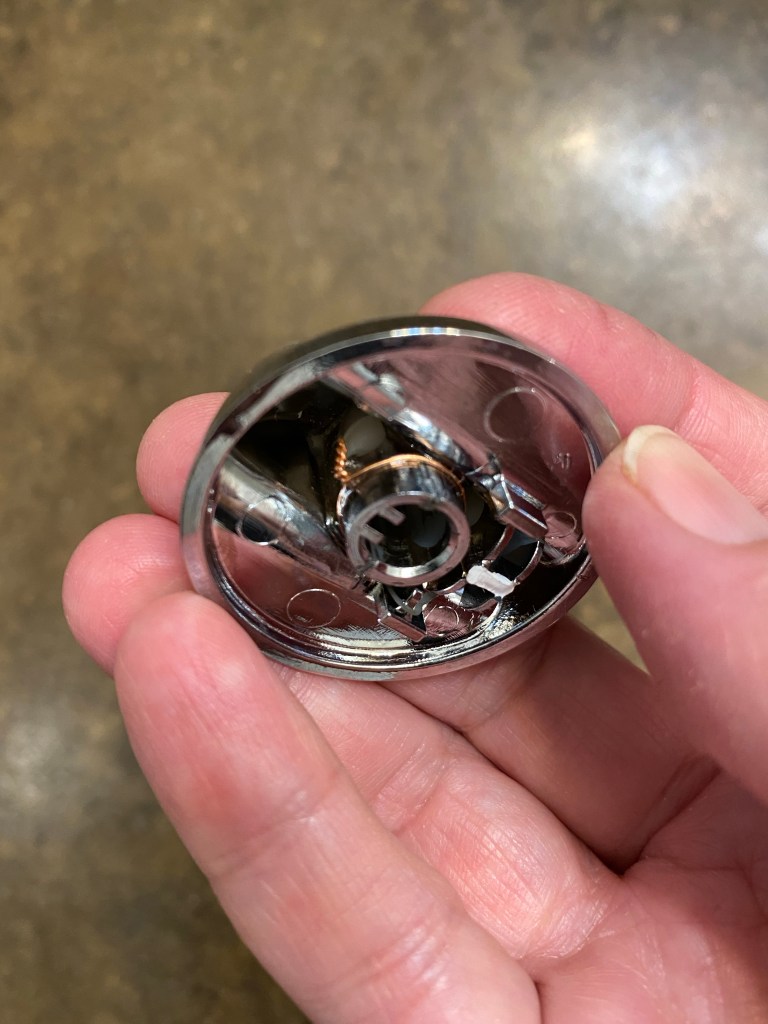
We had a plastic knob crack at the socket, which is frustrating, since the knob can no longer turn on and off. I tried my favorite quick adhesive, but the pressure of turning the plastic against a metal shaft was too much for it, so I brought out the big guns. I reinforced the shaft with a twist of wire (I used copper, which was at hand, but I think I would use stainless steel next time), then used a two-part epoxy around the wire, being careful to keep it outside the socket hole. I let it sit for a day before I tried the knob again. (When working with two-part epoxy, don’t throw away the mix cup until after it has hardened. This way you know when the epoxy on your piece has hardened as well.) Hurray! It worked, and the knob is still removable, just in case.

Wire and epoxy used to fix a cracked knob

Texas Ironclad Beetle

Joy! I found another ironclad beetle! Alive! It was near the house, which is not a healthy place for insects, so I picked it up and relocated it out to some rotting wood at the edge of the meadow. It actually walked across my hand to move onto the wood, which was a cool experience. These guys are adept at playing dead, and to see it moving was very exciting. (Obviously.) This is the fifth beetle I’ve seen in the three years we’ve lived here.

Texas Ironclad Beetle

Cracked

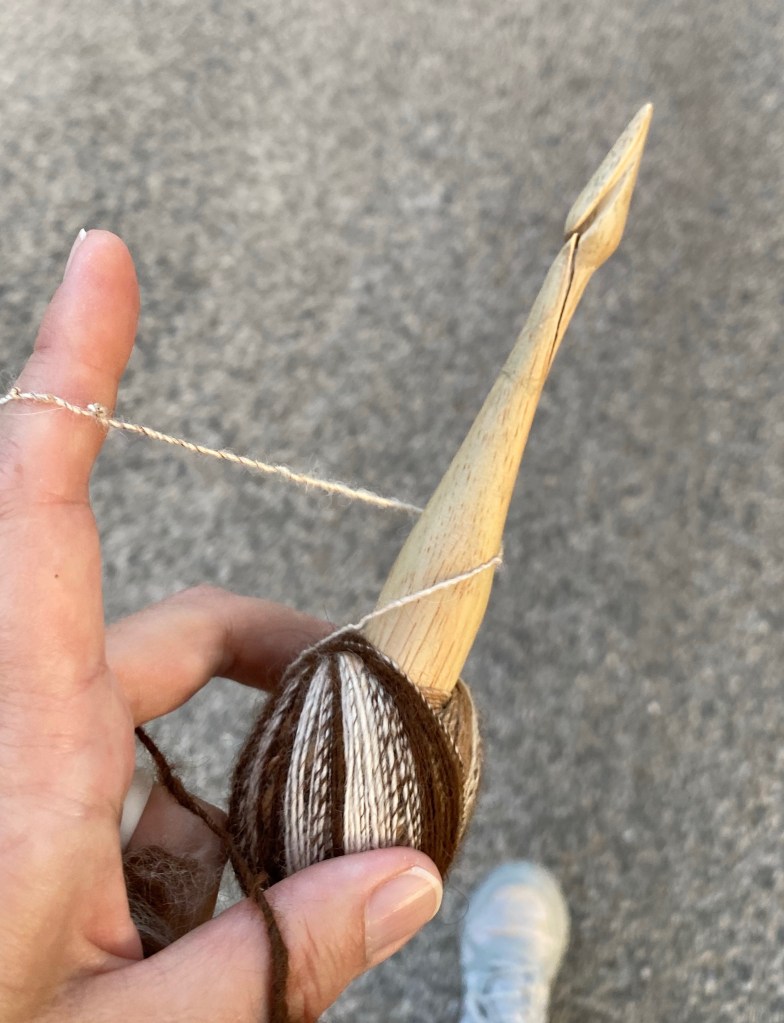
Ah, beware a change in properties. I have been spinning wool blended with silk, and just switched to alpaca with a bit of silk, which spins up slightly differently. I admit I was a bit cavalier and full of confidence, and was not as careful as I should have been at the start of a project. As a result, the spindle flew from my fingers and rather than bumping the base, the top tapped the asphalt. Crack. The wood split at the neck. Devastation.

Cracked spindle

The head of the spindle was still hanging on, so I took my yarn and wrapped it a few more times around the neck than I usually do. This allowed me to spin for the rest of my walk.

Makeshift “repair” to hold the crack together for the short-term

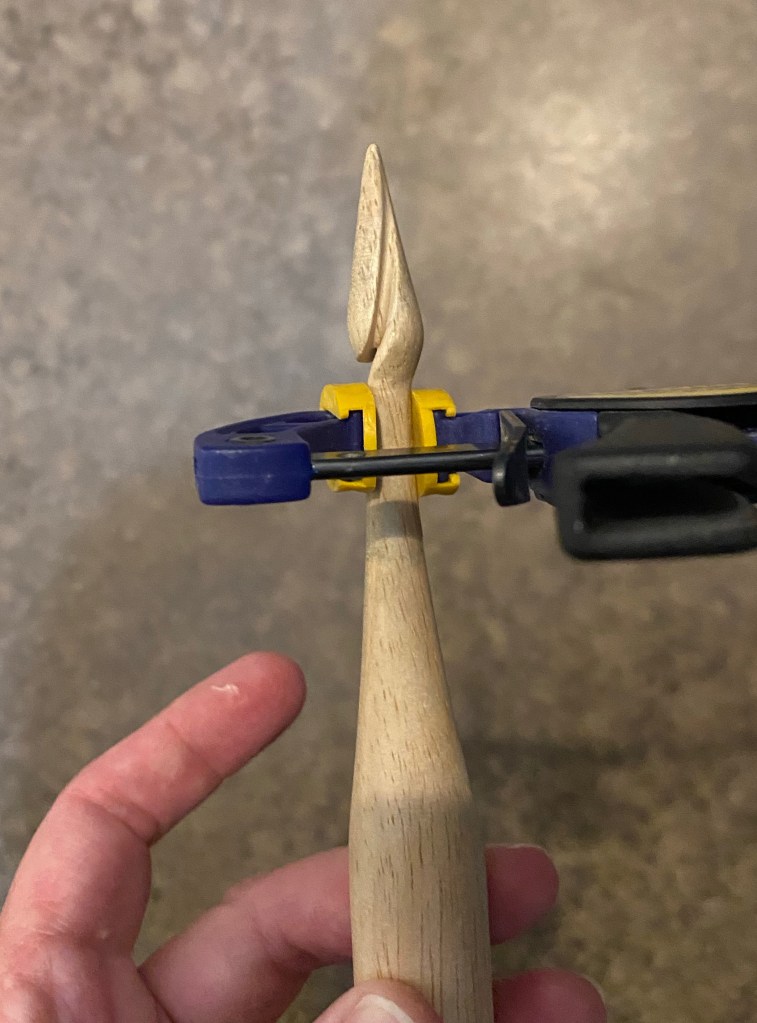
When I returned home, I put some wood glue in the crack and clamped it shut then wiped off the excess glue. When it was dry, I used 400 grit sand paper to smooth the area.

Clamped spindle

I love this spindle, even with the repairs and test holes. Apparently I need to make myself a backup!