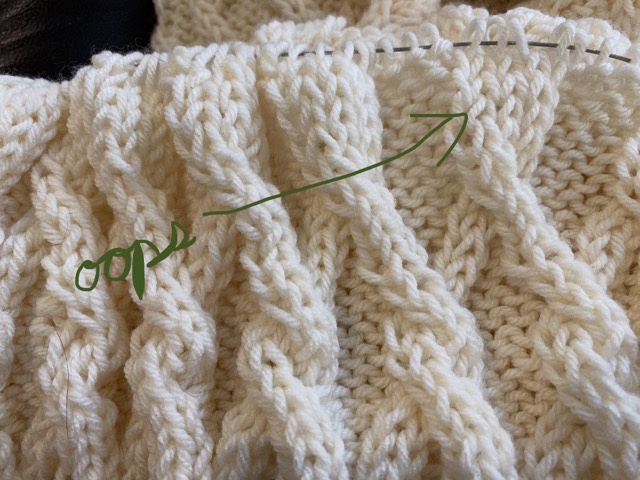
I was hoping to make it through knitting my Grandma’s blanket without having to rip anything out. Alas, it was not to be. I missed a cable cross over row, but luckily caught it two rows later, so only had to frog it (rip rip) back two rows.
Error in the knitting
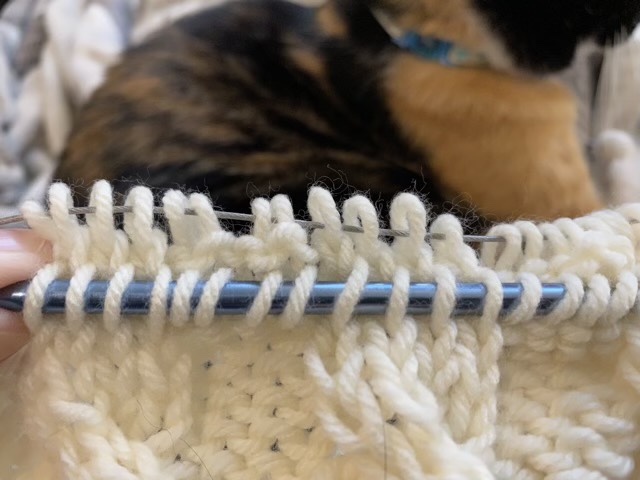
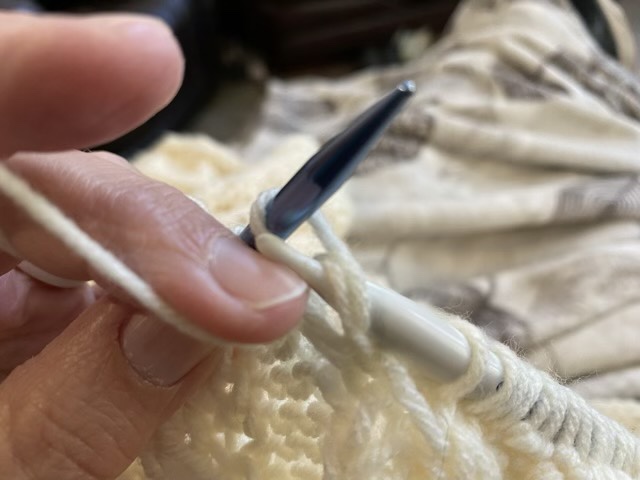
Ripping out knitting is a bit terrifying (I always think of getting a runner in pantyhose). Luckily, I learned how to make a lifeline by picking up the target row with a spare needle set. Unfortunately I didn’t look up the directions before I did it. (Here is a link to good instructions for next time.)
Picking up the good row
The mistake I made was picking up the left leg of the purl stitches instead of the right leg.
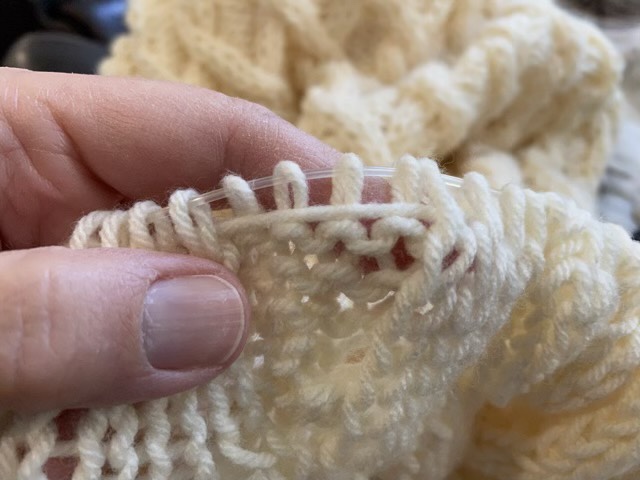
Yarn caught. Oops # 2.
The final ripped row was still threaded through the work. Rather than pull the entire skein through, I cut the yarn and made an overhand knot at the end of the row (so I can undo the knot and weave in the ends later).
Backward stitch. Oops # 3.
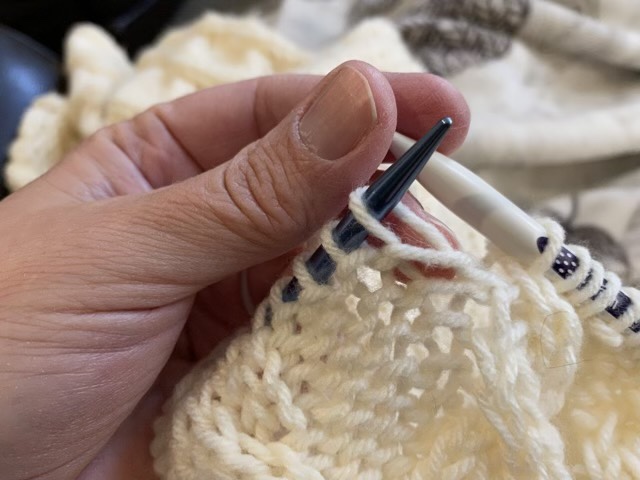
When I picked the the left leg of the purl stitches, it also made those stitches backwards on the needle.
Making the purl stitch from the right leg.
To make sure these stitches didn’t get twisted, I had to make my purl stitches from the back side of the loop. The knit stitches were all fine. It was an unfortunate mistake, but it is fixed now and I can continue on!
We have some rust issues with the back fence that need to be fixed. However, after we saw a small bird fly into the hole, and Sophie the cat’s interest in the hole, we think a bird has a nest in the bottom. Fixing can wait until after nesting season.
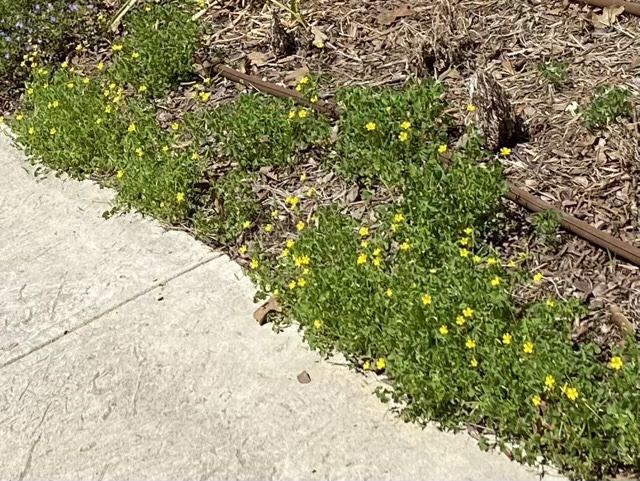
We currently have a very pretty edge plant growing in our front flower bed. The Common Oxalis is native to the area, the leaves resemble clover, and they have lovely delicate yellow blooms. I’ve read that they will flower all spring, summer, and fall. We have another Oxalis growing in the shade of the trees that can’t take the Texas heat and goes dormant during the summer. We’ll see how these do. The kicker? I didn’t plant these. They grew in as a border plant on their own. I do need to corral a few wayward explorers, but on the whole, they did quite a nice job filling in a space that needed filling. If they survive our summer, I think I’ll keep them.
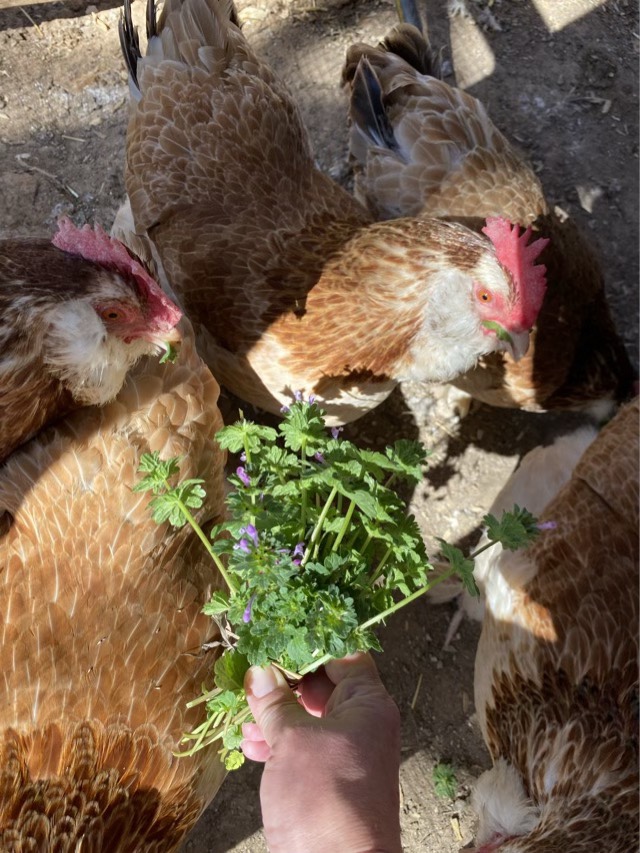
One of our first wild flowers to bloom here is henbit, with their delicate purple flowers. As they grow in the meadow outside the run, the chickens appreciate it when I gather some to share with them. Appreciate might not be quite the right word, as they are hopping before I get in the run, and the bouquet doesn’t last long against the ravenous hoard.
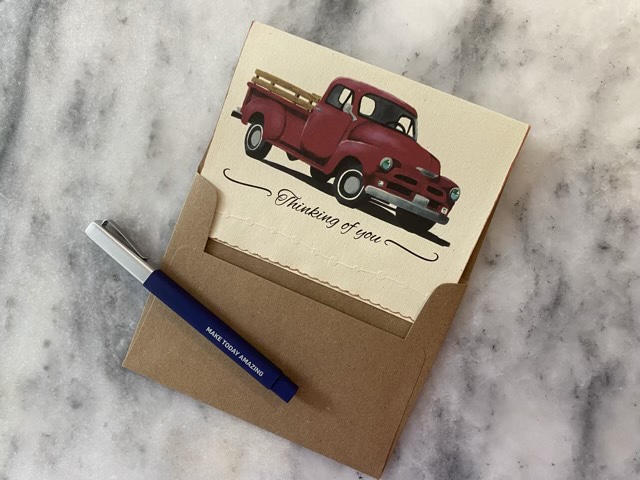
I’ve been having fun designing “little red truck” digital paintings for a friend who needs greeting cards. I’ve posted the technical bits of the digital side on my business site (https://carynscreations.com/blog/), but I thought I would go into the hand finishing here and provide some tips and tricks that I’ve found along the way.
Little Red Truck card
So the first hurdle was getting my image to print properly on my printer. When I would print from the computer, the colors would be faded and streaked. My printer has the capability to print pictures from USB, so I made my image a JPG, transferred it to USB, and printed directly from USB to printer. The print took forever to produce, but when it was done, it was glorious and imperfection free! And I print on 100% recycled card stock, which makes my heart happy.
Using an electronic cutting machine to do fancy edges
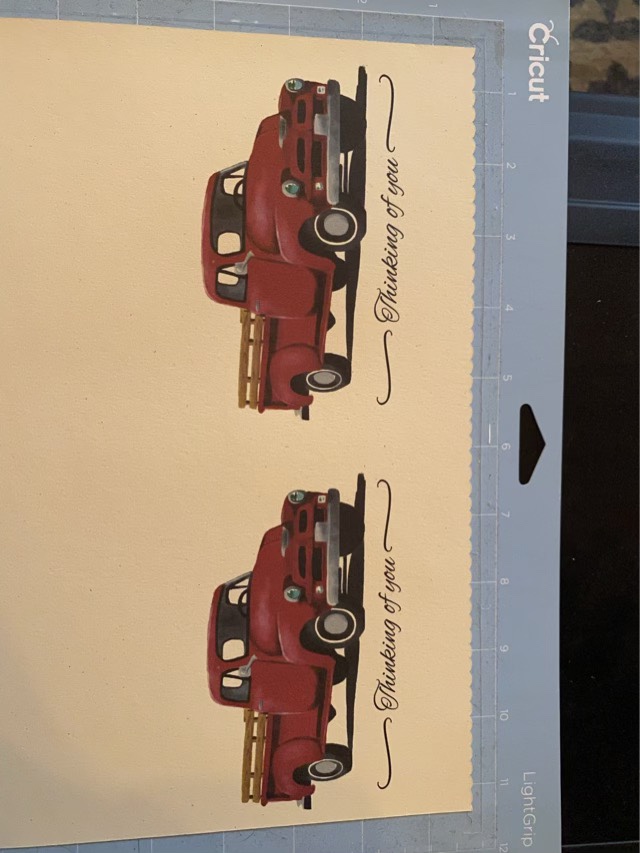
The next challenge was making a fancy cut on the front edge of the card. I bought a couple patterned scissors, but they are fiddly and are difficult to line up. So instead I designed some edges and used my Cricut to cut them. So much easier and faster than scissors or an x-acto knife.
Embossing with embossing folders without a machine
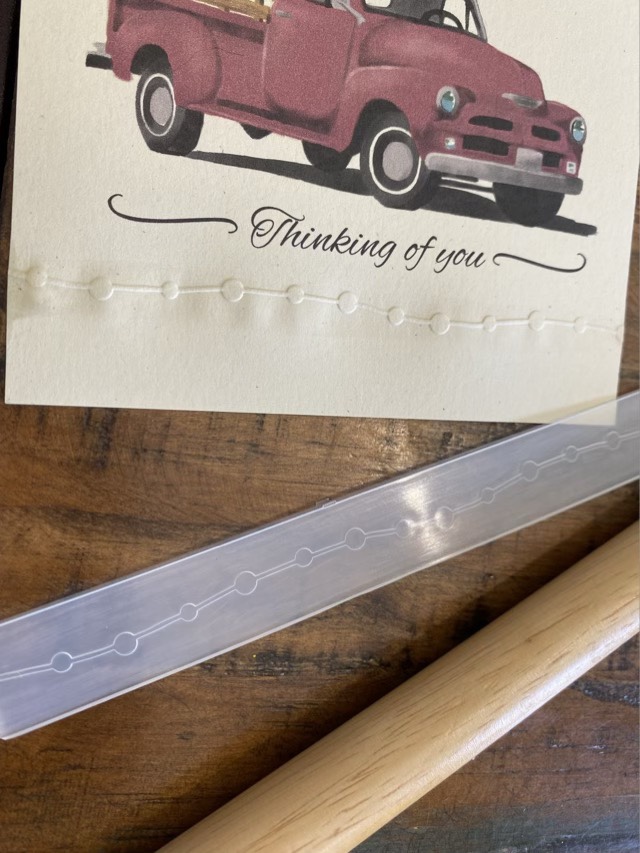
Although I have an electronic cutter, I did not want to buy an embossing machine. I discovered embossing folders and found that if you wet the paper and use a rolling pin or stick to press down on the folder, you can skip the machine. I have a modest set of four embossing folders. I need to figure a way to design and make my own, because that would just be cool.
Aging the edge
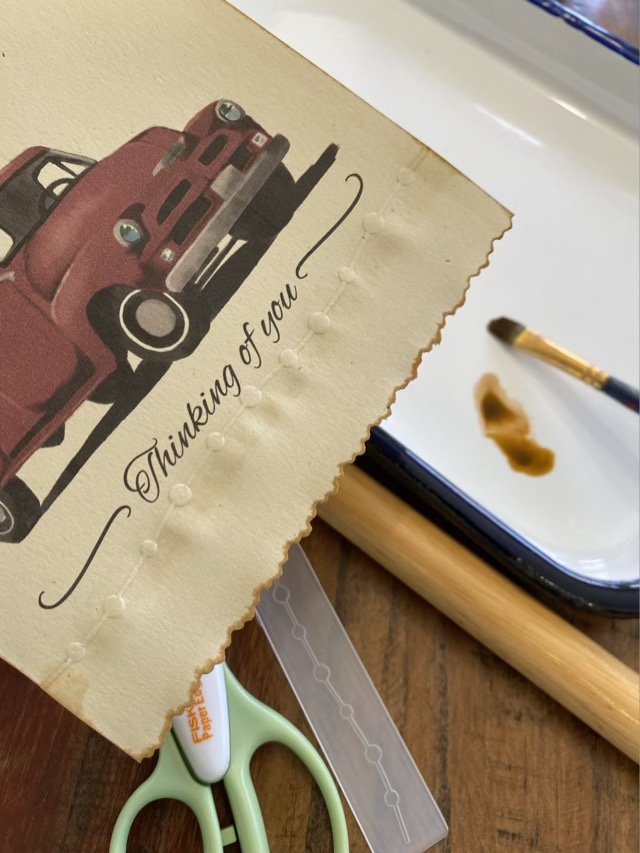
The next card improvement was aging the edge to give the card an antique look. I tried brushing the edge with a chalk ink pad, but was not pleased with the results. Instead, I broke out my water colors and used a sepia colored liquid ink. I like the effect best if I pre-wet the card edges, then carefully apply the diluted water color to the edge, so capillary action spreads the color in a pleasing way.
“Ironing” with a hot laminator
Finally, all that wetness added to do embossing and edge aging makes the cards a little warped. I found that it was easy and effective to run the cards through my hot lamination machine (without a lamination folder).
The cards, with a 100% recycled kraft brown envelope, are available for purchase on my Etsy site. If they are gone, I will make more. I do make sure that the pictures are of the actual item, rather than stating “items may vary” because I think it is important to see pictures of exactly what you are buying.