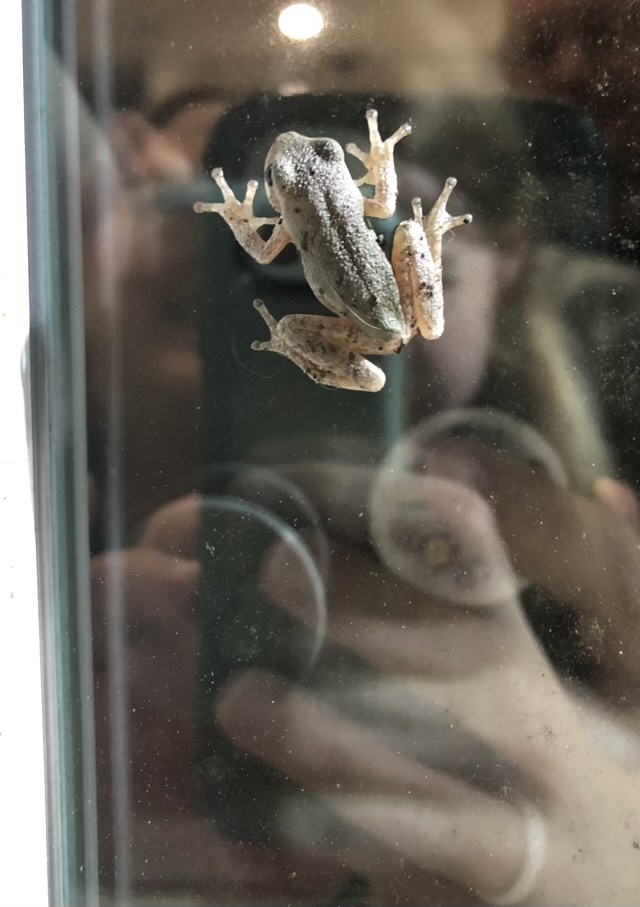
Well that is an interesting picture. A little frog was perched on our back window, and my eldest went outside to take a picture, and I took a picture fron inside. The reflections are combined with image past the glass, all surrounding the little frog.
Pictures of reflections around a little frog, photo credits to my eldest
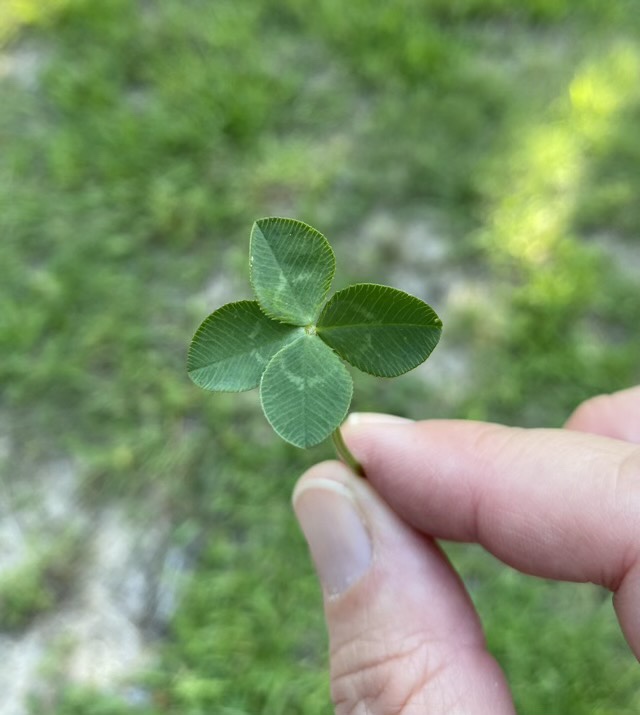
A four-leaf clover. My first time ever finding a four-leaf clover!
Four-leaf clover
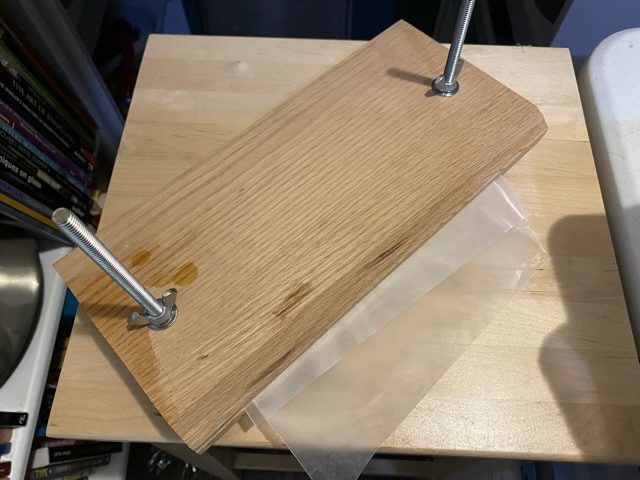
I recently read an article on four-leaf clovers, and one finder suggested looking for squares amongst the triangles made by three-leaf clovers. Apparently this works. Day 2 of thinking of squares and triangles, I spot one. I carefully laid it flat between layers of wax paper and put it in one of my book presses that my Dad helped me make years and years ago.
Oak plank book press
The method for looking works for me, because I found a second one the next day, and two more the following day. My eldest also found one after I told her the trick to it.
Although I have gone away from speculative jewelry making, I do accept custom orders on occasion. I particularly like stamped metal bracelets with dual messages.
Getting ready to stamp metal
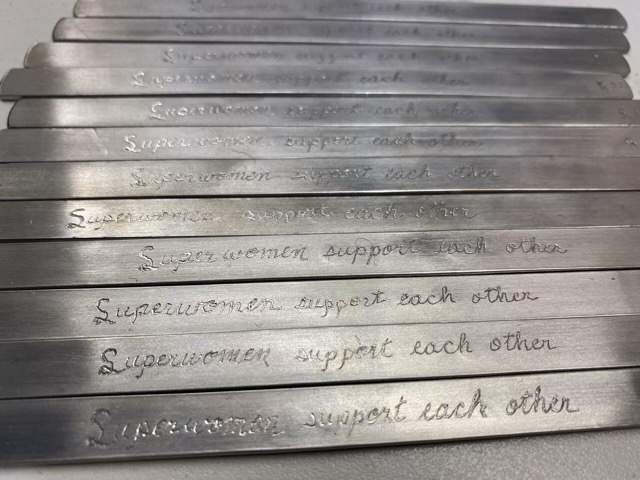
After using 0000 steel wool to smooth the edges, I stamp the outside of the aluminum bracelet blank first, then engrave the second saying on the inside with a small rotary engraver. Black ink in the recesses enhances the stamped letters, but doesn’t help the engraved letters. Another pass with fine steel wool and the bracelets are ready for forming.
Engraved side
I did splurge on a new tool for forming the bracelets; a steel bracelet bender (shown in the top right of the top photo). This works very well for the middle, but I still like my nylon forming pliers to get the curve on the very ends. After bending, a couple coats of microcrystalline wax helps prevent fingerprints and gives a nice finish to the cuffs.
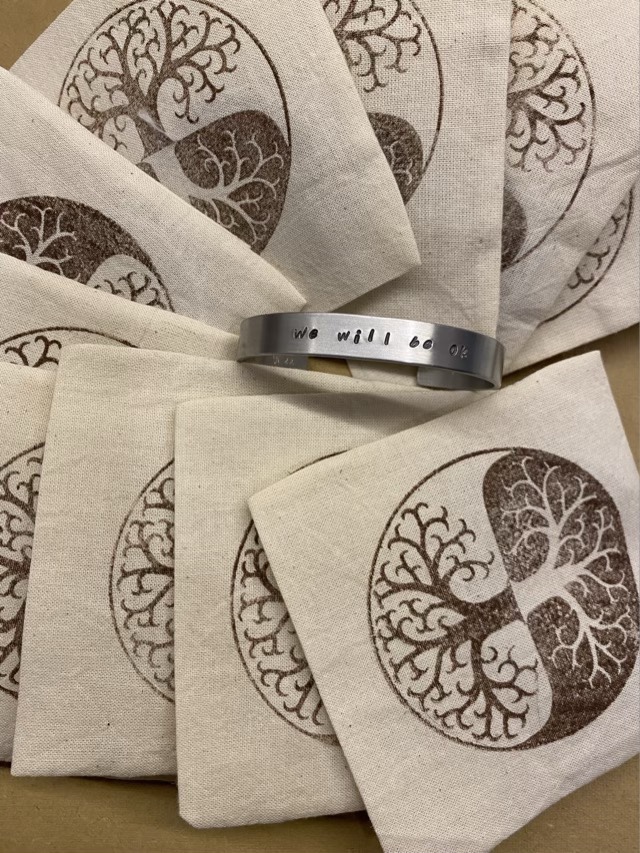
Finished bracelet surrounded by hand stamped muslin pouches
The muslin pouches I blogged about yesterday work wonderfully to protect and package the bracelets. Job done!
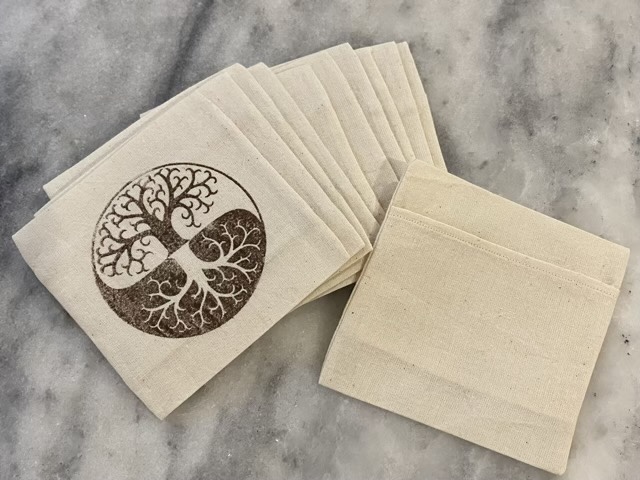
I had an idea for a small pouch that didn’t require a string tie, or button, or zipper. Inspired by couch pillow covers, these have overlapping flaps in the back that do well to keep small rigid items protected.
Stamping muslin
I wanted 4” square pouches, so tore an 11” strip of washed and ironed unbleached cotton muslin, marked 4.5” sections along the strip, and stamped my logo in the center of each section. To stamp, I squirted some fabric paint into a bowl, then loaded a sponge brush with paint to apply the paint to the stamp.
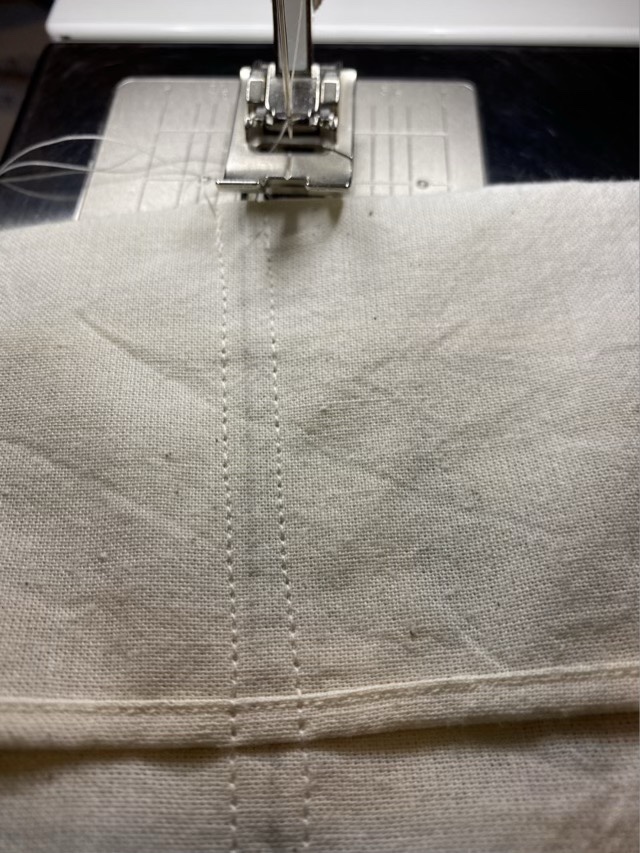
Making a 1/4” hem
I hemmed both long edges of the strip with a 1/4” hem foot on my sewing machine. (Hands down, this is my favorite foot.)
Sewing adjacent sides of the pouches
To form the pouches, I folded the long strip inside out, with about a 2” overlap, then sewed 1/4” on either side of my pencil lines. A cut between the seams, clips of the corners, turned inside out and pressed, and I was able to fairly quickly produce many small product bags!
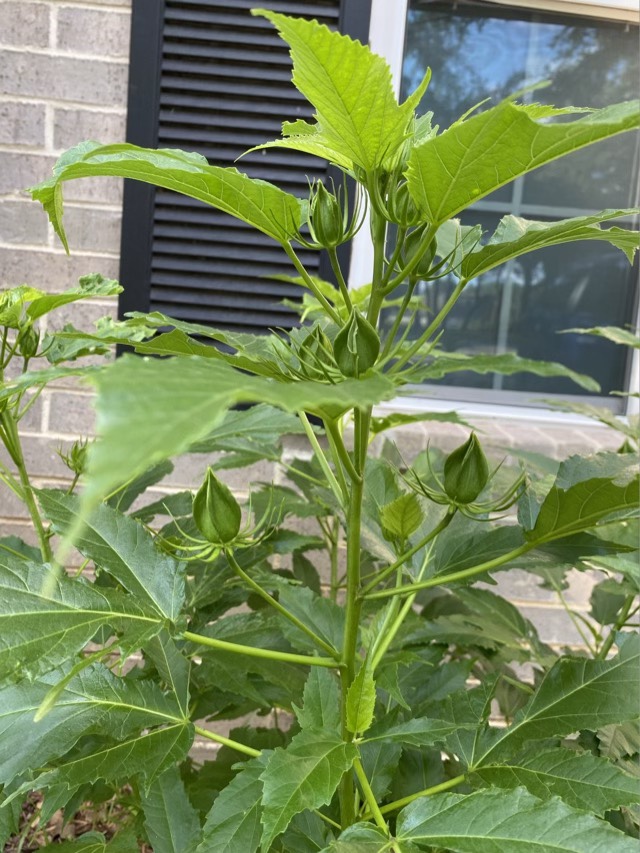
This is a picture of one stem of our happy Hearty Hibiscus. There are other stems also chock full of buds. I’ve been spraying the leaves weekly with a solution of Neem oil, Peppermint oil, Castor soap, and water with the hope it will be enough to keep the Thrips (tiny bud destroying insects) away. So much hope that the blooming is going to be as spectacular as the buds indicate. Hearty Hibiscus blooms only last for a day or so, but they bloom sequentially, so all those buds shouldn’t burst forth at once, but a couple per branch per day. Which still has the potential to be glorious.