I’ve been working through my carded alpaca rolags (although they have unrolled in the basket so are now more like small batts) both with the upcycled wheel and walking with the drop spindle. The charkha-like motion of the converted stationary mini bike means I have to wrap the newly spun yarn into a cone shape on the spindle. To ply, I like to have center-pull balls, so I have to rewrap the yarn.
Transferring alpaca singles yarn from the spindle to a center-pull yarn ballWheel spun singles (left) and drop spindle spun singles (right)
I’ll let the balls sit for while, then get to plying. The thicknesses of yarn produced by the two different methods is close enough that I will combine it all together into one skein.
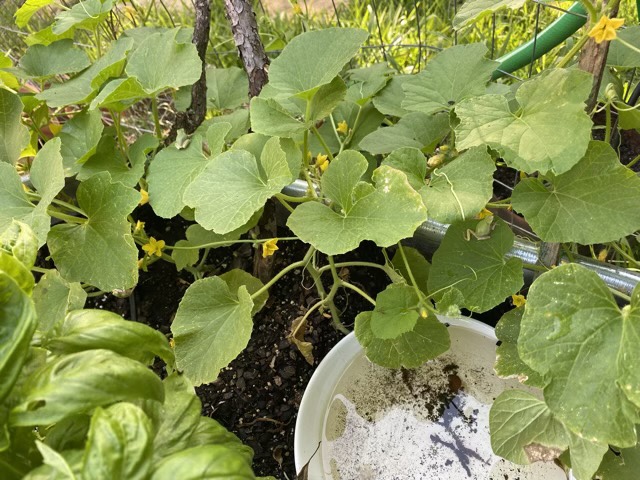
How many frogs can you find in the melon vine leaves? I play this game each time I pass my container garden, so I thought I’d let y’all have a go too. Below is the same image with the frogs shaded pink, if you’re having trouble.
I used my professional wood burner setup on hand made paper. Using different tips and heat settings I was able to lighten and darken parts of the image. I’m calling this done while I still like it and before I take it too far. (It happens to me. Often.)
Labrador burned into handmade paper
The paper was not hand made by me, but ordered through Etsy. It was darker than I expected, but it worked out just fine.
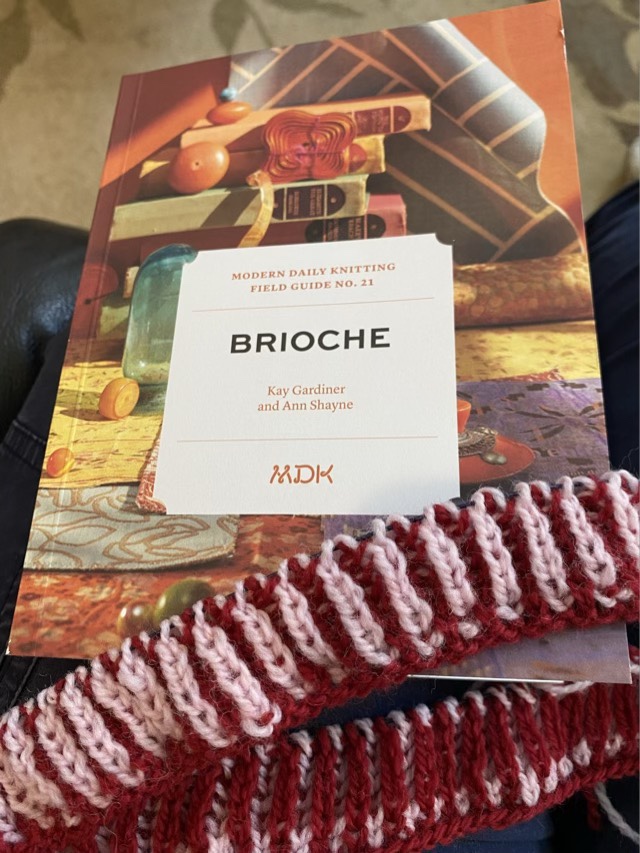
Surprisingly, this post is not about bread. Brioche is also a style of knitting; it is often used with two colors of yarn to beautiful effect. The technique first caught my eye when I was scrolling Pinterest (rabbit holes!!) Then Modern Daily Knitting collaborated with Nancy Marchant (brioche guru) on a new Field Guide with four beginner brioche patterns. I couldn’t resist. Today starts a new MDK knit-along for the first pattern in the book. This is my first attempt at a knit-along, so we’ll see how it goes!
Learning brioche knitting
I’m sure no one else is counting, but I’m acutely aware that I am now in the middle of three knitting projects. Hm.
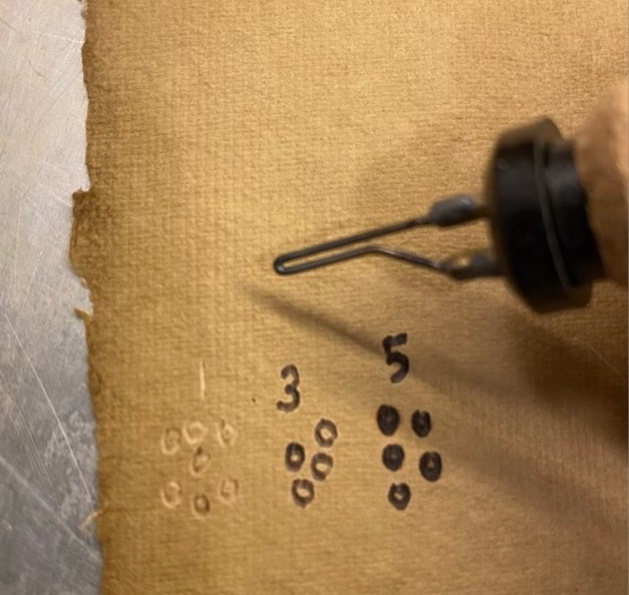
I wanted to try my new professional wood burner setup on some paper. I ordered some handmade paper that looked vintage and setup my wood burner with a small writing tip. Since this was new, I started on a low setting on the control box. I had an unexpected result. The lines on the paper where lighter, not burned. I turned up the dial and then achieved the brown color I was expecting from hot metal applied to paper. I made little circles and wrote down my dial settings.
Different effects at different temperatures of a wood burner with a writing tip on handmade paper
The light color was intriguing. Was it a fluke? Could I reproduce the effect? Being able to add dark and light to a drawing certainly opens up interesting possibilities. I turned the dial back down and was able to get light lines again. Maybe the fibers are being ironed down. Maybe the gentle heat is reacting with what ever was used to age the paper. What if I use a different tip?
Different burn results using a loop tip
Different tips do carry the heat differently. I was almost able to achieve the lightened effect with a slightly larger tip, but only at the lowest setting. Still, so many possibilities.
And Happy Father’s Day to all those that fill the Father’s role!