Dyeing

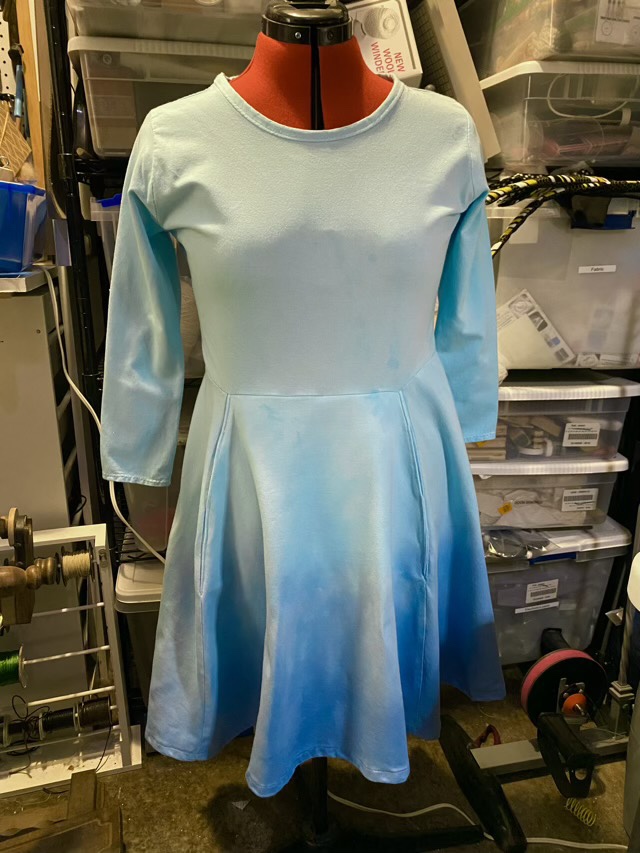
I am not a fan of dye. I like color, don’t get me wrong, but bleeding, unintentional splotching, and staining the wrong item irritate me. Still every so often, I try again. I made my youngest a dress for the holidays (she doesn’t read my blog, so I’m safe to post today). I could design the dress for spinning as requested, but I couldn’t find the right sky blue color, so I purchased a white cotton knit.

Swing dress in white

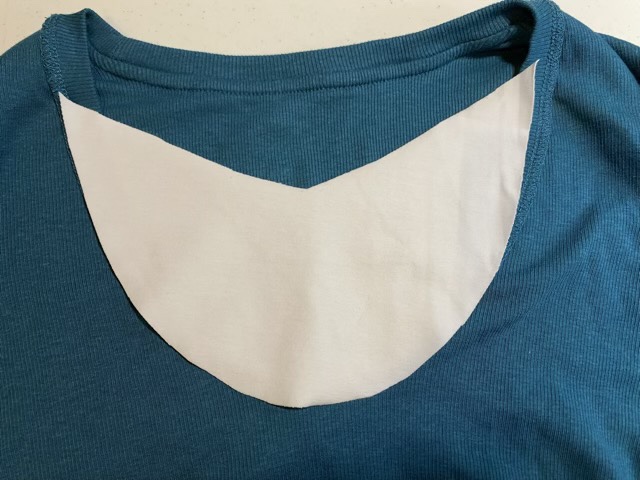
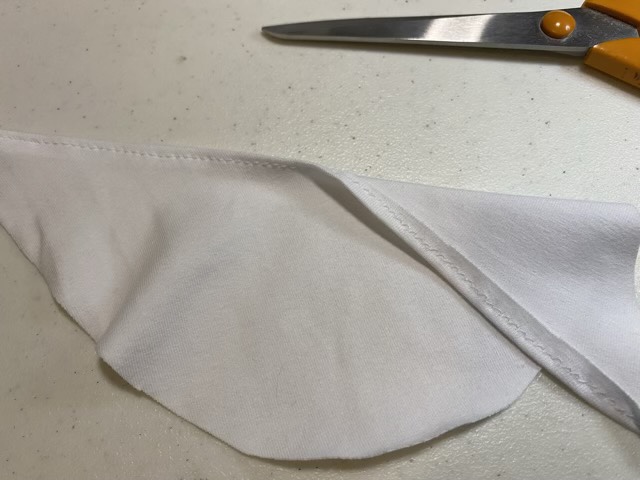
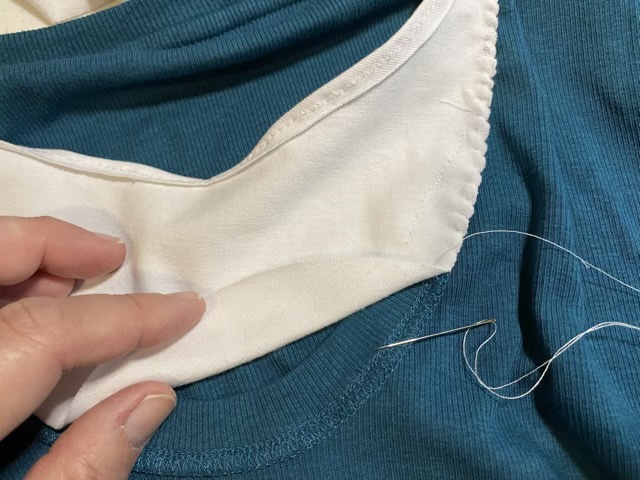
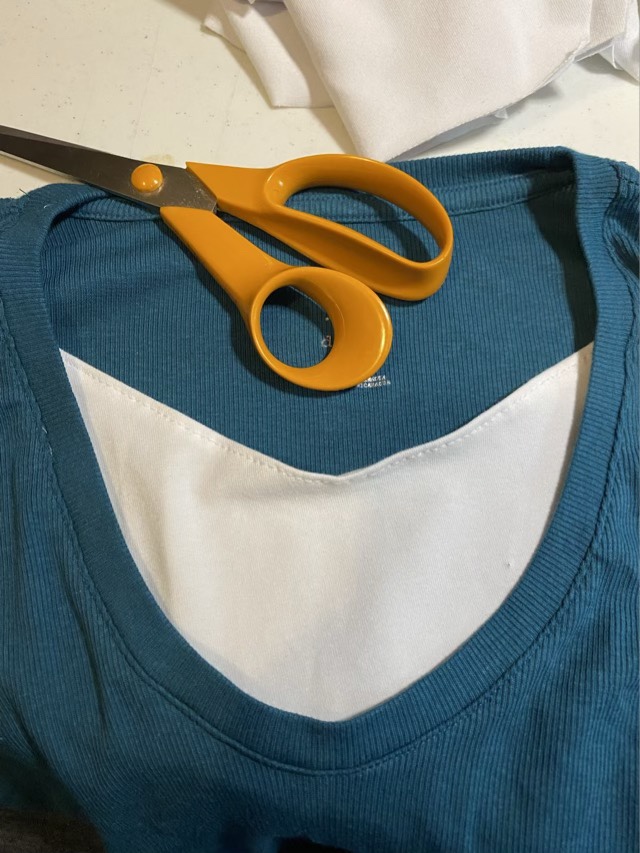
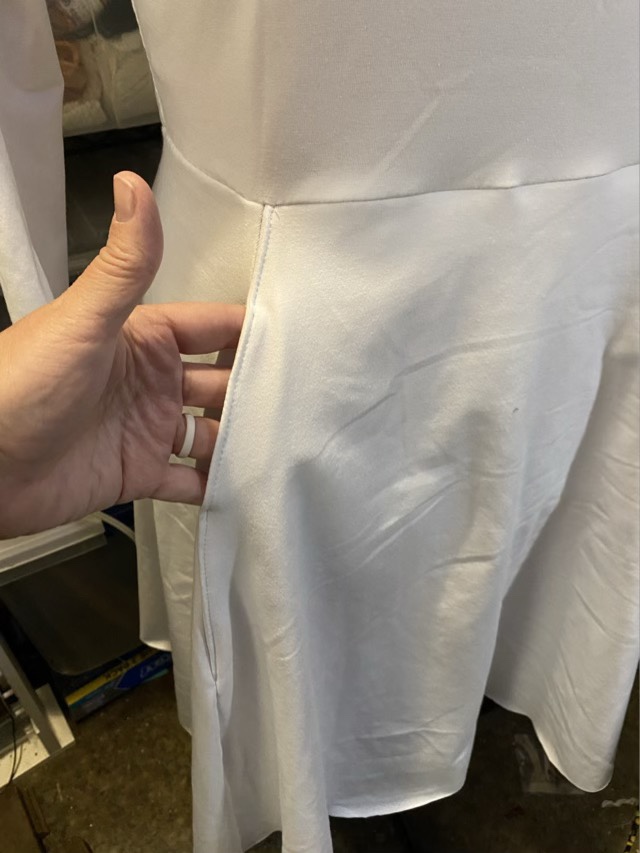
Because it is me making the dress, I included a pocket panel across the front. Three sides of the pocket are sewn in and there are two openings, so it is rather like a hoodie pocket, but concealed.

Pocket!

After the dress was finished and hemmed, I dyed it. First I did an all-over dye with RIT Aquamarine, following the instructions carefully.

Dress in a dye bath on the stove to maintain temperature

I rinsed the fabric (for forever), and then while the garment was still wet, I dip dyed the bottom in a different dye bath of Royal Blue. I then rinsed again. Then I ran it in the washer. Then I ran it with color stay, then I washed it again before drying it.

Blue ombre dress (it is difficult to photograph blue)

From a distance the color came out as intended, but up close there are splotches and variations that were not evident after the initial dye bath. Hm. I’m still not a fan of dye.

Fiber squee

Assortment of combed top fibers

My sister sent me an assortment of spinning fibers! There are preparations that I never knew existed! Squee! (This post already has an abundance of exclamation points. There will probably be more.) Banana? Rose? How facinating to learn that fiber preparations can be made from these sources! There is enough material in each sample bag for me to get a feel for spinning it, and to make my swatches for my fiber book. I also have the name of a new (to me) fiber store, which is nearly as exciting as the bags themselves! (See, more exclamation points. I warned you.)

Extra thick spacers

Although my fiber page design isn’t terribly thick, the quarter inch drawer causes the pages to bow when the book is flat. The spacers provided with the photo album are too thin, so I made new ones out of quarter inch thick foam sheet from the craft store.

Old cardboard spacer (right) used as a guide to make a new foam spacer (left)

I cut the foam to match the old spacer using a large paper cutter, then matched the holes with a paper punch. The foam was remarkably easy to punch. Assembling my fiber pages in the book went much, much easier using these spacers and three inch posts.

Spacer installed between pages
Spine of album with spacers, without cover
Top of album showing better page separation with the spacers

Open railing

Sophie looking down from the upstairs walkway

Our house has a two story high living room, with a railing across the side of the hall way upstairs. Sophie likes to look down and check on the progress of her din-dins. She has also, on occasion, knocked her toys through the balusters onto the laps below.

Modesty panel

Warning: hand sewing ahead.

I picked up a shirt when shopping with the kids and the neckline turned out to be way too low. So I added a modesty panel using cotton knit material. I did attempt to do the whole alteration on my machine, but I had a terrible time feeding the thin knit material consistently under the sewing foot. Frustrated, I turned back to hand stitching; the inside of the neckline had a convenient seam that made making an invisible whip stitch easy. I think the next time around I will hand stitch a decorative edge on the top as well, leaving the machine work for woven cotton and inside seams. The finished product has the look of layers, without the bulk.

Crescent of material cut to cover the low neck line of a knit shirt
Machine stitched top edge
Hand stitching panel to inside of shirt with a whip stitch
Installed modesty panel