Making drop spindles

I’ve been working on a new drop spindle. I like my previous student spindles, but they are on the light side, just over an ounce. This light weight can be more challenging, so I wanted something a little heavier for upcoming spinning classes. I sourced some beautifully made wooden whorls from Pinehurst, TX, (yes, they are marketed at toy wheels, but they make lovely whorls) and some locally obtained dowels to make the shafts.

Sand paper, carved shafts with end notch, and Pinehurst crafts wheels

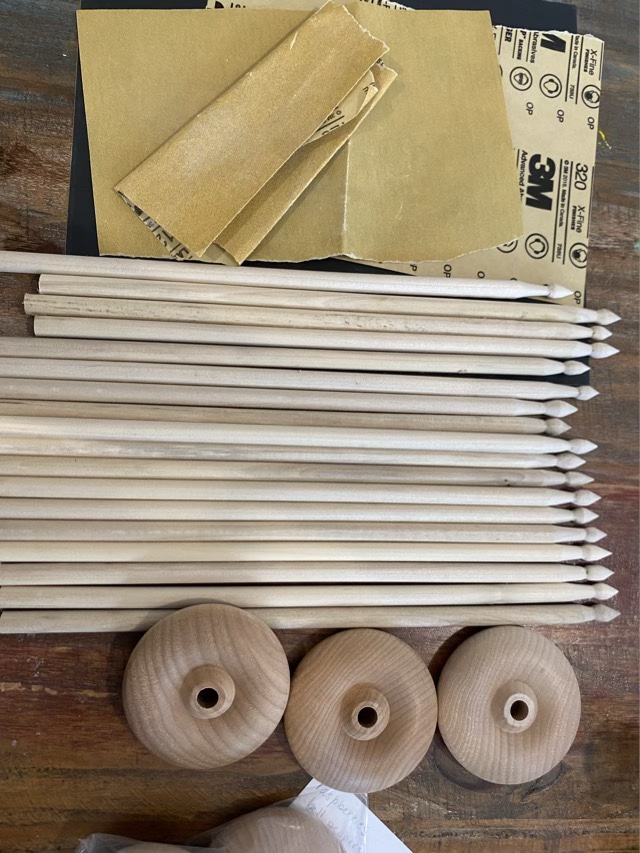
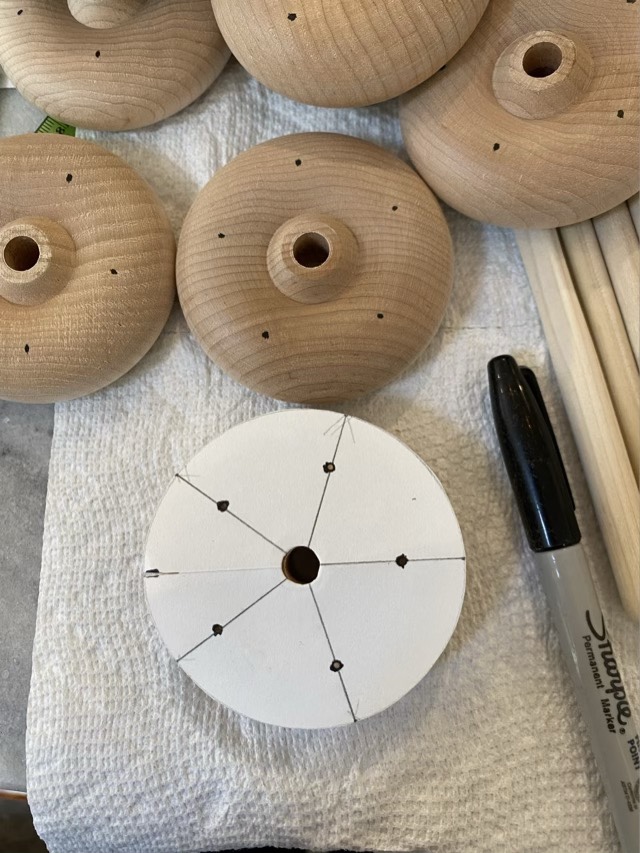
The whorls are lovely, but with the 12” shafts, the weight tipped over the two ounce mark, which is heavier than I wanted. To lighten the load, I drilled out material with my drill press and a 1/2” drill bit.

Marking whorls with a template to evenly space five holes

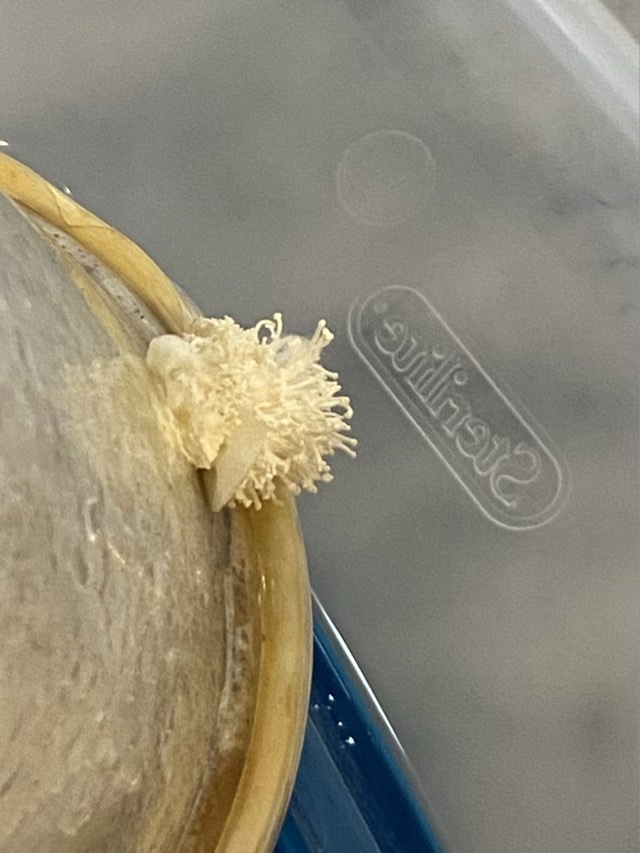
Then came the sanding and finishing. I sanded each piece down to 600 grit, wet the wood and let it dry, then sanded with 600 grit again. Both the whorl and shaft are finished with a clear matte coating to protect from stains. The most delicate part of the spindle is where the screw hook engages the wood, so I wrap the shaft with beeswax coated silk thread to strengthen.

Finished spindles with different colored silk wrap

These spindles can be used as a top whorl with hook, or flipped over and used as a bottom whorl drop spindle with the notch to keep a half-hitch in place. I’ve tested both ways and am pleasantly surprised how long these spin! The finished weight on all of them is around 2 ounces.

Fungus flail

The “grow your own” mushroom experiment ground to a halt. The kit did produce a few mushrooms, but the container I had them in wasn’t big enough for the fruiting body to fully develop. I moved them to a larger plastic container, put water in the bottom to keep the humidity up, and the whole thing shriveled. Hm. There were a couple of fruiting starts, but they haven’t grown at all.

Mushrooms sprouting from a grow-your-own kit

One of the things the seller said was that the fungus will stop producing mushrooms if it gets too dry in the original container. I opened up the container and added water. Two days later, more fruiting bodies sprouted. We’ll see if they develop into full mushrooms!

New mushroom sprout after opening up container and adding water

Litter box privacy

We’ve moved Sophie the cat into a new room with her human. To provide her all she needs, without having to deal with the kitten, she has a litter box as well as food, water, and a climbing tree. The litter box was a little too open for her though, so my eldest suggested we make a box to go over it to give her some privacy.

PVC frame for the litter box cover, with Thor the kitten inside

We started by taking measurements, then making a PVC frame. We already had the 1/2” PVC pipe and the socket tees, so it was just a matter of cutting to size. Thor the kitten was particularly found of sitting inside the “box” even if it was only an outline. We purchased 2 yards of household fabric, which is thicker than calico fabric or quilting fabric. To keep the cover in place, I made button tabs that wrap around the bottom pipe.

Button tab attached to the bottom of the cover

To make the opening, I cut an “X” into the corners of a rectangle, folded back the flaps and sewed double fold seam binding around the edges of the hole.

Cover with opening and Thor peeking through

To test the fit and hold, I put Thor on the top. He thought the hammock was so comfy he settled down for an hour nap. While he was cuddled up, Izzy the cat and Missy the dog also explored the new object.

Thor on the box, Izzy in the box, Missy looking into the box
Litter box privacy cover installed

We had to remove Thor from the top of the box to install it in the final location. My eldest reported the next morning that the offering was appreciated; Sophie went in to do her business. Success.

Growing

Thor the 4-month-old kitten is definitely growing. It seems like every time I turn around he looks bigger. He recently found his way back up to the windowsill where he first lived in our house, so I snapped a picture for size comparison.

Thor at 2-months-old in the window
Thor at 4-months-old in the same window

Bed raising

Cube storage shelves installed horizontally under a full sized bed

We are doing a great room switch with the kids this summer, and I found that I had four unclaimed three-shelf cube storage shelves. My eldest needed some more storage space, so we turned them sideways and replaced the metal bed frame with the shelves. This actually works! To add suspenders and a belt, we also used wooden slats to span the space between the shelves, but it wasn’t strictly necessary. We picked up some fabric cube bins so the bed will have drawers underneath. The bins were on sale, so the sum total of the project was $24, since we already had the shelves and slats. The center of each unit is open, which the cats discovered to their delight, so we will be leaving two available for cat egress.