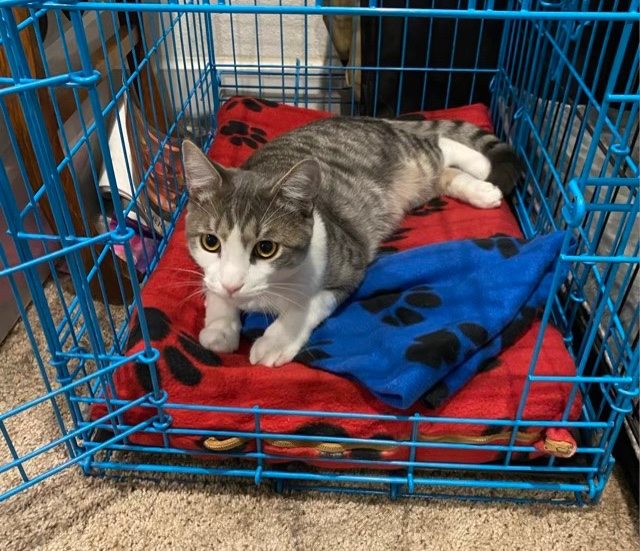
The weather is finally cooling somewhat (we’re still going to see some highs in the 90s, but mostly we’re in the 70s and 80s) and in a fit of optimism I setup the dog crates with the winter gear: fleece pad covers and soft fuzzy blankets. Thor the seven-month-old kitten decided this was done for his benefit and has claimed Missy’s crate. Poor Missy. I do kick the cat out whenever I find him in there.
Photo description: Gray Tabby cat laying in a blue dog crate, filling most of the 2×3 foot pad.
I did weigh him this week and he is 12.2 pounds. Big kitten.
So I thought a rolled brim knit cap was some kind of knitting voodoo. I was looking up patterns to see how to do it. Y’all, it is just knit. Stockinette stitch, which makes the familiar v shaped stitches that we associate with knitting, is unbalanced and curls without a stabilizing edge (like ribbing). So the rolled brim is the natural state of a knit tube. Hm. So I tried one, and sure enough the edge curls. I even managed to do the crown of the hat in knit using seven decreases, then ran the end of the yarn through the last seven stitches and pulled tight to form a nice little rosette in the center. I threw some embroidery on to see how that went.
Photo description: Green and white knit hat with vine embroidery.Photo description: Crown of the hat showing seven slightly spiraled sections neatly closed at the top.
I used superwash merino sock weight yarn. I would do things differently next time, so I’m not going to write up a pattern. For posterity sake I’ll write down details, though. I used two size 2 circular needles; a slip, slip, knit decrease on each of the seven sections, sometimes separated by a row of knit; and attempted a stem stitch for the embroidery. The stem stitch stretches with the fabric, but I don’t like how it doesn’t make a continuous line. That might just need practice, though. I was hoping for more of a spiral on the top of the hat too.
I added a rider to my meadow deer for Halloween. The deer was purchased as a holiday decoration a couple years ago, and I liked having it in the meadow so much I decided to make it a year-round ornament. I have a few more projects on my plate this year than last, so an ornate Halloween sculpture wasn’t going to happen. But a simple three foot plastic skeleton twist tied to the back of the deer, with a length of scrap white ribbon for a bridle, well that was very doable.
Photo description: Golden wire and plastic deer sculpture with a white plastic skeleton riding on its back standing on the edge of a dry meadow.
I modified another t-shirt. I don’t care for crew neck t-shirts (sensory thing with fabric touching my neck), so I cut off the binding, and used black crochet thread to make a blanket stitch all around the neckline, then added a simple chain 3, double crochet repeat pattern row. I like 3/4 sleeves, so I used the same 3 chain, double crochet pattern to lengthen the short sleeves, and added a scalloped edging by making five chain 1, 1 double crochet in every other junction.
Photo description: Black Smashing Pumpkins t-shirt with black crocheted lace at the neck and sleeve.
I am not historically a lace person, but the practicality of it in our Texas heat is appealing. The idea of practical lace also amuses me.
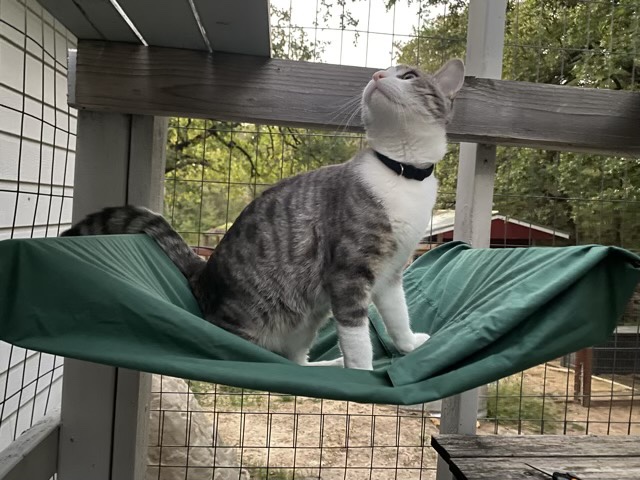
One of the sling beds in the catio gave up under the weight of the kitten and popped its grommet. I removed the rest, it has lasted awhile, and puzzled over a replacement. The two sections of 1 x4” wood that I screwed to the catio supports seemed about the size of a pillow case. It turned out it was a little wider, but with a quick seam and a couple of snipped holes, I converted an old pillow case into a cat sling bed that slides over two parallel boards.
Photo description: Gray tabby sitting in the hammock made with a repurposed green cotton pillowcase suspended by two boards
Cotton does degrade in the sun, but this might be a better design idea than grommets in the corners screwed to the board. I’ll see of the cats use this setup, and if they do, replace the cotton with outdoor resistant fabric.