What to do at the lake when you’re waiting for the fish to bite and there are downed reeds at your feet? Twine! It was a beautiful day, but the fish weren’t frenetic and my worm duties were low, so I stripped down a reed that had washed up on shore. After removing the inner soft material from the strong outer casing and tearing it into even strips, I started to twine. I had a new technique from Sally Pointer (on YouTube) that I wanted to try. Instead of adding strands end to end, she adds the new strand in the middle, so each side gets new material. Nice!
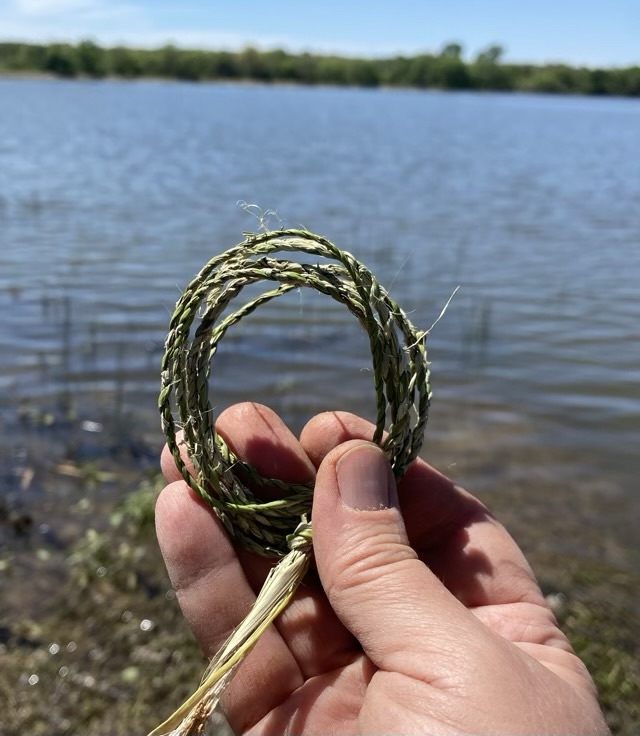
This twine was quite strong; I couldn’t break it with my hands. Next time I might see how fine I can twine.