I warped my small sprang loom again using dyed wool yarn, once again determined to make this one a little better than the last. I warped on a few more times to make it wider to help combat the natural inclination to twist.
Photo description: small bent cane sprang loom with orange and yellow dyed wool yarn interlinked in a single direction (all S twist on the top, all Z twist on the bottom)
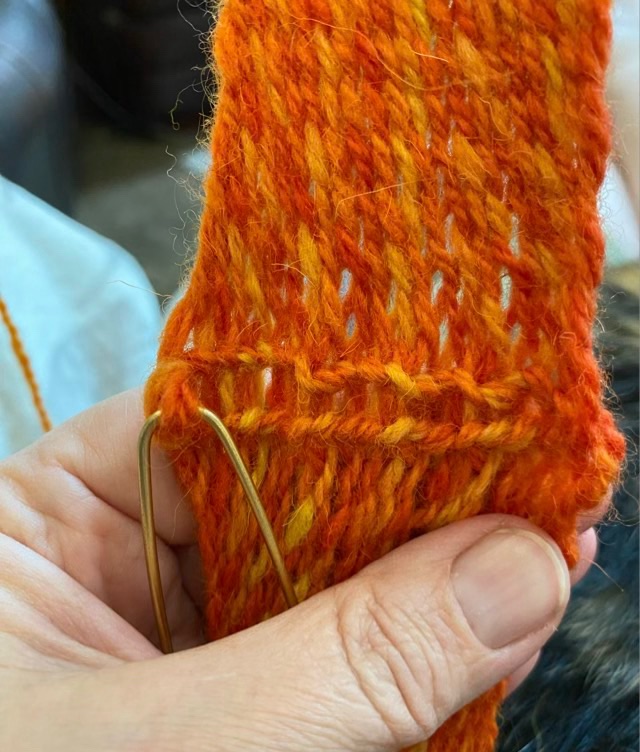
This attempt was an improvement on the previous tries. I achieved an even fabric, even though finishing the middle is still vexing me, it was less wonky than the last times. I tried a different method too: chaining each side separately, rather than both together. It still needs work.
Photo description: chain looped center of the sprang fabric, with a stitch holder in the last loop
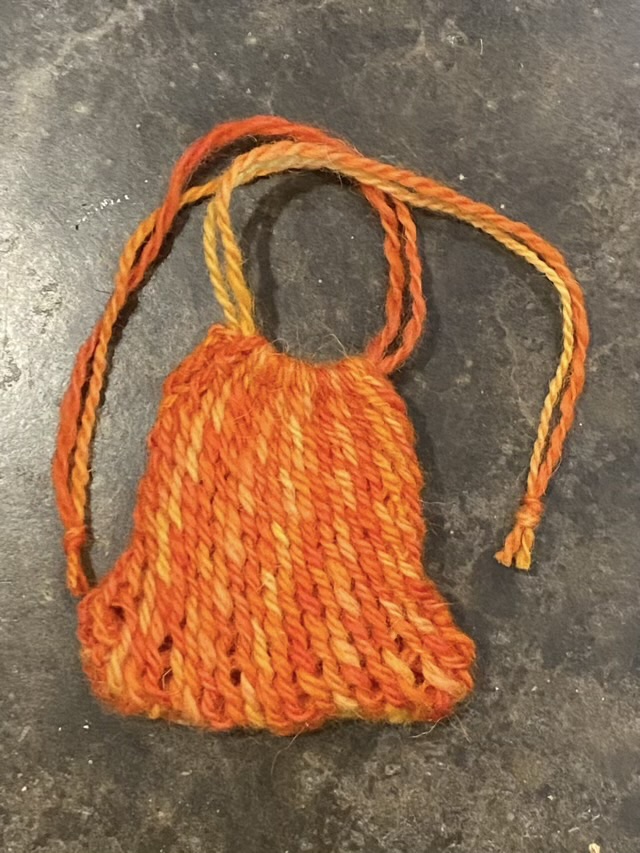
I used the extra yarn from warping to sew up the sides, and strung yarn through the top to make a drawstring bag.
Photo description: small wool sprang bag shown empty and closedPhoto description: same bag shown slightly stretched because it is holding a mandarin orange
The sideways stretch of the bag is easily double the height. There is no stretch vertically, which I need to take into account when designing a piece. This tiny bag would do well to hold dice. I’ve seen some larger bags made with wood handles that would outperform a similar bag in crochet because crochet stretches in all directions and tends to droop over time.
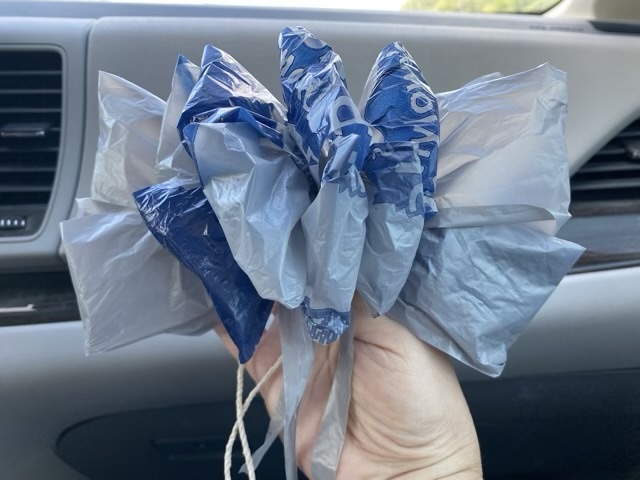
When you don’t have a bow for a present, but do have the plastic bag from the store and some fast food napkins, you can make a bow.
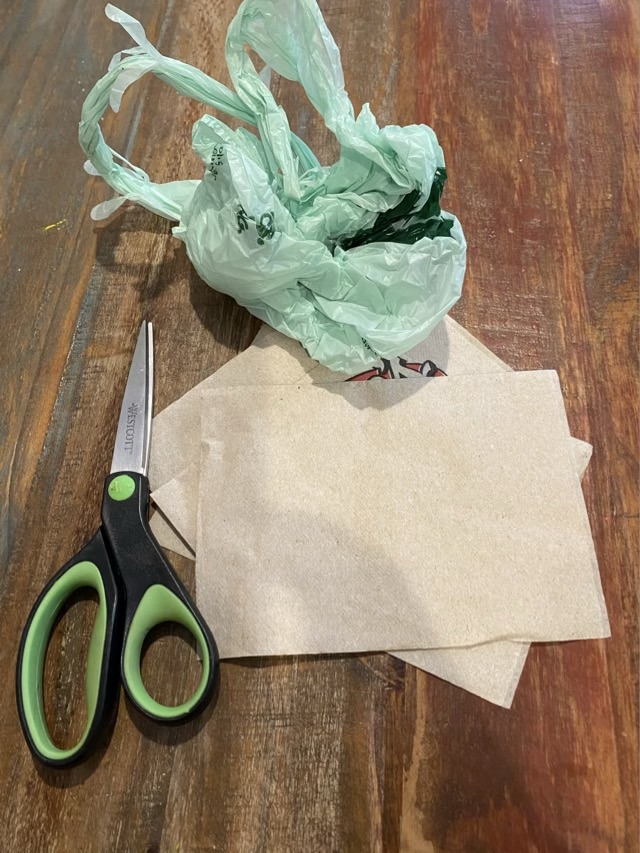
Photo description: bow made on the go from a Lowe’s bag and twine made from paper napkinsPhoto description: green plastic bag, unbleached fast food napkins, scissors
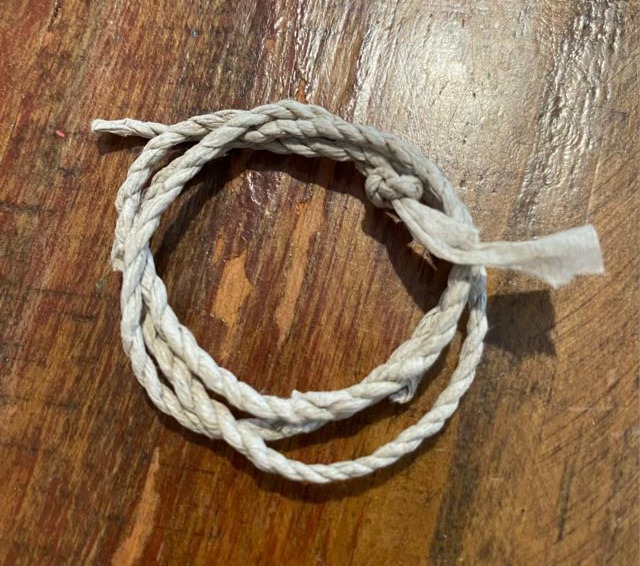
I usually have some napkin twine in my car as an emergency craft project. I prefer the unbleached napkins because the resulting twine is more aesthetically pleasing, not strong, but artful. I tear about 1/2” strips from the napkin, fold it in two, twist the single strand away from me, and twist the two strands together toward me.
Photo description: half inch strip torn from a paper napkinPhoto description: adding in a new strip of paper at the middle, between the existing strandsPhoto description: a small section of paper napkin twine, knotted at the end
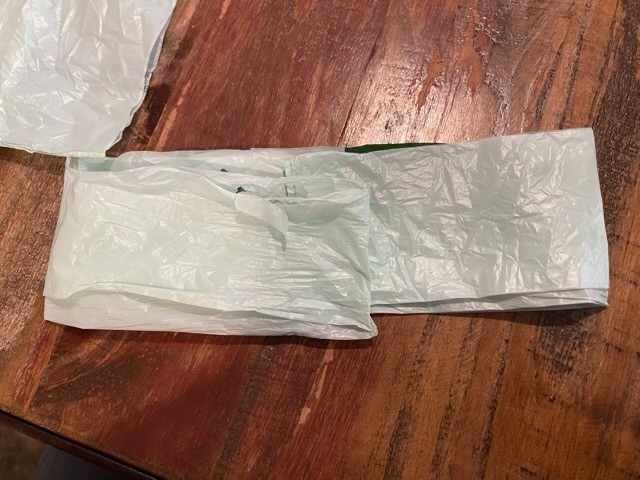
To make the bow, I smoothed out a plastic shopping bag, the kind with handles, and cut it into four equal width sections, two long, two short.
Photo description: plastic bag cut vertically into four sections
I start with the long sections and fold the ends to the middle with about a half inch overlap.
Photo description: plastic bag section folded with the ends to the middle and overlapping
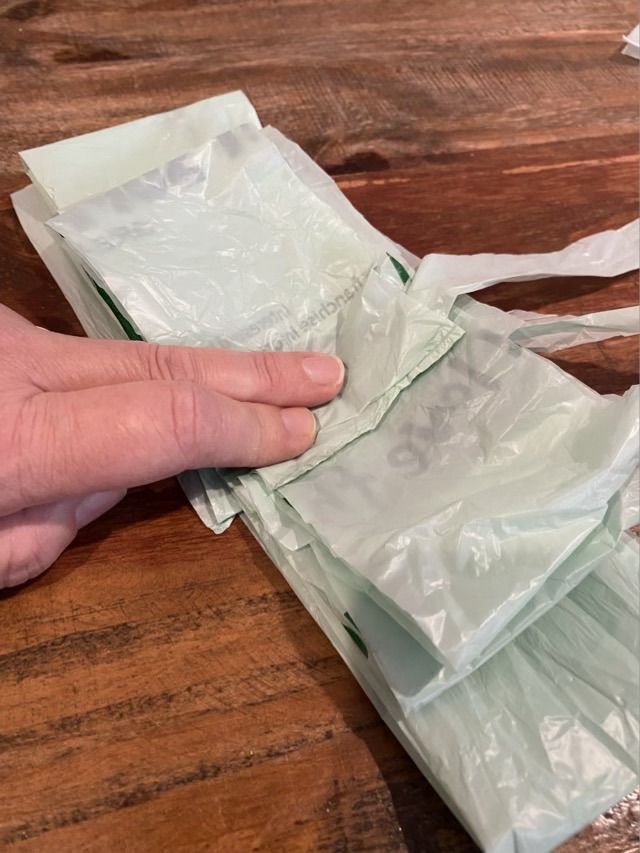
I repeat the fold for all four bag sections, then stack the four pieces with the longest on the bottom. Often, cutting the bag results in mis-cuts, sections of bag that don’t go from end to end. I pull these out as added decorative elements.
Photo description: all four sections of plastic bag folded and stacked, with some off cuts pulled out as “ribbons”
Using my paper napkin twine, I scrunch together the center of the plastic bag stack and tie the twine around using a square knot on the long side (back of the bow).
Photo description: plastic bag sections tied together with paper twine
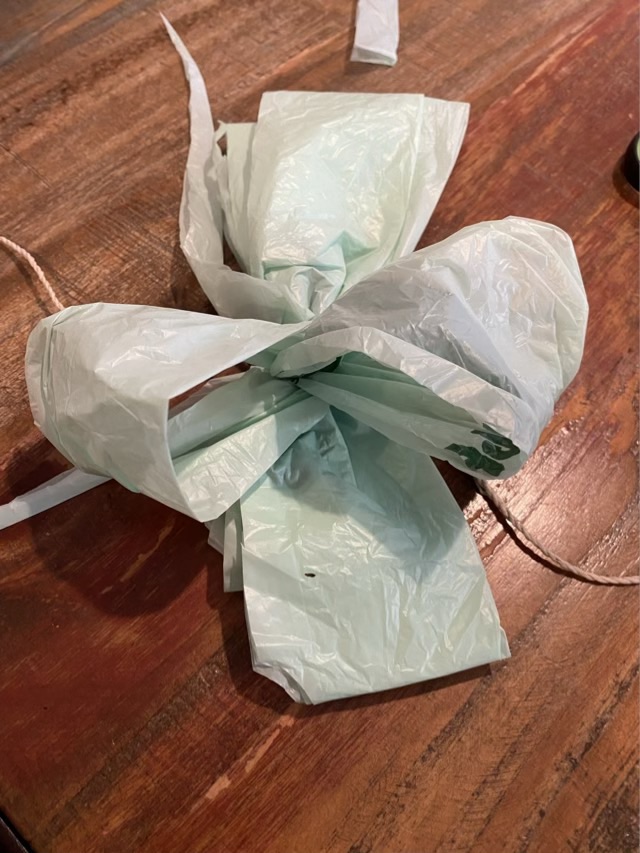
Then comes the fiddly bits (for me). Each loop of plastic from the stack gets opened up and pulled away from its partner(s). This fluffs the bow and gives it volume. I work from the back forward, and one side at a time.
Photo description: back two loops of bag separated, pulled gently 90 degrees apart, and roundedPhoto description: finished emergency bow made from a shopping sack and paper napkin twine
When my kids were young I turned to making more jewelry. The projects were usually quick (under a couple hours), easily stashed out of reach, and didn’t involve things like knives or torches. Wire is one of my favorite crafting media, and I still like this wire wrapped stone with braided wire necklace I made in July 2007. I feel the photography on this piece also shows skill improvement.
Photo description: triangular polished stone wrapped with twisted wire “roots”, combined at the top, then split and braided to form the sides of the necklace, finished with a magnetic clasp
Ironically, when my kids were babies, I stopped wearing necklaces and earrings so they wouldn’t be targets for little hands. Over that time I developed a neck sensitivity and can now only wear a very light necklace for an hour tops before it bugs me and has to come off. Heavier necklaces like this one don’t last 30 seconds.
Happy Fourth of July, may your neighbors celebrate quietly and early, and may your animals be calm.
P.S. My apologies for email subscribers on a partial post yesterday. I started writing tomorrow’s post, stuck my phone in my pocket, and the post published itself, incomplete. The full post should go out tomorrow, barring more technology hiccups.
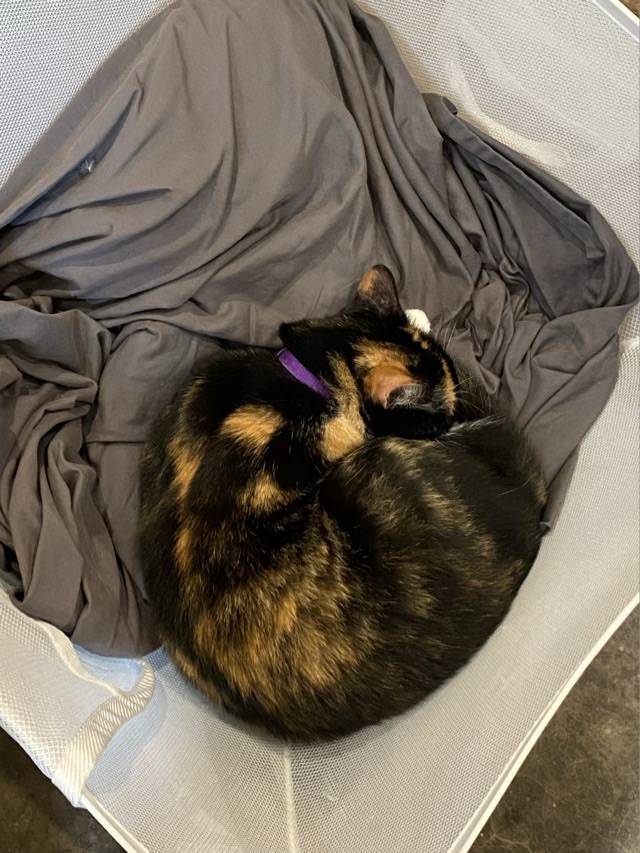
I’m retiring a set of sheets and gave them a good wash and dry, then Izzy the cat discovered them in the laundry basket.
Photo description: white foldable laundry basket, gray sheets, and a happy calico cat snuggled on the top
Izzy was so happy and spent all her nap time for days in the basket. But the basket was in the middle of the floor and in the way, and eventually I had to give in to practicality and put the basket away. As a peace offering, I took a portion of the sheet and put it in a smaller basket.
Photo description: Izzy in a woven basket looking at the camera
The offering was reluctantly accepted, but not fully embraced. She will occasionally use it, but not to the extent she did the clandestine basket.
My friend let my kids and I come pick peaches from her yard again this year. So many peaches. We sorted and washed, and laid them out to dry on the counter and covered them with mesh to keep the bugs off.
Photo description: peaches on paper towels covered with tulle fabric
I peeled the peaches with a peeler (blanching is frustrating and hot), and sliced them off the stone by cutting wedges and popping them off as I cut. The sliced peaches went into freezer bags for future use. I boiled the skins and obtained a beautifully colored liquid.
We shared some peaches with the chickens, who loved them so much that I needed to put out one for each chicken so there weren’t squabbles.