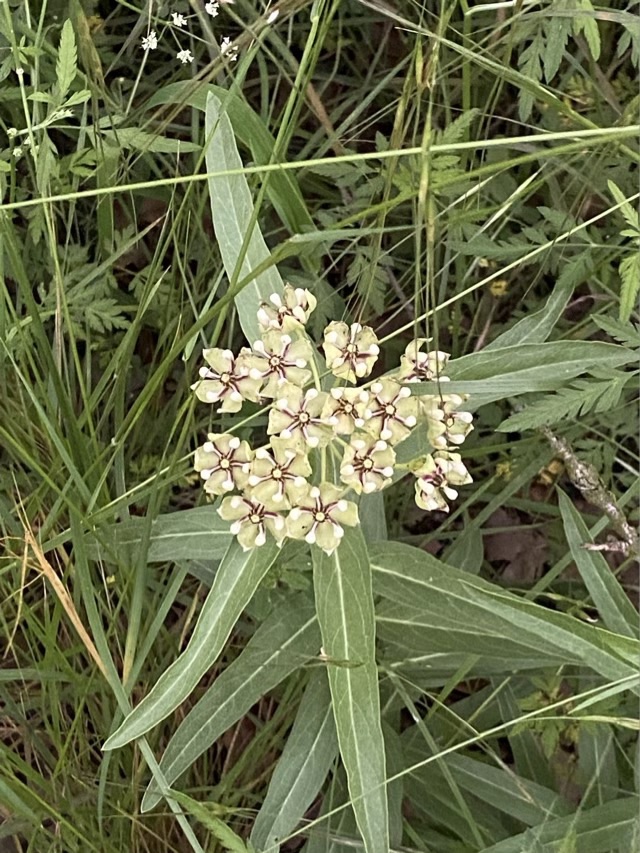
I was quite excited to find a milkweed growing in our meadow! The iNaturalist community confirmed it as an Antelope horn milkweed, which is a Texas native and a Monarch host plant. Yay!

I was quite excited to find a milkweed growing in our meadow! The iNaturalist community confirmed it as an Antelope horn milkweed, which is a Texas native and a Monarch host plant. Yay!
Taco the hen, who usually escapes notice on the blog because she is independent and aloof, passed away. A couple days before I noticed that her crop was hanging low and full, a sign of a good meal, or of sour crop. I was trying to keep an eye on it, and in hindsight I should have started a copper sulfate treatment. We had a previous hen live for almost a year with the condition, and I was honestly hoping it wasn’t sour crop. I found her surrounded by her sisters in the morning in the coop. I was up and in the coop early because we were preparing for the arrival of the two new hens, Wingding and Magnet, a pair of Black Star chickens coming in from family. Taco was given an air burial in the woods, and within a few hours we were welcoming the new hens to their new home.

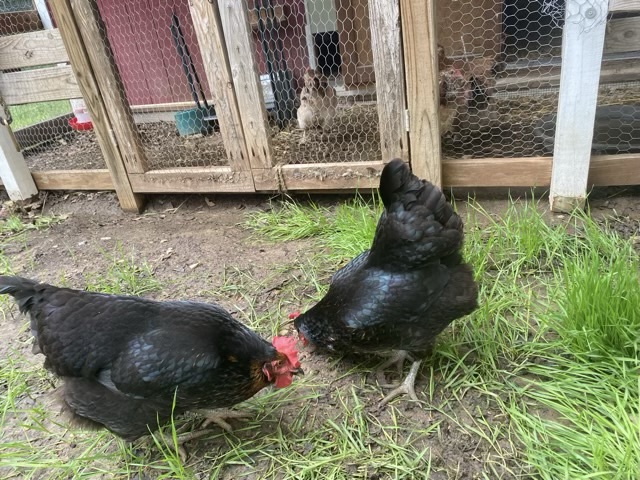
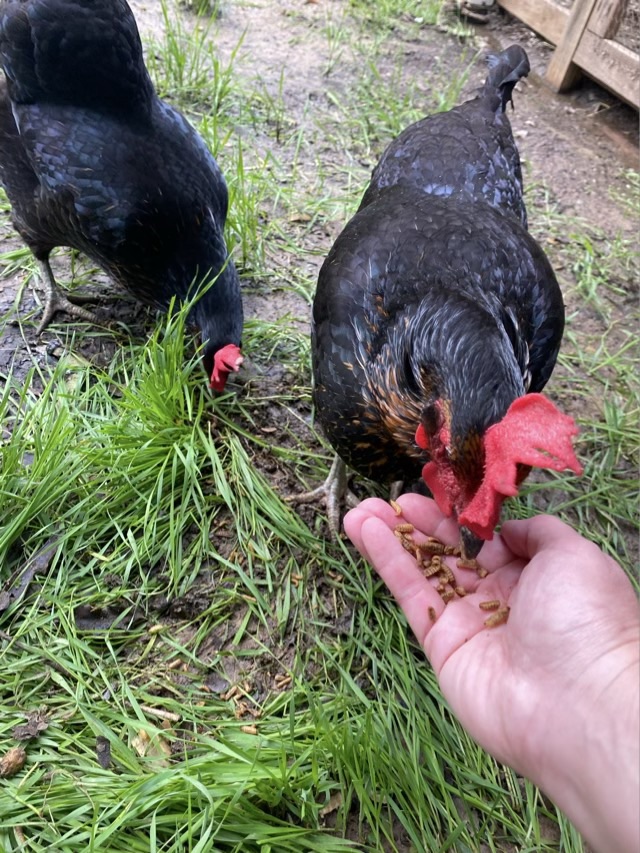
So our current chicken count is at six. Two Black Star, and four Faverolle. We’ll keep them separated for a while where they can see each other, and later see what happens when they can mingle. Ideally they will share all the space, after they establish pecking order.
I went all out on this custom cribbage board back in December of 2004. I designed the Celtic knot triple path, shaped the oak board, carved storage recesses, installed hinges and a custom leather clasp, and even handmade the pins from twisted wire capped with blown glass.

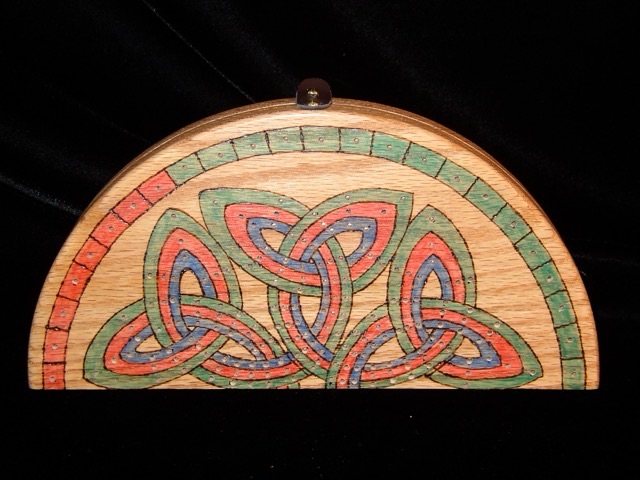

Decembers before kids are a treasure trove of throwbacks. This board is pretty, but it hard to actually use, especially when there is alcohol involved. Those loops and whorls make counting a dizzy prospect.
I wrote down the tare weight of my spindle so I could track the amount of yarn I’m building up.
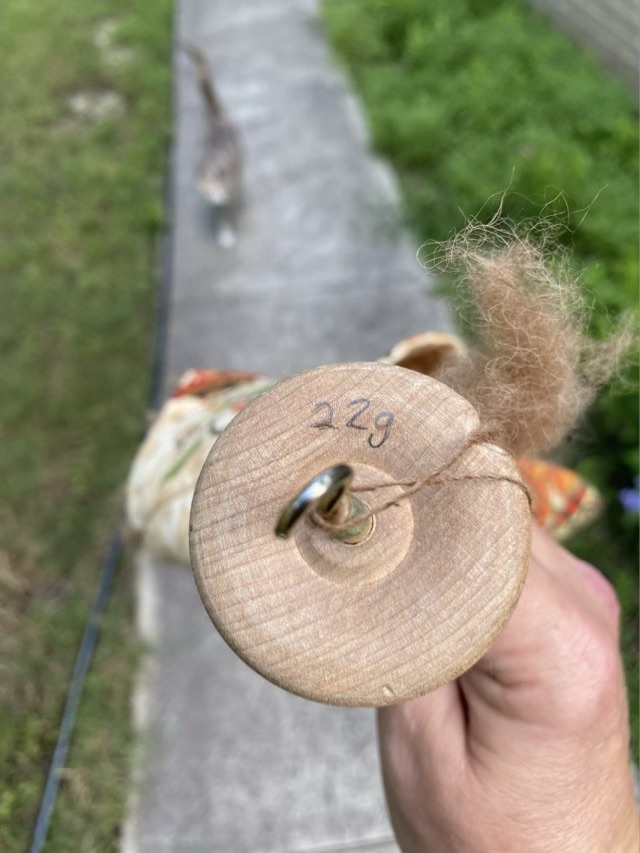
I’m working on a camel bump, which amuses me. Camel fiber is quite soft, and the mill processed it into a “bump”, which is roving wrapped into an oblong, much like how yarn is sold in the big box stores. I’m spinning it on my daily walks, then recording the weight.

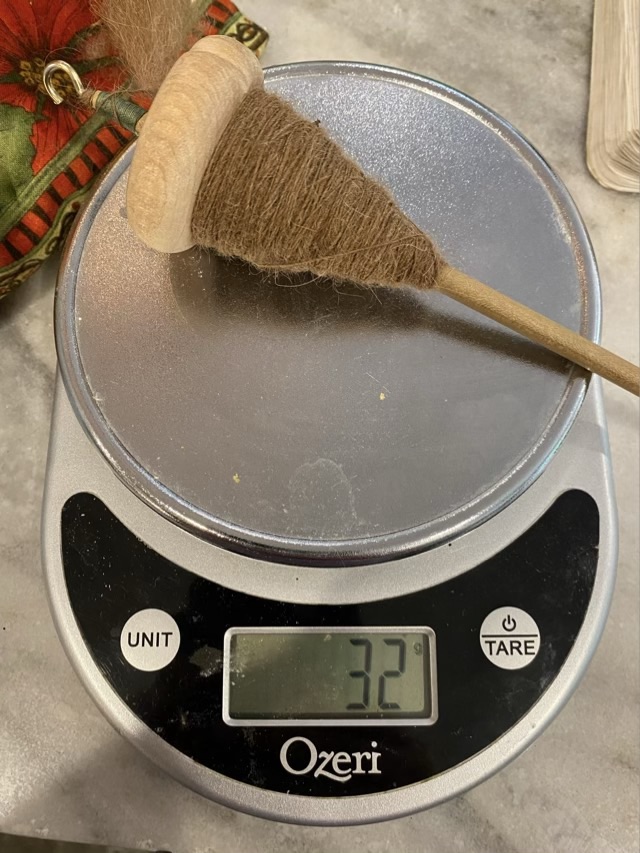
My efficiency is improving, or I’m walking longer, which are both valuable outcomes. I spun 4g of fiber the first walk, and 6g on the second walk.
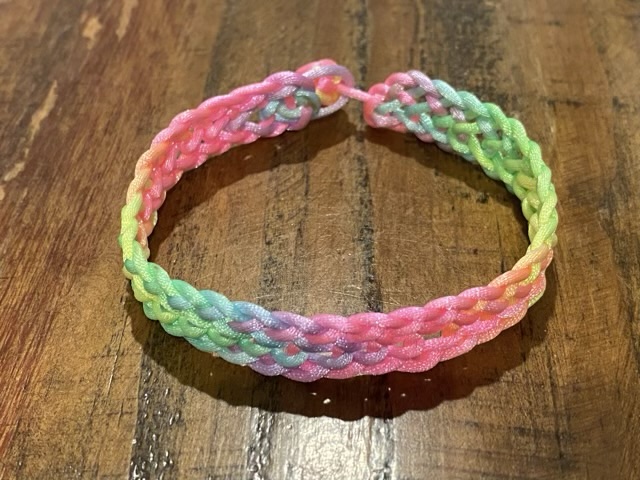
The colored bracelet experiments continue, and this one is a winner. I tried a nålbinding stitch with the neon rainbow satin cord, specifically the Telemark stitch in the Russian stitch family. It works beautifully. Not only do the interwoven loops look pretty, the color transitions are aesthetically pleasing.
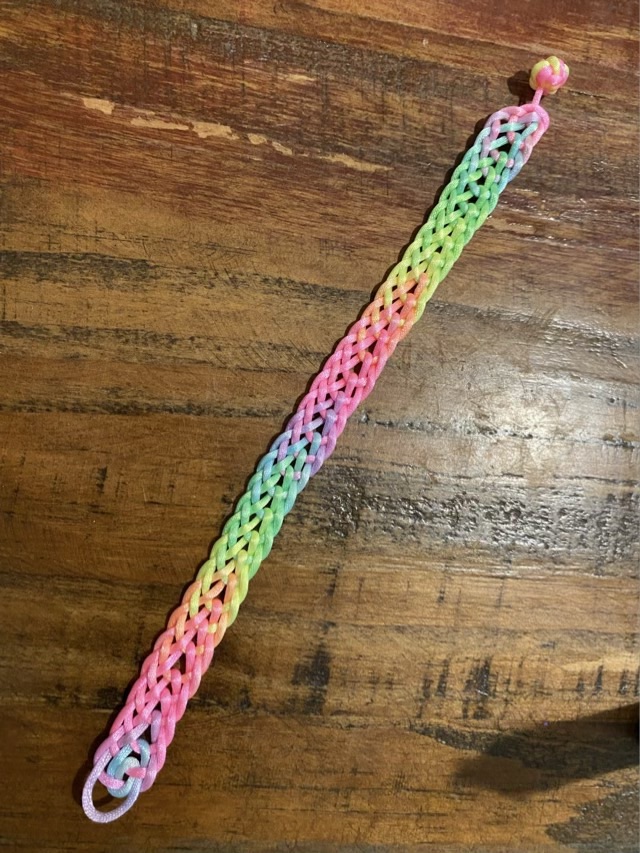
The nature of nålbinding also makes finishing the ends less awkward. For the looped end, I pulled out the beginning stitches (which for me are always weird), and spiraled the end into the weave, securing it by melting with the hot wire Thread Zap.
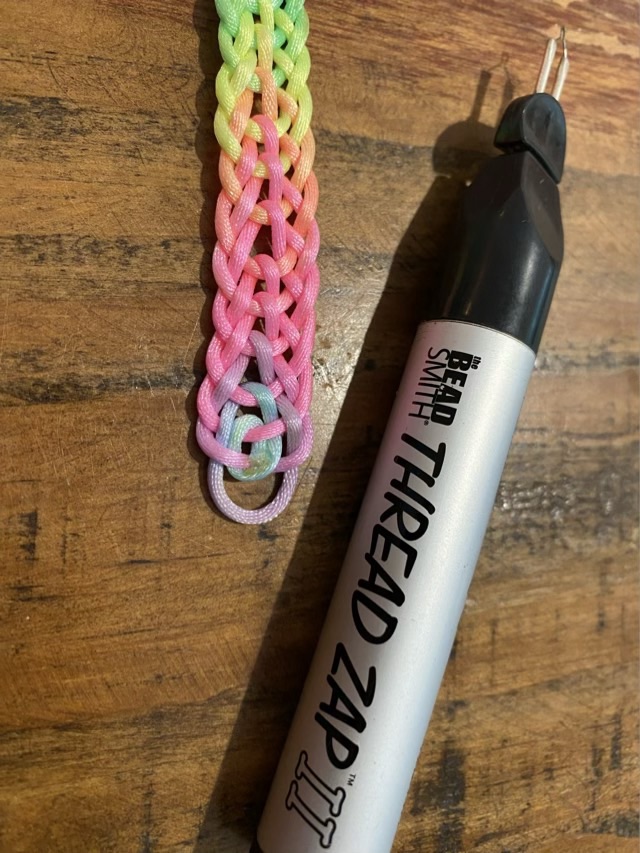
The other end I pulled the loops closed, leaving a tail end which I tied into a button knot. The loops are stable, the clasp mechanism elegant, and I’m already planning additional projects!