The pyrography pen is out, all things must be adorned.


The pyrography pen is out, all things must be adorned.
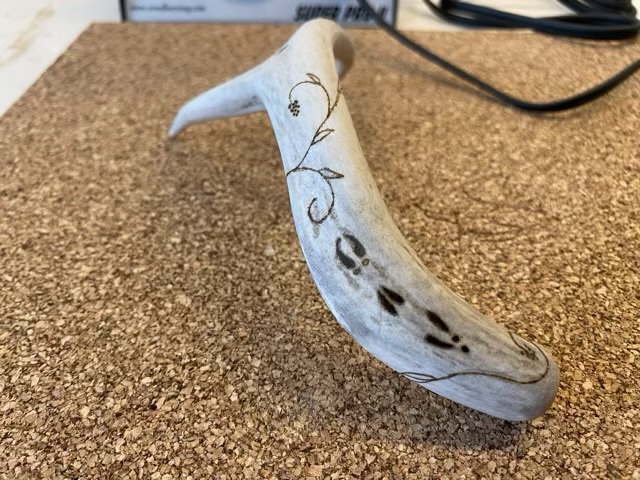
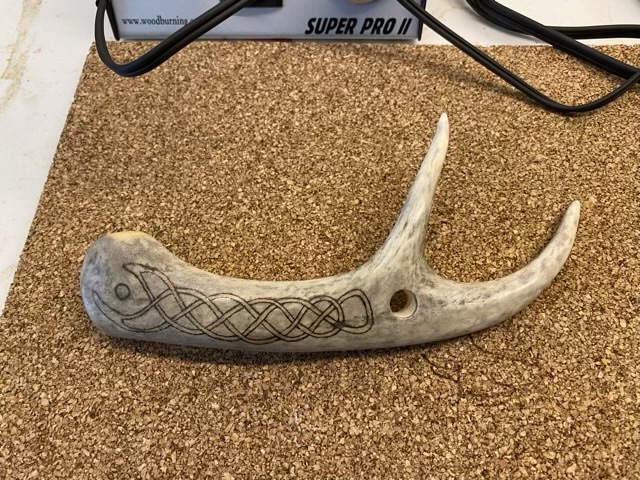
We had a little pyrography on wood with yesterday’s throwback, so today is my new obsession: pyrography on antler. I recently made nåls for nålbinding from the tines of deer antler. I’m experimenting with different shapes and curves and am quite pleased with the results. I was thinking of inking them for decoration, but the dried ink literally just wipes off the slick bone surface. I turned to pyrography instead. I have a Colwood Super Pro II wood burning unit, which can be fitted with a vast array of tips. No more messing with old soldering irons. I can also control the degree of heat, which makes a difference. For wood I use the detail setting around 5-6. For the antler I had to crank it up to 9. Even then, it took several back and forth motions to burn the color into the fine lines. I achieved the color without cutting into the bone, which left a silky smooth surface after a light sanding and buffing. I finish each nål with a coat of Renaissance wax. Here is a video short of a thicker nål with a wrap-around pyrography vine.

My nåls sold well at a recent Earth Day Market. The ones that remain I will be selling on Etsy.
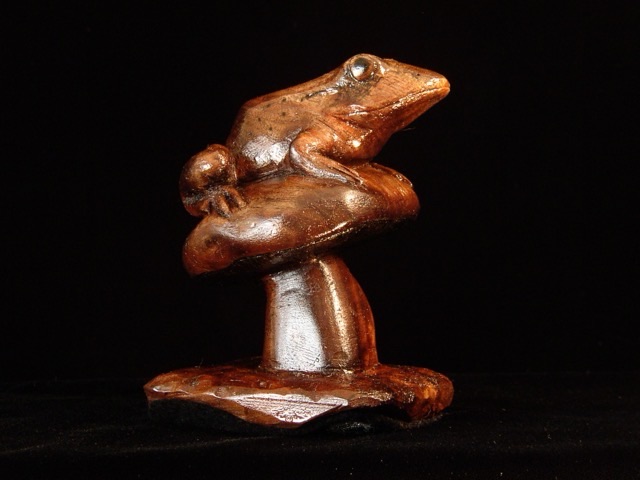
Here is a throwback to August of 2004, when I was getting ambitious with my wood carving. I had made a polymer clay model, then used that as a reference to carve the wood. I don’t remember which wood I used, but it looks like it might be walnut. That would be the time that I realized I was not only allergic to walnuts, but to walnut wood and oils as well (makes sense now, was quite devastating then). I like clear coats, and have steered away from wood stain for many years, so the dark surface of the wood is likely not stained. The darkened eye and frog skin markings were pyrography done with an old soldering iron.
I’m collecting the bone and wood dust from my work to put in my compost. I took a kitty litter jug, cut off the top and inverted it. This allows me to scrape the dust off my work surface into the bin, without it falling immediately down to the bottom and making a new dust cloud. Plus, if I accidentally knock it over (a high probability with me) less will spill.

I’m quite enjoying working antler, now that I’ve overcome my trepidation. Bone meal should be good for my garden as well.
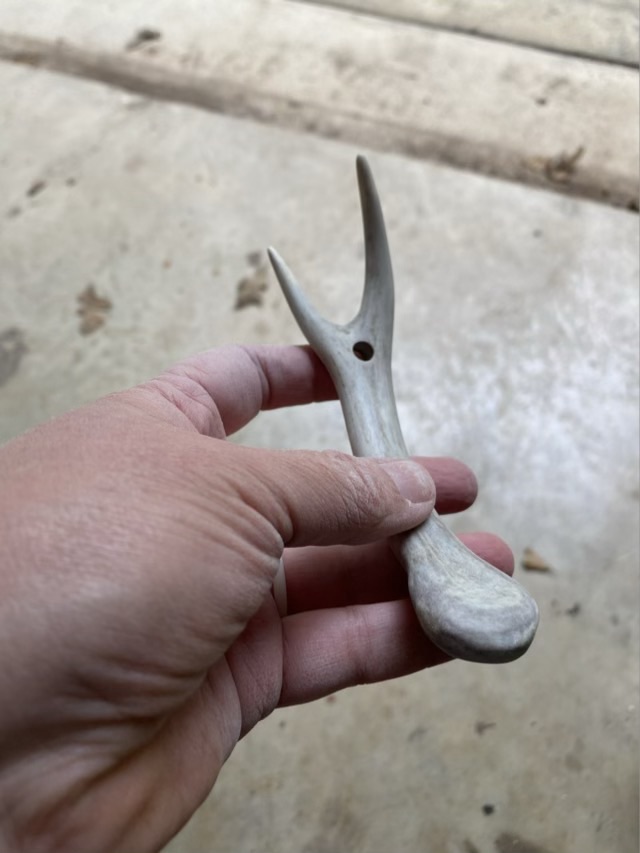
I have a bag of deer antlers that I picked up at a local garage sale, and noticed that the tines on some of the sets looked like lucet fork prongs. So I cut off the tines, sanded down the end, and drilled a center hole. (Definitely wear a mask while working bone.)
I sanded the surface down to a shine (1500 grit) and used satin cord to test out the cord making ability.
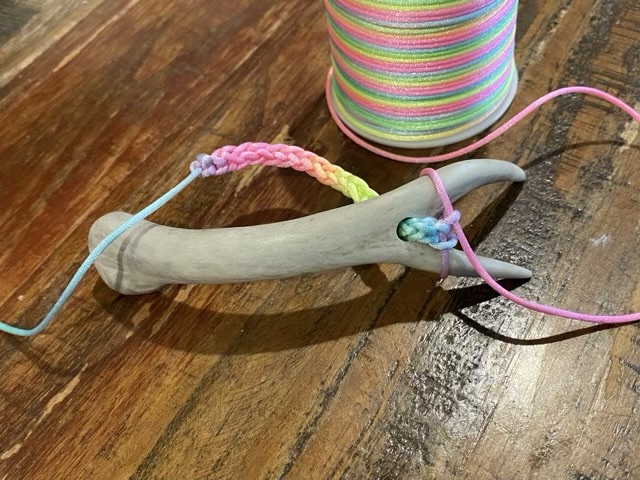
The antler works well to make cord! The shiny bone surface allows the string to move smoothly along the tines, and which aids the ease of making. Curious on how lucet forks are used? Here is a link to my video how-to!
