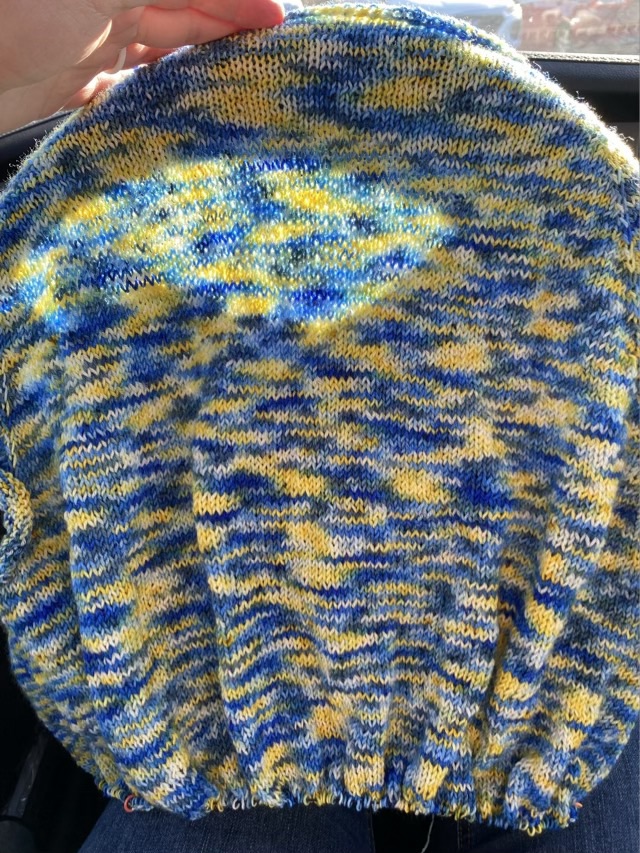
I decided to move my cardigan knitting project to be a car waiting project. When school is going, I regularly carve out an hour of my day to yarn works while waiting for pick up. It is a time that I am uninterrupted by tasks that cause me to get up and move away from the knitting, such as letting animals outside, or getting distracted by another craft. I enjoy listening to an audio book and work away. That is all this cardigan needs, is some regular focused time. I might get it done before spring.
Photo description: Cardigan draped over the steering wheel showing the back panel with variegated yarn pooling in small areas of yellow and blue. Reminds me of looking at the sky in spring through tree branches.
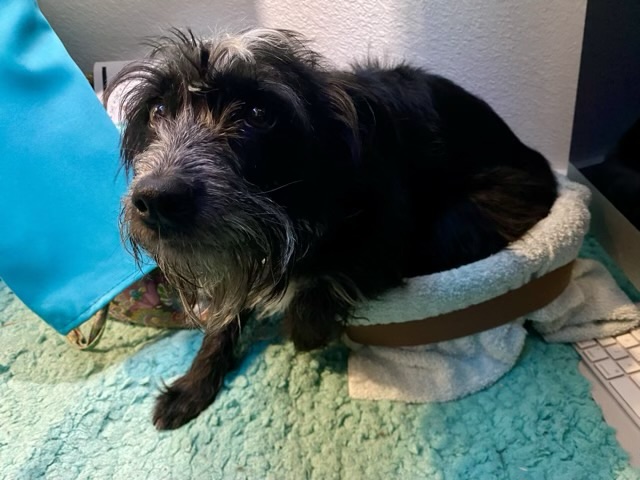
I have a cat basket in my computer closet, and Missy the dog gave it a try. Poor puppy. She is the size of a large cat, but when she was put together she didn’t get the “is liquid” property. Points for effort, though.
Photo description: 20 pound shaggy black dog with white on her face, with her back end in a cat basket.
The look on her face is because I’m taking her picture.
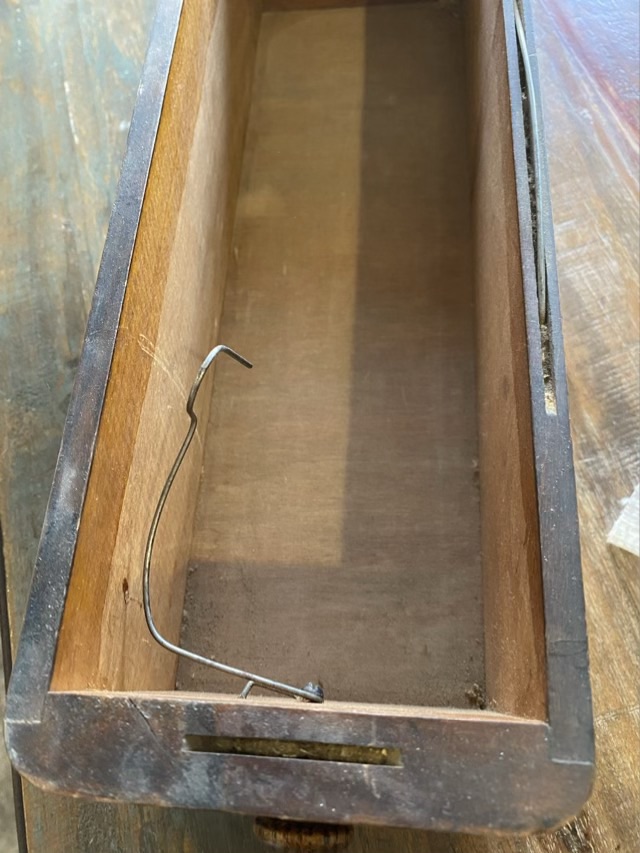
In one of the drawers of the Singer model 66 cabinet, there was a metal wire hook. Very strange.
Photo description: Inside of a wood drawer from a Singer treadle cabinet, with a wire hook attached to the screw for the wood knob.
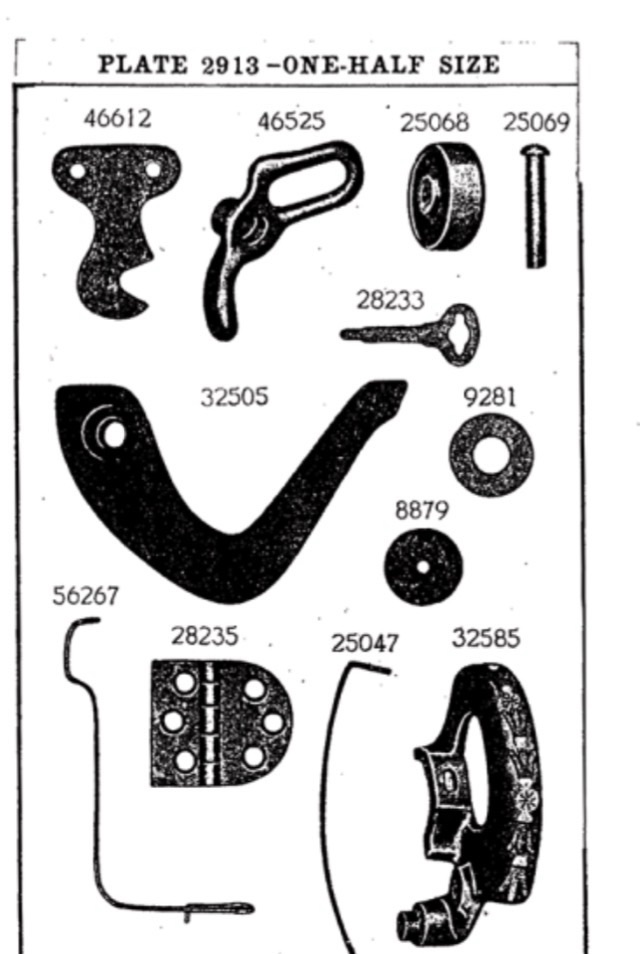
I asked on a couple FaceBook groups what the purpose of this hook was, and had many guesses, but no firm knowledge. I also signed up for the email list for TreadleOn.net, which talks exclusively about people powered sewing machines. It took a few days, but then a couple people chimed in with their informed guesses. From what I can piece together, this was intended to hold bobbins, and was an original Singer part 56267, as pictured in an illustrated plate (shown below) from MillardSewing.com.
Photo description: Illustrated plate of Singer sewing machine parts.
From what we could gather, this part was only produced for a short time. Users found it annoying and often removed it. Many people answered my question with better solutions for bobbin storage.
My hypothesis, as a long time crafter and person who sews, is that the hook was intended for bobbins, but not for storage. It is mentioned in the Singer manuals, frequently and with urgency, that bobbins should not be wound with additional thread. The old thread should be removed before winding on a new color. I have personally seen evidence that the sewing machine users blithely ignored this advice, because ALL (yes, all) of the bobbins from my model 27 and model 66 had multiple colors of thread. I believe the Singer engineers fashioned this hook to make unwinding the bobbin easier. I tested with this in mind, and it works beautifully for that purpose. A single bobbin can be threaded on to the hook, it holds the bobbin securely while letting it spin, and while unwinding the thread, the bobbin does not jump across the room and hide under the dresser, as happens every time I have unwound a bobbin previously. Maybe users found the need to not waste thread more urgent than the smooth operation of the machine. I don’t know. The modern solution is to have a plethora of bobbins, minimizing the need to unwind. I will be keeping the wire as is, and will use it for unwinding. I do appreciate good engineering.
I think I mentioned that the family Singer model 66 was seized? It turned out that the bobbin case and hook area was packed with lint. I watched several videos on how to disassemble the hook and bobbin case, including Bob Fowler’s videos, then took my machine apart, cleaning each piece as I went, carefully labeling each bag, and taking pictures often.
Photo description: Mid-cleaning of a Singer Model 66 showing the bobbin case and alignment removed, the hook still in place, and some of the oil soaked lint removed from the area.
Reassembly included putting in a new felt wick for the hook race (I found excellent instructions here), and timing the hook from a Bob Fowler video. Shockingly, I got the timing in one go, which shows that it was quality instruction. I finished up giving the ornamental covers some TLC before putting them back on, found a new needle from the drawers, installed the machine back into the cabinet, and installed the new leather belt drive. And she worked.
I wound a bobbin, read how to thread the machine (thread goes from the left to the right on the needle), did a minimal adjustment on the upper tension, and started sewing some scrap fabric. Joy! My treadle timing and speed skills are still developing (you have to make sure the balance wheel turns toward you, and absolutely not away), but she sews! Here is a video! It makes tiny stitches, so I’m working on loosening up the stitch length regulator knob.
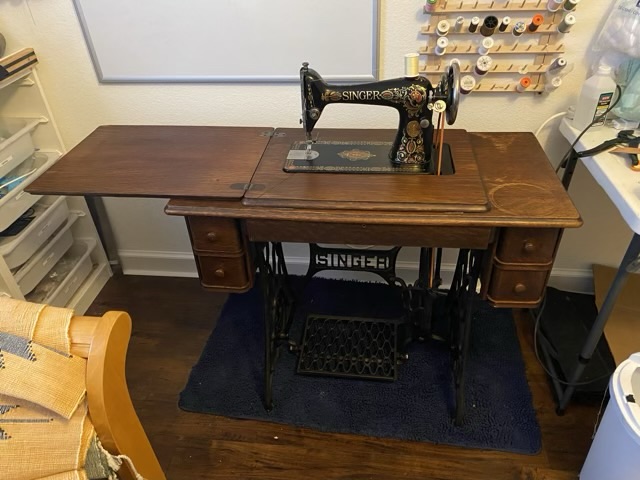
Photo description: Cleaned up and revitalized Singer model 66 treadle sewing machine from 1918.
Getting this machine up and running did not take as long as I thought it would, because it was well looked after. Yes, lint collects in machines, but all the parts were there and no one had forced the machine and broken or bent anything not replaceable. I’m going to regularly use this machine so she keeps working, and hope she is around for another hundred years and can go on to another family member.
To stabilize the top of the sewing cabinet for the Singer model 66, I did a bit of laminate repair by taking some of the broken wood laminate from the curved back of the cabinet (which is usually against a wall) and putting in in the larger holes on the top. I am not going for a full “like new” restoration, just stabilizing and reinforcing to protect it from further damage.
Photo description: Squared up tear in the wood laminate, with a matching rectangle of reclaimed laminate, craft knife also pictured on the top surface of the cabinet.
A craft knife and some scissors were tools enough to fit the wood laminate pieces, then I used wood glue and a brush to get glue in as far as I could on the lifted areas. I clamped and weighted the glued areas and let it sit overnight.
Photo description: Sewing cabinet with clamps on the edge protected with wax paper, and the top weighed down with craft books and heavy tools.
Some fine grit sandpaper was enough to smooth the edges of the laminate, then I wiped down the wood with Howard Restor-a-finish. This evened out the tone, but was not able to completely blend the water marks, which is OK. I then used Howard Feed and Wax, which is my newest favorite product. I love this stuff and what it does for the wood surface as well as the shellacked sewing machine body.
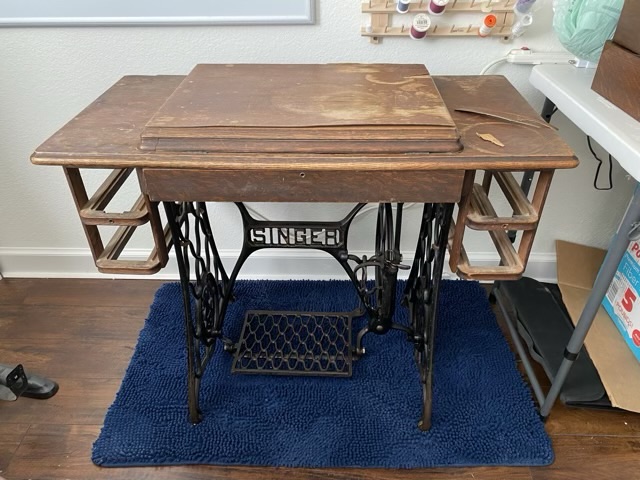
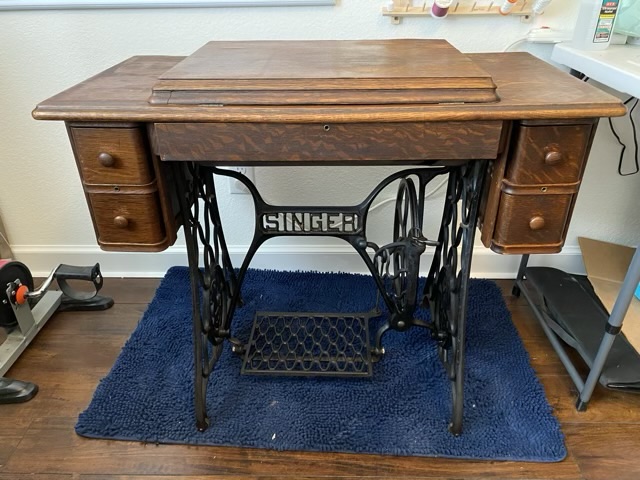
Photo description: Sewing cabinet before stabilizing, showing lifted laminate and looking dull.Photo description: Same cabinet after some TLC and lots of Howards Feed and Wax.