Add-on bag strap

My youngest enjoys taking her lunch to school, but the lunch box can’t go in her bag, she feels she must carry it. She has a rolling bag because the amount of stuff the kids need to carry (no lockers here) can’t be good for their backs. So she has a roller bag handle in one hand and her lunch in the other. This year she has chosen to learn trumpet and be in band class. She has run out of hands. I tried hooking the lunch bag to the rolling bag, but that was not acceptable. It either fell to one side as she walked, or made it hard to get into the bag. What to do? How about wear the lunchbag? It is the lightest item, after all. I bought a length of nylon webbing (marketed in the craft store as belt material and usually by the ribbons and notions), and measured across her shoulder and down to her hip. I sewed loops into each end and added lightweight carabiners to each loop.

Add-on strap prepared

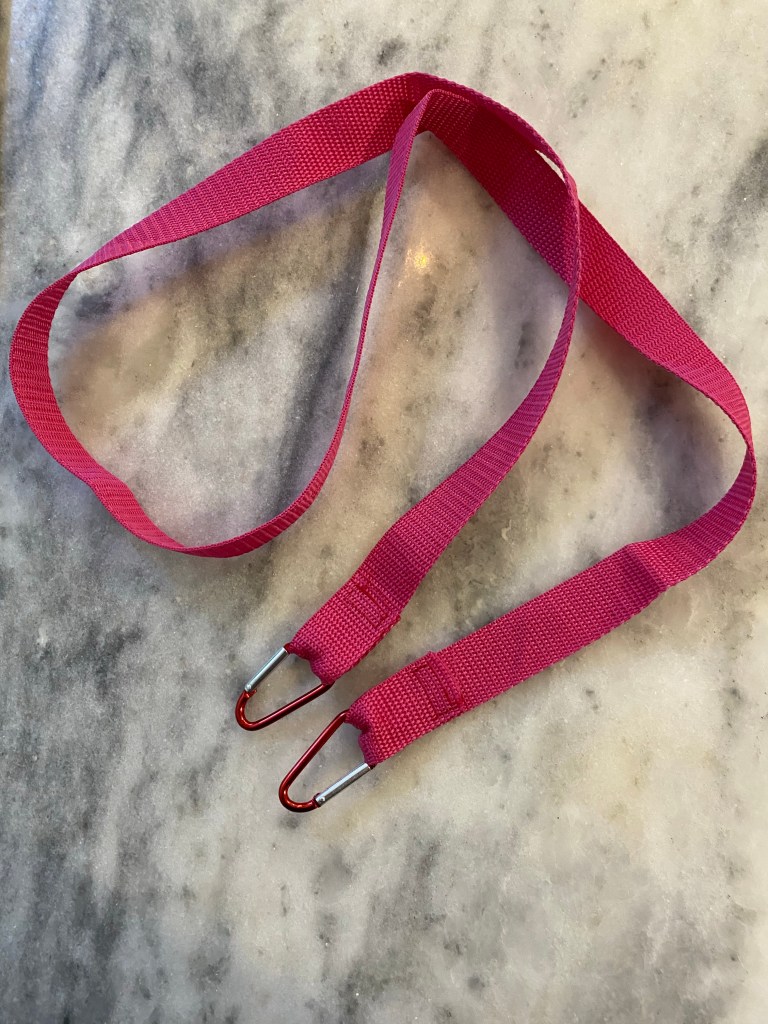
Then it is just a matter of clipping the strap to the top of the lunch box and she has a cross-body bag! And two hands available for her trumpet and the rolling bag. Thank goodness the band room does still have lockers and she doesn’t have to carry it to every class. This solution is working well for getting to her first class, and getting back home. Yay!

Add-on strap attached to lunch box

Passion flower vine

Our favorite garden place had a sale on passion flowers, so we planted three in the new raised bed my husband built. Passion flowers have amazing structure, are host plants to several butterflies, and some varieties are actually native to this area. The fruits are also edible.

Blue passion flower bloom

I believed that planting a host plant would mean we would get more butterflies. We saw some beautiful orange caterpillars with striking black spikes, which iNaturalist says are Gulf Fritillary caterpillars. I was so excited!

Gulf Fritillary caterpillars on new growth on a passion vine.

Then they ate all the leaves. All of them. On all three vines. They even broke open one of the fruits and ate most of that when the leaves were gone. I don’t know if the passion vines are going to survive.

Caterpillar preparing to pupate

Then I see the caterpillar on the fence hanging upside down and starting to form a chrysalis. I really do hope the vines can recover, because it is wonderful to watch the life cycle.

Gulf Fritillary chrysalis

I will leave the vines be until next spring, hoping!

Escape artist

Our now mostly indoor, but sometimes outdoor cat Sophie has figured out how to let herself in and out from the catio.

Trail cam picture showing Sophie slipping in through a gap in the back of the catio

We discovered how she let herself in using the trail cam, but couldn’t capture how she was escaping. So I borrowed one of the video monitors from the chicken coop and set it up in the catio. We thought she was getting out at the far end, but it turns out the exit was nearer, through a gap we didn’t even think it was possible to get to! Here is the video. Now it is time to rework that corner so my city-girl indoor cat Izzy doesn’t figure out the same escape and get caught out with the local country cats. She talks a good talk, but she is not a scrapper. I’m going to leave the return slot, though, so Sophie has a bolt hole to safety.

Video still of Sophie climbing the supports to squeeze out of the catio, opposite to where she gets in

Calibrating

Old thermometer, barometer, hygrometer (left), goes well with the circular calendar and botanical sketches in the kitchen

I found an old thermometer, barometer, and hygrometer at a neat local upcycle shop. It reminded me of something my grandparents would have had, and I thought it was in the style that my husband would like. The owner said she wasn’t sure it worked, but I assured her it was OK, if it didn’t, I would take it apart and see what I can do, (especially for only $6.) At home I cleaned it up and found the adjustment screw on the back of the barometer. We looked up the local pressure and set the dial hand to that number. The next day, the barometer hand had moved and still matched the internet reading! Hurray! The thermometer had settled in and seemed to be working, but the hygrometer didn’t have an adjustment screw and the reading was way too high.

Hygrometer mechanism

I took the hygrometer apart. The case was plastic, so the piece isn’t that old, but the tabs were in good condition so I was able to pop it open with little fuss. The mechanism of the hygrometer is fascinating. It is just a strip of metal (I’m guessing brass because of the color) with paper on one side (it could be hide, but I think I can detect fibers), wound into a coil. As the humidity in the room rises, the organic material absorbs more water and swells, which forces the coil open slightly, which moves the dial hand. I did give the coil a slight tightening, then removed the clear cover and set the dial according to my eldest’s snake hygrometer.

Testing the mechanical hygrometer with two digital hygrometers

After observing for a couple days, the hygrometer on my found piece seemed to work! I had also brought in the chicken thermometer from the coop, and we determined that it wasn’t giving a good reading anymore. I ordered a new outdoor thermometer/hygrometer for the coop, and hung the decorative one in the kitchen. I’m not planning on making scientific measurements with it, but it is interesting to see the changes In barometric pressure and humidity. I’m hoping my weather obsessed youngest takes some interest!

Thrips

My hibiscus, which was blooming so beautifully, stopped blooming. The buds would form, but would not open fully, just crack a bit, then turn brown. Internet detective time. What I suspect is that little critters called thrips are to blame. These are tiny, tiny insects that apparently can cause quite the havoc both in the garden and at home. There are 6,000 varieties and can they reproduce asexually. (This is Wikipedia knowledge, so take it as you will.)

Probable thrip damaged hibiscus bud

As recommended, I removed all the damaged buds before they could fall to the ground to start a new generation, and sprayed the plant with a mixture of Neem oil, Peppermint oil, and Castile soap (3% Neem, 2% Castille, and 2% peppermint in water mixed in a spray bottle) because I don’t want to use heavy pesticides. I added the peppermint because Neem oil has an unpleasant odor. I sprayed at dusk to reduce impact on pollinating insects. A week later, we had a bloom!

Hibiscus bloom