I’ve been wanting to make a pocketed bag for awhile. I decided to use some excess fabric thus reducing the stash as well as making something useful!
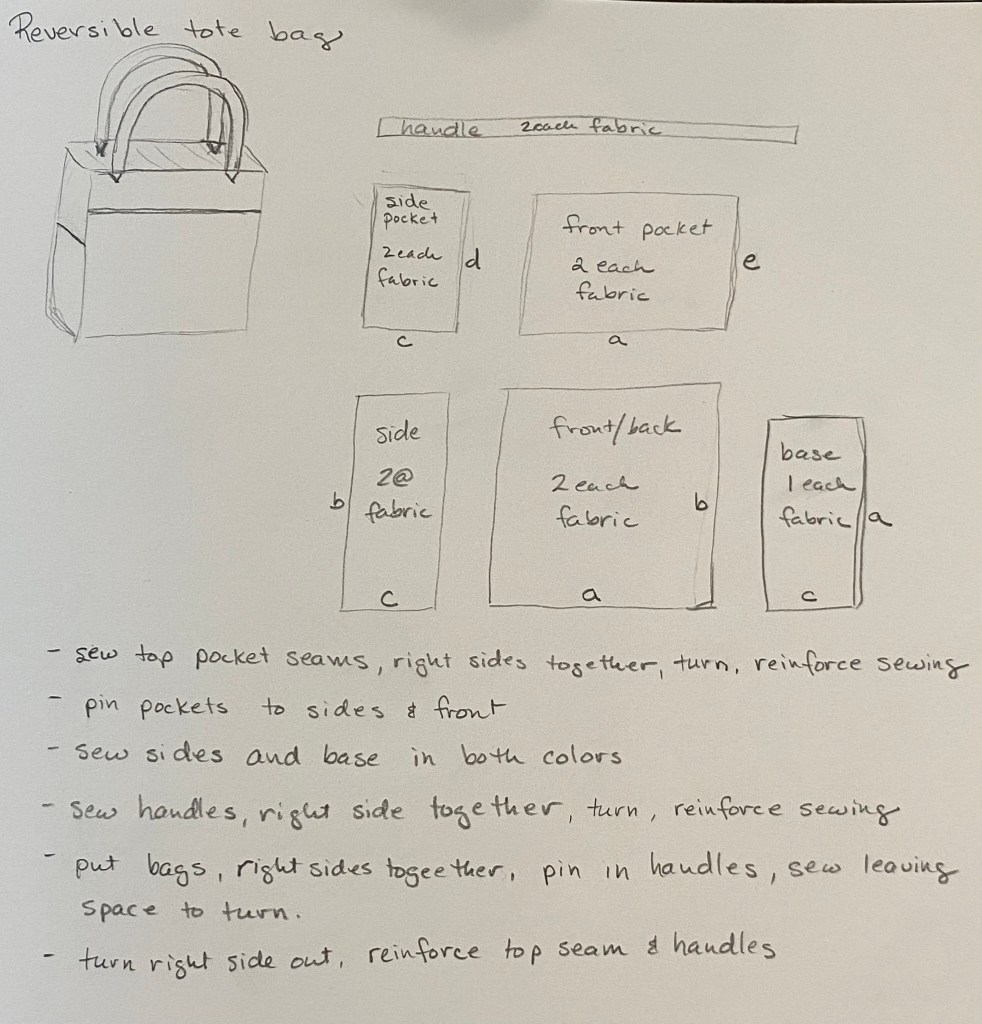
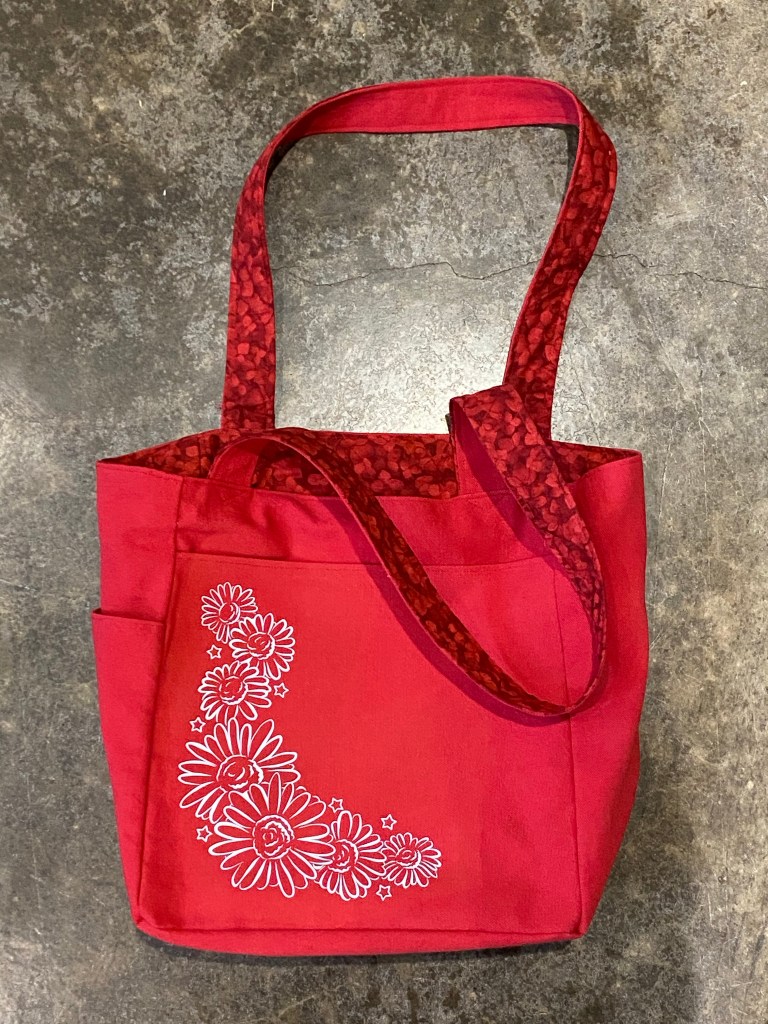
When approaching a sewing project, I usually collect my thoughts by doing a sketch and a rough outline of the steps. Then I use paper to make a pattern. This basic idea can be adapted to different sizes, but my primary goal was to make the side pocket fit a bottle of water (it is good to have priorities). Since this is size independent, I’ll give the outline of the steps below. Pictures of the finished project are at the end of the post.
1. Choose two coordinating fabrics. Iron fabric, then cut out pattern pieces.
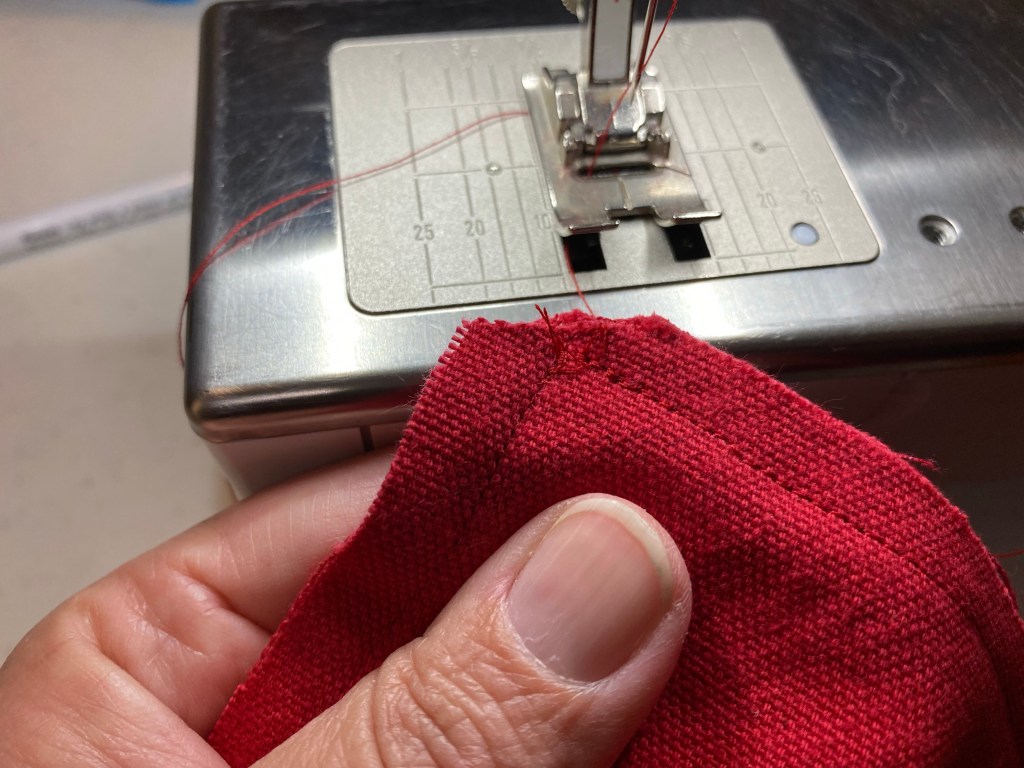
2. Sew one piece of each color side pocket together at the top, right sides together. Turn right-side out and sew along the seam close to the edge. Repeat for all pockets.
3. Place the side pocket with right side out on the matching side panel. Place the side panel with pocket right-sides together with the matching bottom. Sew the seam, reinforce the area at the top of the pocket by going back and forth. Sew the plain side panel to the opposite side of the bottom.
4. Repeat step 3 with front panels.
5. Sew up all four sides, from corner to top. Clip the corners.
6. Repeat steps 2-5 for the other fabric color. I prefer to have one pocket per panel, so be careful of pocket position (yeah, I had to do some seam ripping).
7. Sew handles right sides together, then turn right-side out. Press. Sew over seams, close to edges.
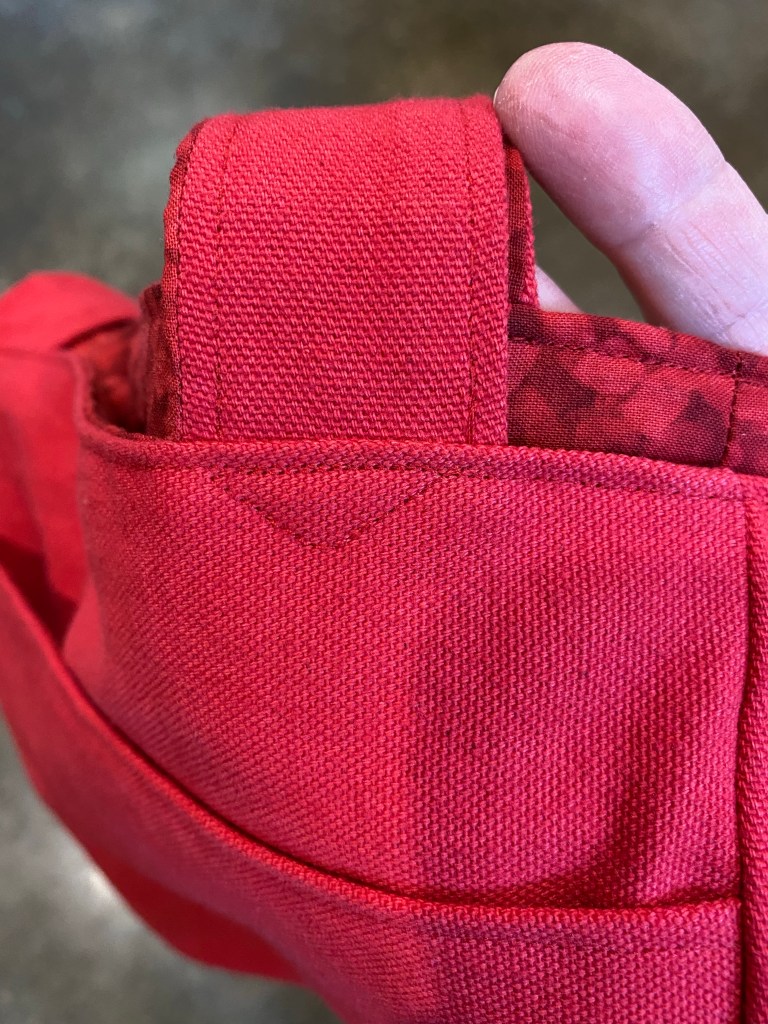
8. You should now have two one-sided bags and two handles. Place the bags right sides together and pin the handles right-sides together between the bags (loop tucked inside). Sew the top seam, but leave about 4-5” open for turning. Be sure to go over the stitches securing the handles a couple times.
9. Turn the bag right-sides out. Sew the top seam close to the edge, and add some more security stitches to the handles (I sewed triangles). Done!