Wheel chair bag

The pocket on the back of the wheelchair can only hold a pamphlet, anything thicker pokes the rider in the back. So I made a separate organizer type for long zoo trips where we need spaces for water bottles. My youngest requested space fabric, so we selected a print-on-demand pattern from Spoonflower on cotton denim fabric. I made three pouches by sewing a sleeve so none of the white backing shows.

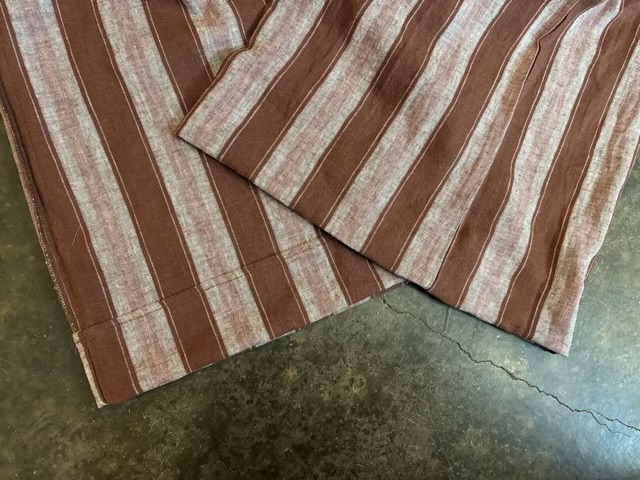
Photo description: denim fabric sewn right-sides together, turned inside out and the seam pressed with a wood seam roller to lay flat

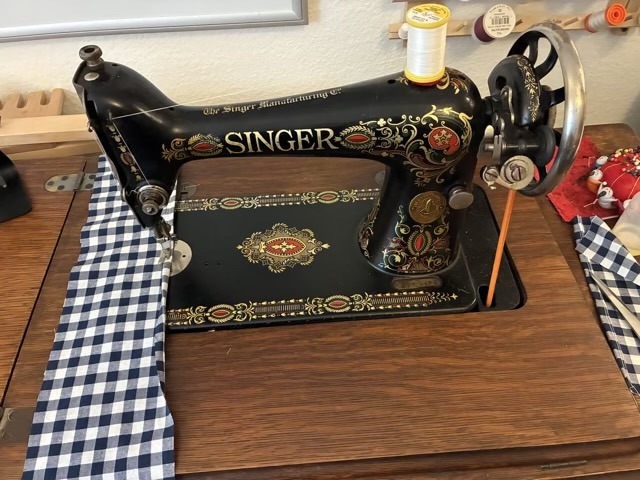
I put three sleeves on the backing fabric, and sewed down the center to make six pouches. I then made loops for the top corners to go over the handles and straps for the bottom to attach to the wheelchair frame. All of this sandwiched between another rectangle of denim. My Singer model 66 treadle handled the denim up to six layers, but eight was a struggle (a little extra oomph with the handwheel sometimes works, but you risk a bent needle). When I turned the entire assembly right side out I had to move the edge stitches in so I wasn’t sewing through 12 layers of denim (this organizer is hefty!)

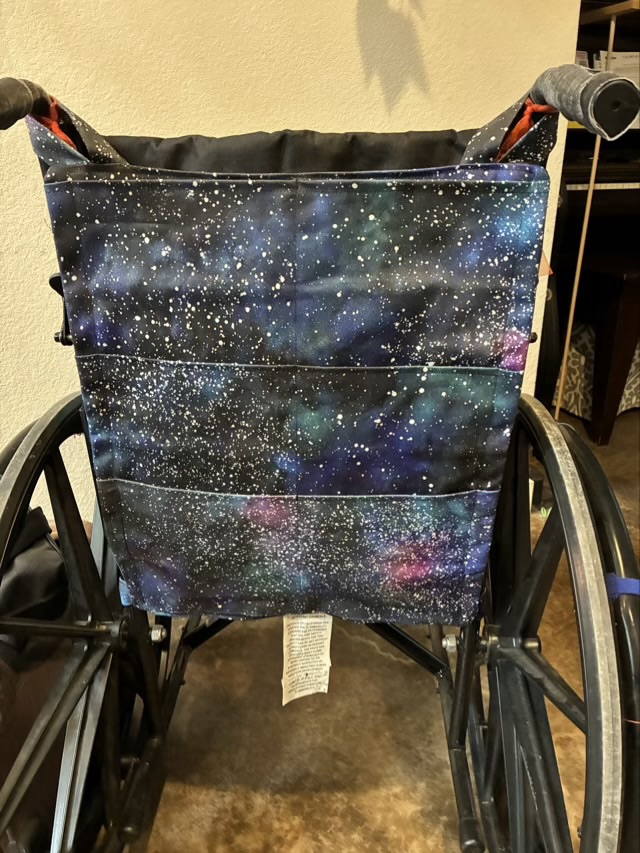
Photo description: finished organizer installed on the back of a Drive brand wheelchair

I’m pleased with the flat construction, it doesn’t interfere knees when pushing and it folds up with the chair well.

I’m also trying to track my time on projects. This one took me 2.5 hours of active time.

Singer treadle base

After removing the rotting wood top and wire brushing the rust and wasp nests from the Singer Treadle machine base, it was time to refinish the cast iron.

Photo description: Singer Treadle machine base from 1907 before polish

I chose to treat the cast iron with black stove polish to keep the rust away and keep it close to the original color.

Photo description: using a soft bristle brush to apply the black stove polish into the intricate cast emblem on the side of the treadle
Photo description: completed application of black stove polish

I used squares of cotton and a small brush to get the polish in the cracks and crevices. It was satisfying to see the paste melt into the iron.

The wheels all rolled well, so I cleaned them with a brass wire brush on my rotary tool and treated them with sewing machine oil.

Photo description: steel wheel before picture
Photo description: steel wheel after picture with the dust and dirt removed

The plan is to put on a table top, but keep the treadle functional by putting holes in the top so the drive band can come up through and run a device on the surface. I may experiment with some scrap wood first.

Throwback Thursday: combo apron

In June 2017 I combined a couple ideas for an egg/harvest apron. I put small pockets on the apron face and put buttons and button holes so the apron could be configured to hold larger things than eggs.

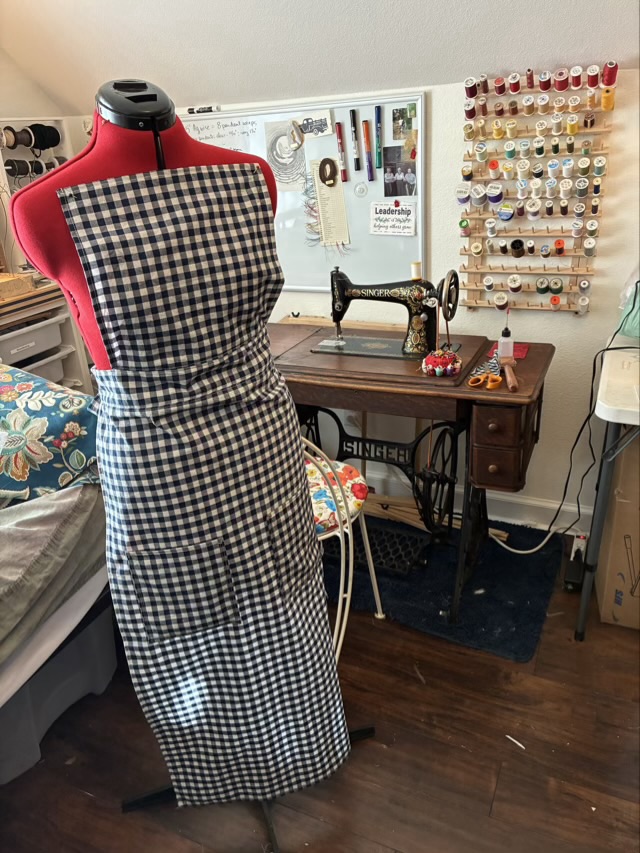
Photo description: apron in calico fabric on a red mannequin stand with pleated pockets in two rows, and three buttons at the waist
Photo description: same apron with center bottom and bottom corners attached to the waist buttons
Photo description: back of the same apron with wide straps tied in a bow

I made three of the aprons in preparation for visiting my folks so my kids could gather eggs.

Ring thimble

I was reading about Japanese Sashiko, an embroidery method that often goes through many layers of cloth for mending and reinforcing. The post talked about a ring thimble, where the pocked metal sits inside a knuckle on the palm of the hand, rather than a fingertip. I purchased one to try, then had the opportunity to test it while working on alterations for contest costumes.

Photo description: burgundy sequined fabric in the background, ring thimble on my first finger while my hand is holding the needle

This is by far the most comfortable and least awkward thimble I have ever used. It is in a good position for easily pushing the needle, but stays nicely out of the way when I’m stitching. It is adjustable, so I was able to easily fit it to my finger. Cap style thimbles are inevitably the wrong size for my finger tip. I do have a 3 in 1 thimble, thread cutter, and needle puller, which is useful, but a bit awkward. The ring thimble was very helpful pushing the needle through multiple layers of fabric, especially near seams.

The culprit and the cause

Photo description: Izzy the calico on a Barcalounger chair back she has claimed as her own complete with claw marks

Izzy the cat was quite miffed when I got a new chair and got rid of the hollow she has been carefully cultivating for years. She started the process over with the new chair and decided to add in claw sharpening, much to my dismay. To hide the damage I made a chair back cover with materials from around the house. It worked OK, but kept sliding, so I bought some nice heavy custom-print fabric from Spoonflower to make a new cover.

Photo description: old free chair back cover, with the new fabric across the seat

The first decision I had to make was how to construct the back cover. I decided to do a long strip up the sides and top, and a panel for the front and back. I tore the fabric to get straight lines (yes, light denim will tear like cotton plain weave, just make sure to tear at least an inch away from the seam line because the threads distort at the tear.) I then used the treadle sewing machine to sew up a new cover. I did a fit once the side seams were done, adjusted the length, then sewed a hem.

Photo description: Singer model 66 red-eye treadle machine used to sew the chair back cover
Photo description: newly installed custom chair back cover on a Barcalounger swivel chair

I do like the Art Nouveau look with squirrels on the fabric. Izzy has already started to reclaim the new cover. It’s a good thing I like cats more than furniture.