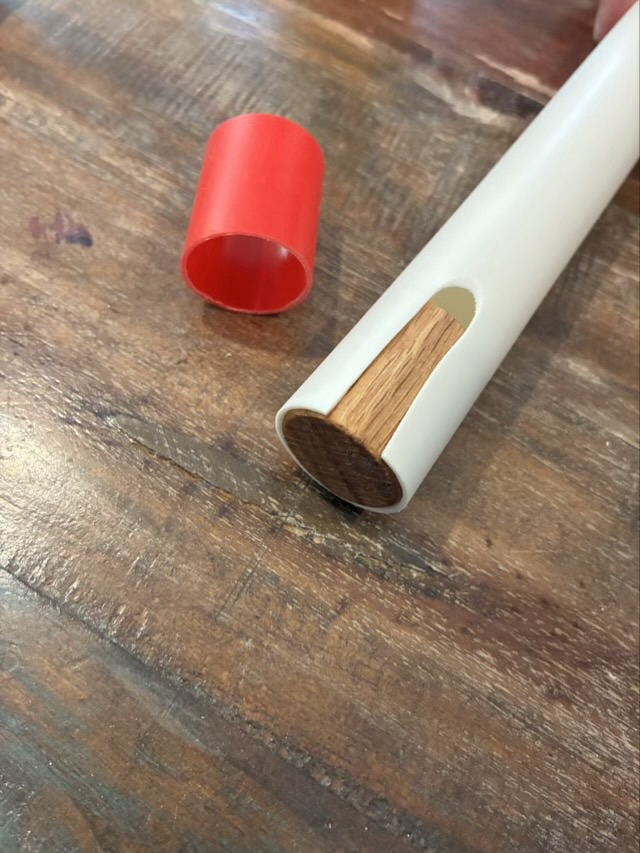
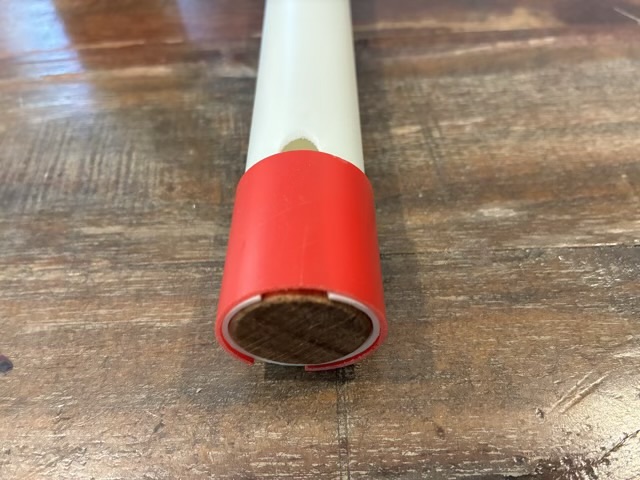
Watching YouTube shorts sent me down another overtone rabbit hole. There was a person with a flute with no finger holes playing a lilting beautiful tune. Wha?! Some quick internet research revealed the Koncovka, a Slavic shepard’s instrument made from a long wood tube. The flute has two overtone series possibilities, one with the bottom hole open and the other with it covered, giving this simple whistle an astonishing number of notes for something with no finger holes. My next question was how to make one, and I found this short YouTube tutorial to make a PVC version.
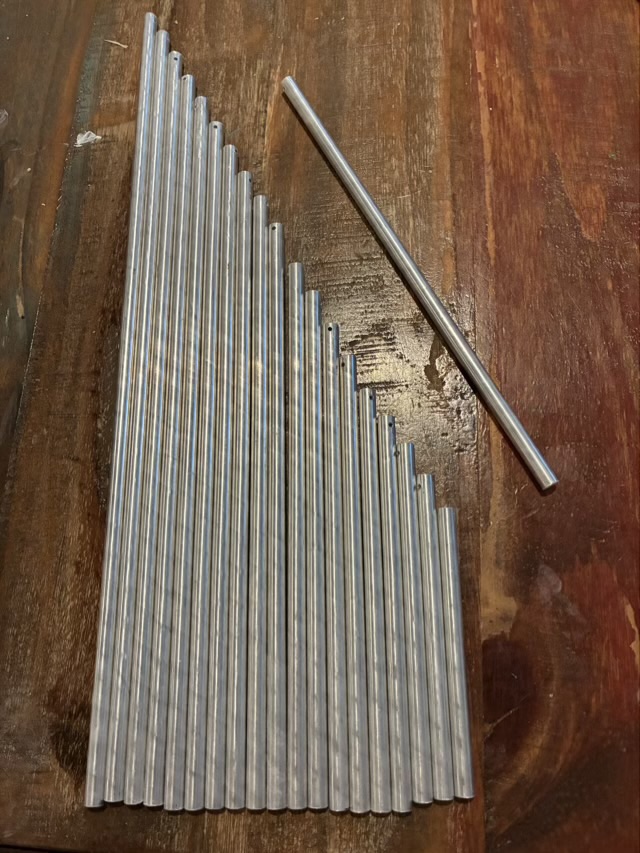
I have some thin walled PVC tubes from an old Ladder ball game. These pipes have become materials for other projects more than they were ever assembled for the game.


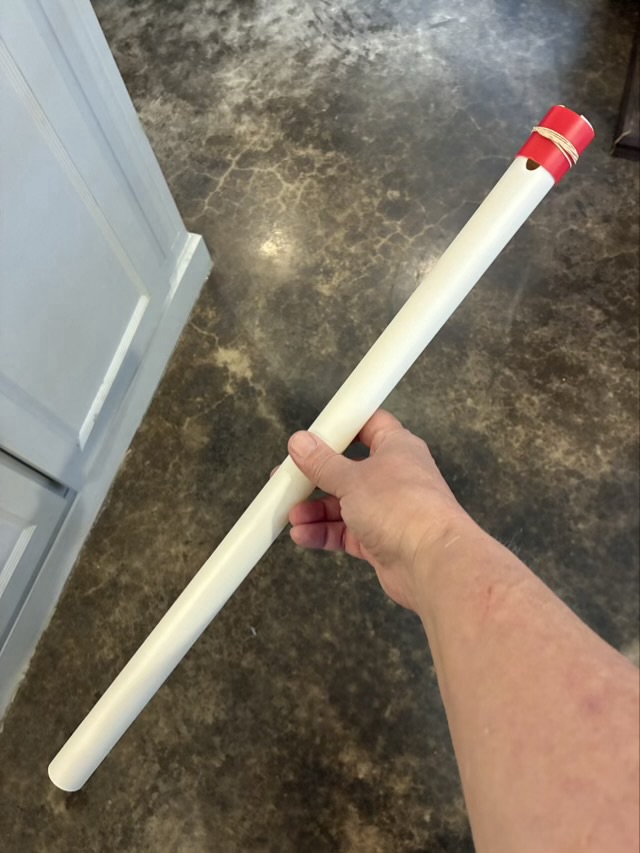
The tone of the flute is quite pleasing and very fun to experiment with. Below is an audio file of me playing the PVC overtone flute I talk about in this blog post.
I love it when my crafting and music rabbit holes merge and open a new room.