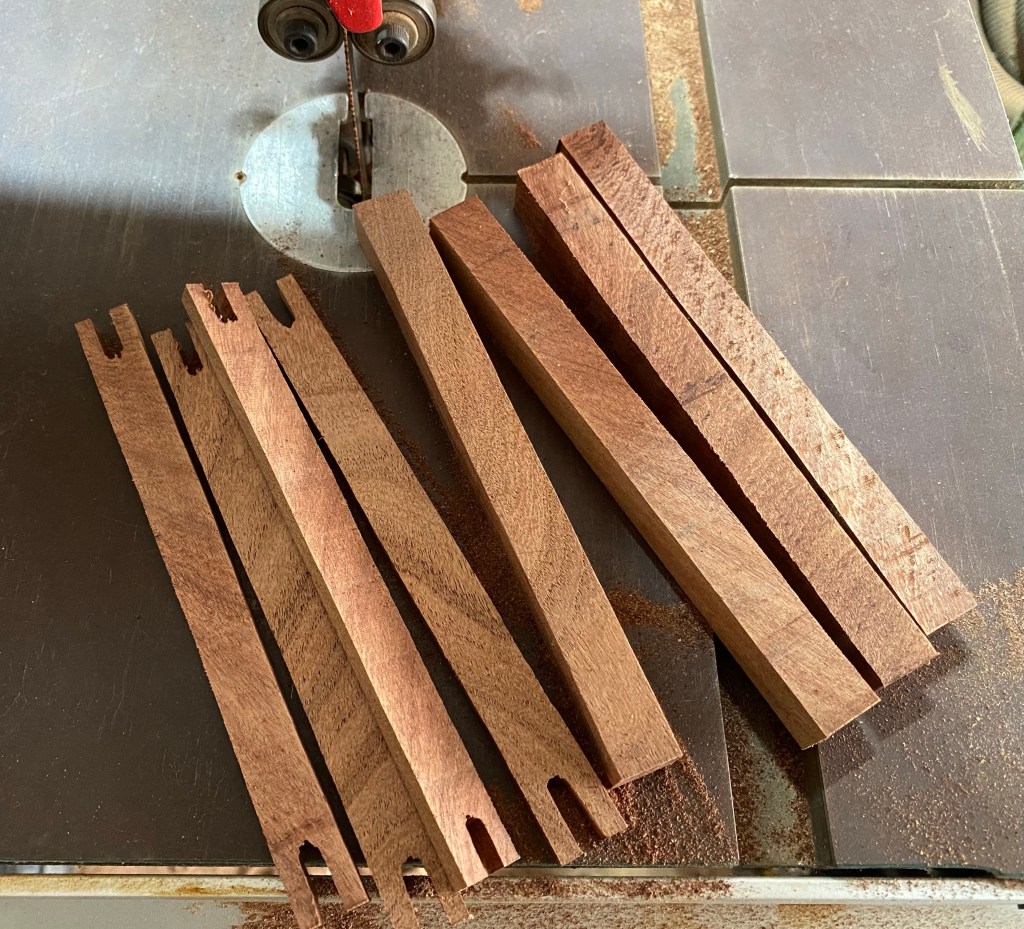
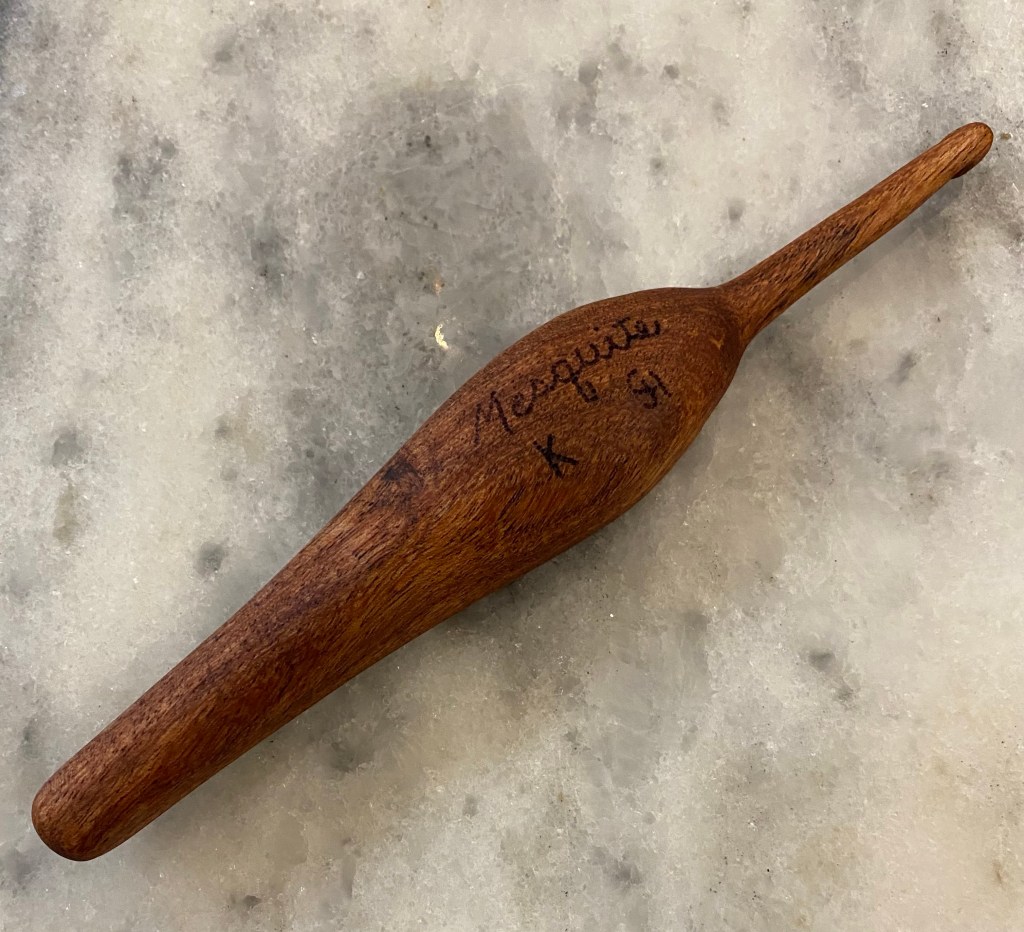
Well this was fun! I made a crochet hook out of a chunk of mesquite. Rather than a straight dowel (which are harder to hold and manipulate), I made a handle shaped to my hand, then chiseled out an indentation for my thumb. Then I shaped the actual shaft and hook. It took me a couple tries to get the length right (I used some scrap cotton to test), but found a good length and refined the head. I sanded down to 400 grit and sealed with tung oil. The shaft is a size K hook. I could probably have gone smaller, but we’ll see how this one performs. I sent it off to my Mom for the holidays!
Finished mesquite crochet hookBack of crochet hook with wood burned letteringSide of crochet hook
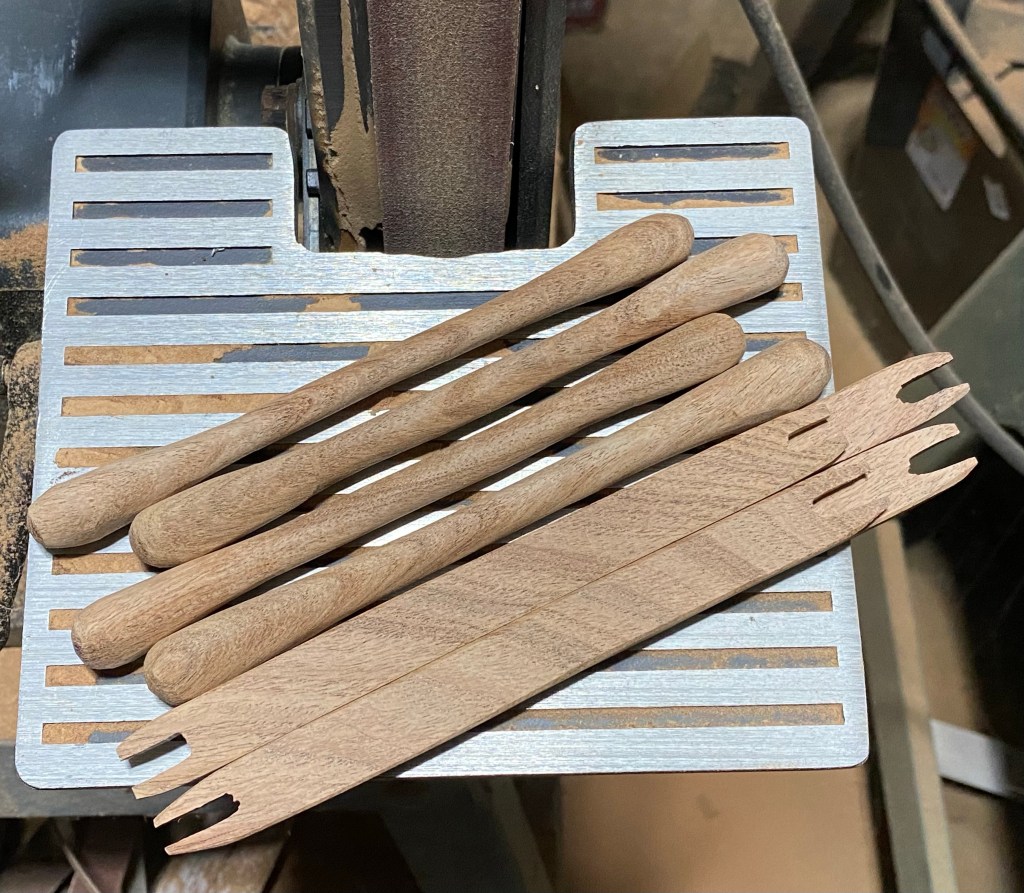
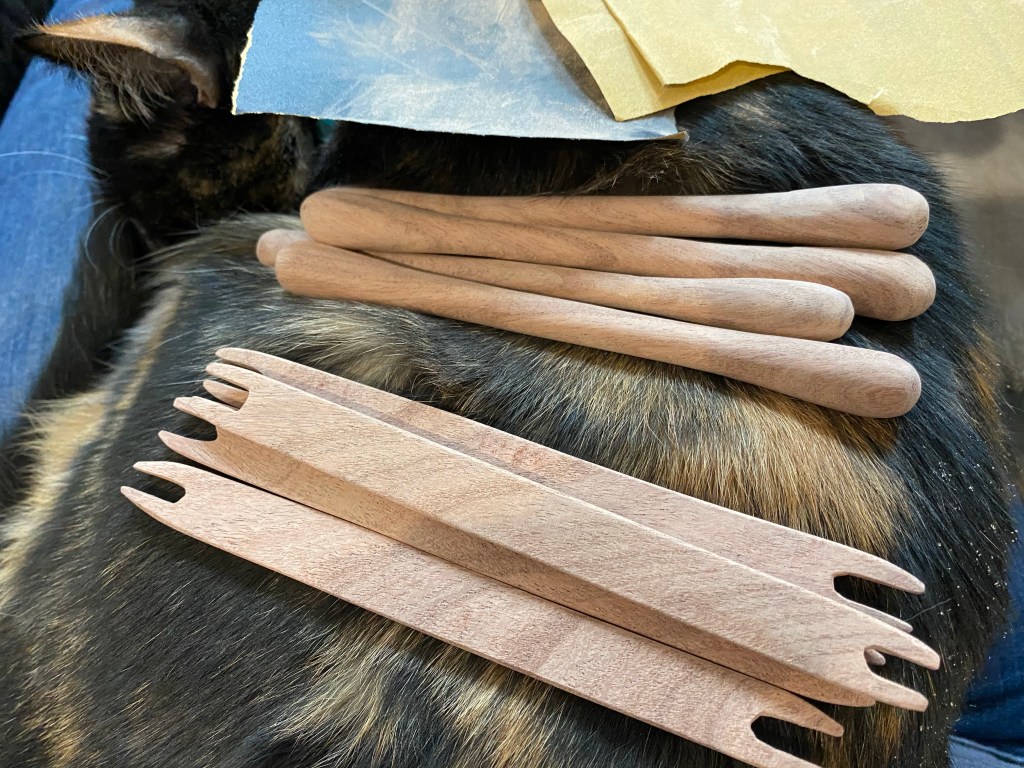
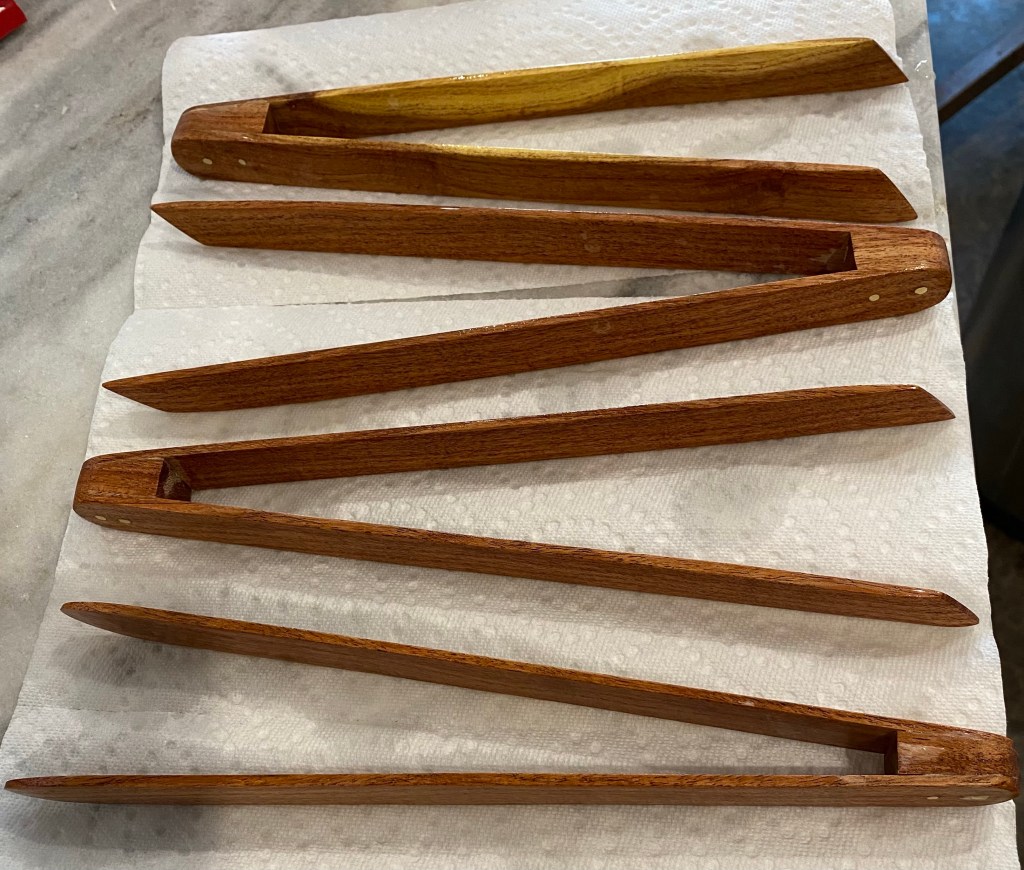
And the reveal… wooden tongs! I made wooden tongs as gifts this year. I used mesquite wood for the blades and wedge, but wasn’t confident with glue joints so learned to set brass pins. I posted on that previously, but didn’t show what I was actually making (spoilers).
Mesquite wood tongs shaped and sanded to 400 grit
After shaping and sanding, I did my usual water rinse to raise the grain, and was quite surprised that the mesquite was still quite smooth. I ran over everything with 400 grit again, just to be thorough. I added some embellishments with wood burning, then sealed with butcher block conditioner (which is a food safe mix of oils and wax).
I have learned a new skill! Hurray! I have probably been watching too much Forged in Fire; I had a desire to learn to set a pin in wood, which they don’t actually show how on the screen. Turns out, it is not that difficult. Getting the holes set evenly is another matter!
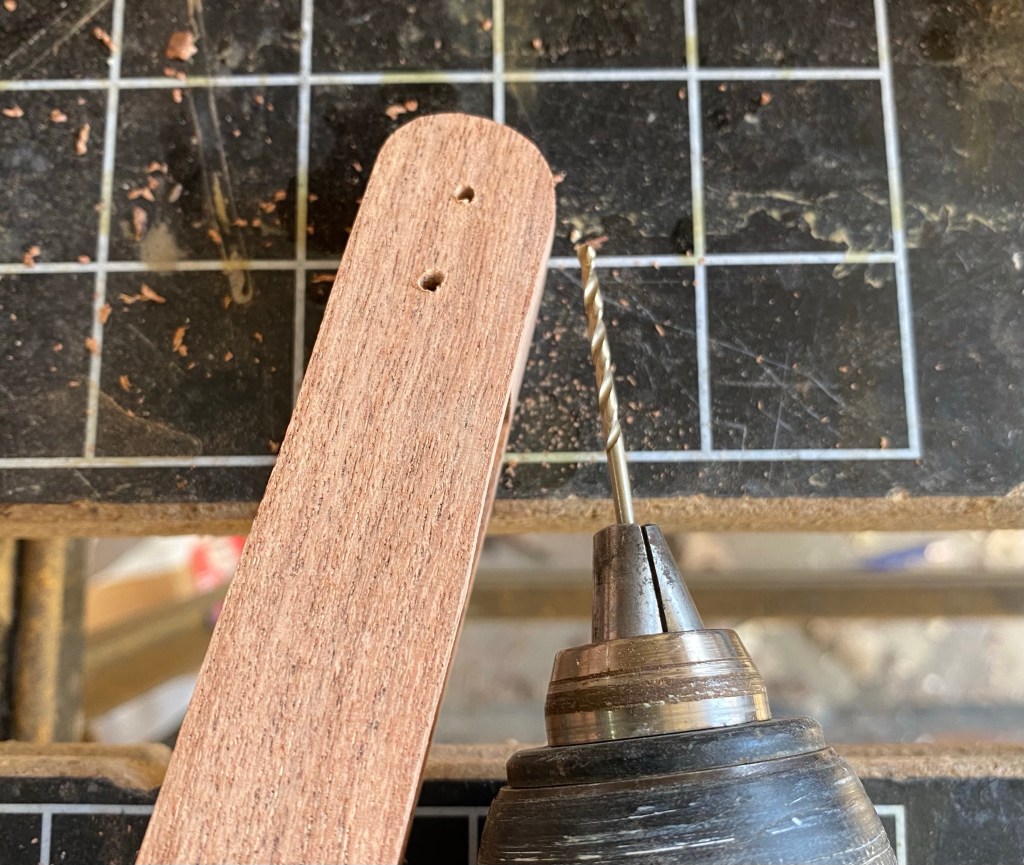
Drilling holes
First, I drilled holes the size of my brass wire. My drill bit was the exact size, so I had to ream it out some to get the wire through. When drilling, support the back of the piece with scrap wood. By drilling into the scrap wood, you reduce the chance of blowing out the back of the hole (that is experience talking!)
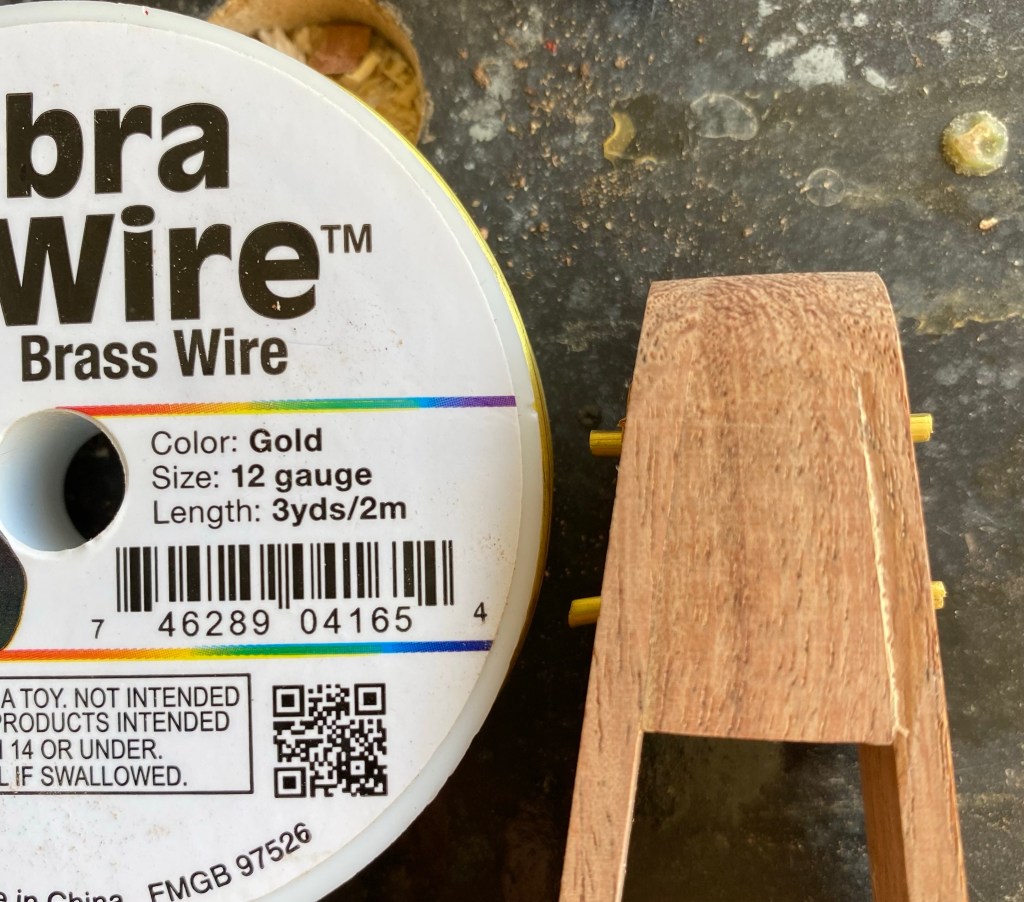
Wire inserted through the holes and trimmed 1/8” inch on each side
I cut my wire flush and to about 1/4” longer than the width, so that when fully inserted, the wire sticks 1/8” out each side. The fit of the wire should be snug; I used a hammer to drive it through.
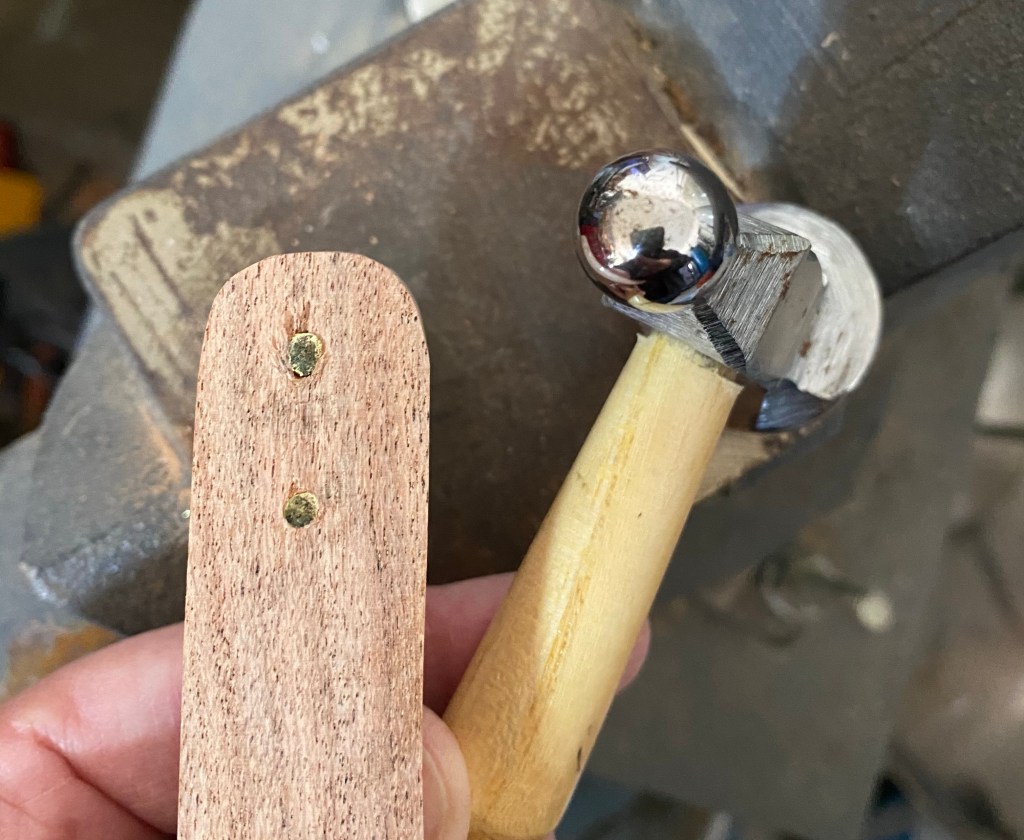
Flattening out the ends of the wire with a ball peen hammer
I took the work over to the vice, because it has a small anvil area. I used a ball peen hammer to mushroom over the ends of the wire. By hammering a few times, then flipping it over, I was able to flatten out both ends of the wire. I hammered around the edge of the wire (mostly, still practicing), rather than straight in the middle. This pushes the metal outward to round the end and wedge it into the wood.
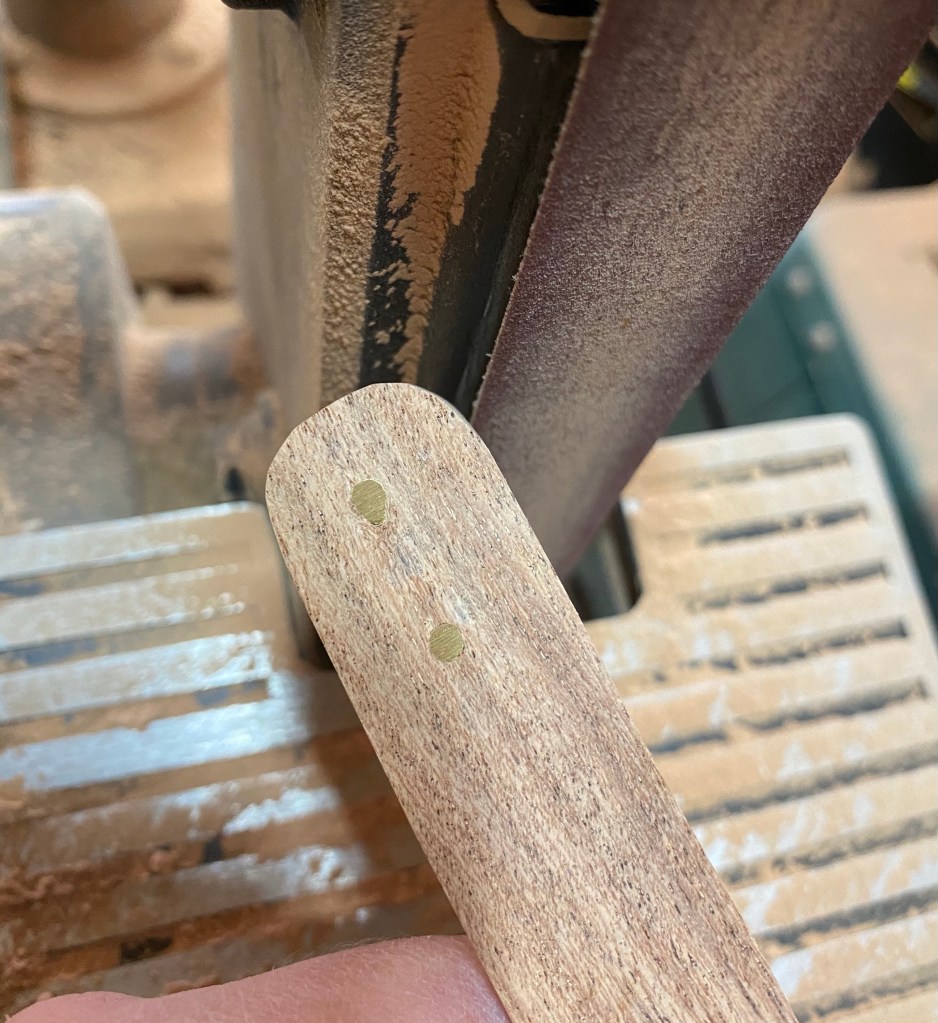
Sanding the pins smooth with a band sander
To finish, I sanded off the top of the pin so the top was smooth. The resulting brass circle is larger the than the initial hole, and fills the hole completely, so I’m fairly confident it will hold. Fun! Now what else can I pin…
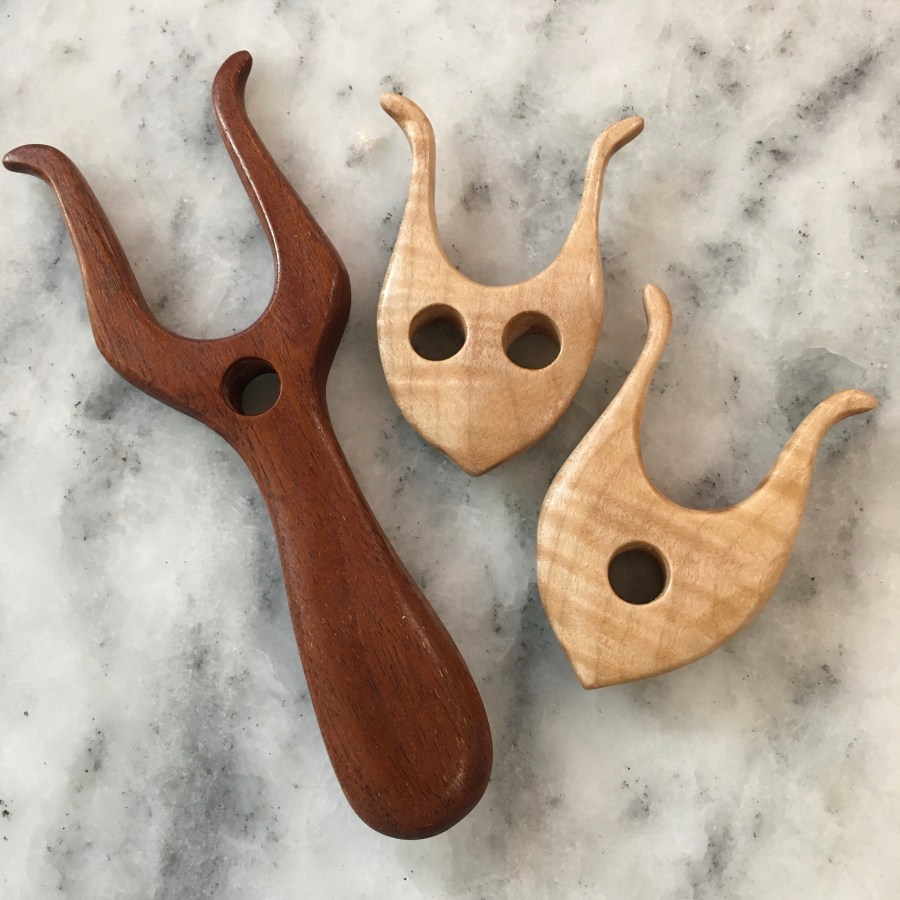
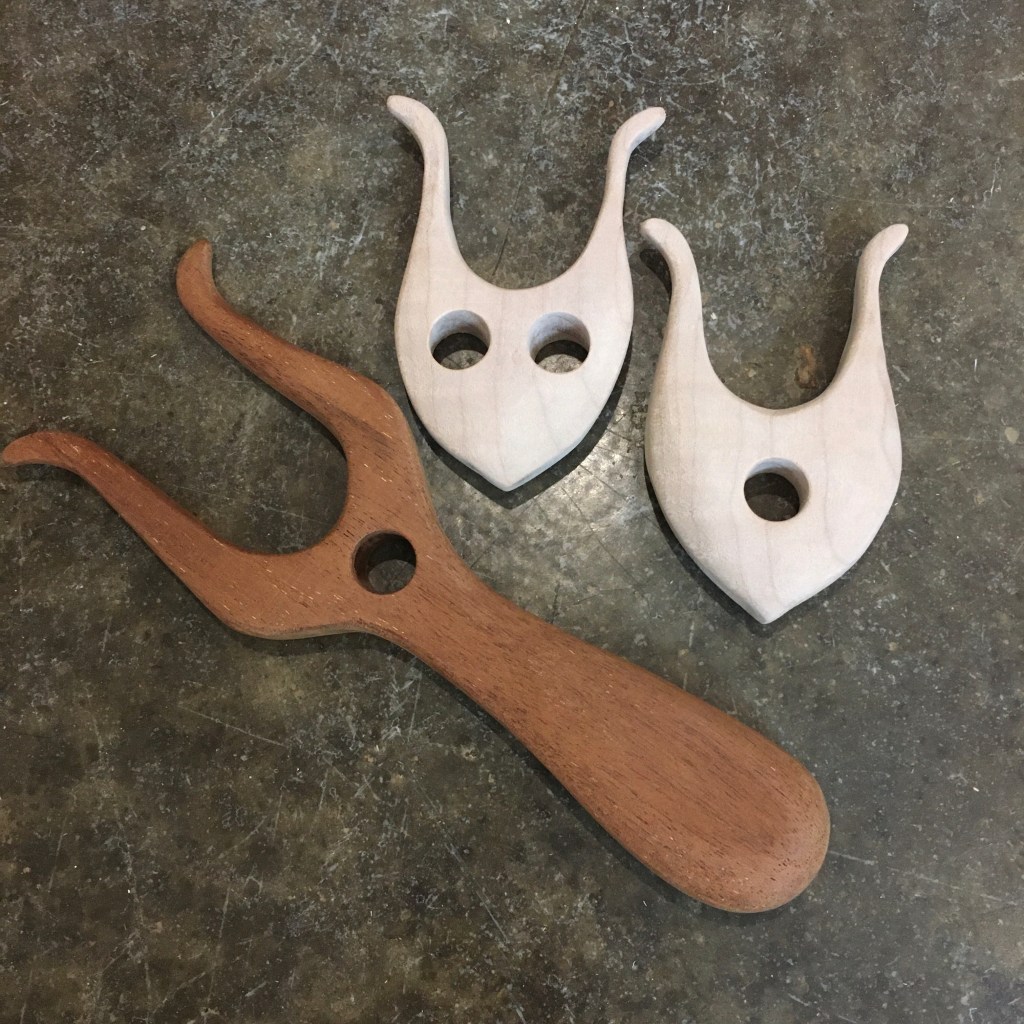
Here is another ancient craft I haven’t tried: lucet cords! It has been on my bucket list, but it wasn’t until my Mom was working on making elastic lucet cords for masks and hinted that a smooth wooden lucet would be nice, that I decided to finally make a lucet. Honestly, a lucet isn’t necessary to make a lucet cord; a forked stick would work, or even two fingers, but having nice tools is such a pleasure! I made up some designs in Illustrator, printed them out, and transferred the design to some scrap flame maple and padauk. I used almost every standing tool in the garage! Joy! I used a scroll saw to cut the shapes, a band saw to split the flame maple lengthwise, a band sander to rough out the shaping, an oscillating spindle sander to refine the shape some more, and the drill press to drill the holes. I hand sanded after all that, because nothing mechanical comes close to a hand sanded finish.
Sanded, unfinished lucets
I sanded the lucets down to 400 grit, did two rounds of water treatment, then before finishing, I just had to test them to make sure there were no final tweaks to the shape. They worked well! I like the handleless lucet best. I’m going to send the handled lucet and the owlish lucet to my Mom for testing. (Mom likes owls, and the handleless lucet is reminiscent of a great horned owl, so I drilled “eyes” instead of a single hole.)
Testing the owl lucet
I finished the lucets with four coats of tung oil. Oh how the flame maple shines! The padauk has a nice color too.
As we sat and watched the fire around the artist’s charcoal (see yesterday’s blog entry for more on that), I had extra lengths of grape vine stick, which happened to be a good length for a nålbinding nal. I had my pocket knife and decided to give carving a nal entirely by hand a try. Previously, I used a drill press for the holes, and a band sander for shaping. It was quite easy to carve the grape vine, and although it does have some flex, it is sturdy. I was able to carve out the eyes of the nal, which was the trickiest bit. I also added a channel along the eyes, which helps the loops of yarn pass through easily with the needle.
Grape vine nal, initial carving
After roughing out the shape with my knife, I took 120 grit sandpaper and refined the shape and the eyes. Then I used 220, 320, and finally 400 grit to smooth the wood. Rolling the sandpaper into a tight tube helped sand out the holes.
Nal sanded smooth
At this point I tested the nal with some scrap yarn and found that it had an unpleasant bump in the middle. I went back with the 120 grit and sanded out the lump, then smoothed it out again. To be sure I had all the wood fibers smooth, I ran the nal under water. This raises the fibers that want to raise, and is an important step in wood finishing, especially for hand tools. If this step is skipped, those fibers still raise, but do so when the sealant is applied. It is much easier to use water first. When the nal dried, I sanded again with 400 grit. It needed it! I repeated the water treatment, then I had a nice smooth nal.
Raised wood fibers after rinsing with water
I usually leave my nals uncoated, letting the natural oils of the yarn and my hands condition the wood. Since the grape vine had so much raised fiber after the water treatment, I decided to apply a couple coats of teak oil to seal the nal.
Finished nal
The love the light and dark color of the wood and the slight curve!
Test round with hand spun merino wool and grape vine nal, Mammen stitch