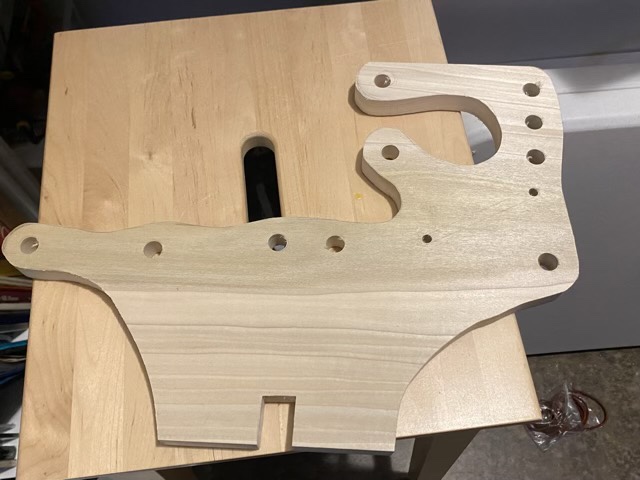
I’ve broken this post into several sections because of the length of the explanations. Yesterday was part one, laying out and cutting of the body of the loom.

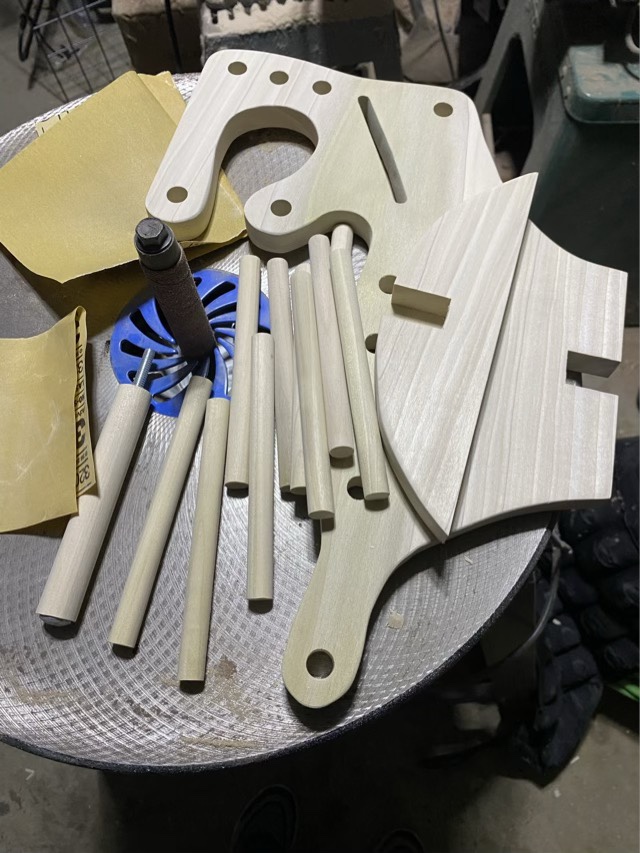
For the posts, my limiting factor was the length of the carriage bolt. I could make the 1/2” posts 6” long, but the 3/4” tension rod needed the carriage bolt to be accessible on the back of the loom. So the rods had to be 5 3/4”. I drilled a quarter inch hole through the 3/4” dowel, and threaded in the carriage bolt, pounding in the last bit to lock it in. All the parts were sanded down successively to 320 grit.
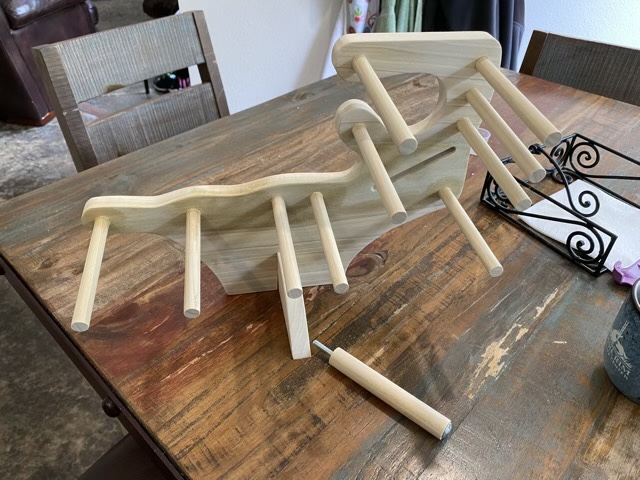
To secure the rods into the loom body, I applied a thin layer of wood glue at the bottom, and used a rubber mallet to pound the dowels into the holes until they were flush with the back. Before the glue dried, I wiped the whole loom down with a wet cloth to both remove the excess glue, and raise the wood grain. When the water dried, I sanded everything down again with 320 grit.

To give the loom a light stain-resistant finish, I rubbed in a 50/50 mixture of tung oil and mineral spirits to soak into the wood, then when that was dry, rubbed a light coat of pure tung oil over the surface.
To be continued.