Wind spinner columns

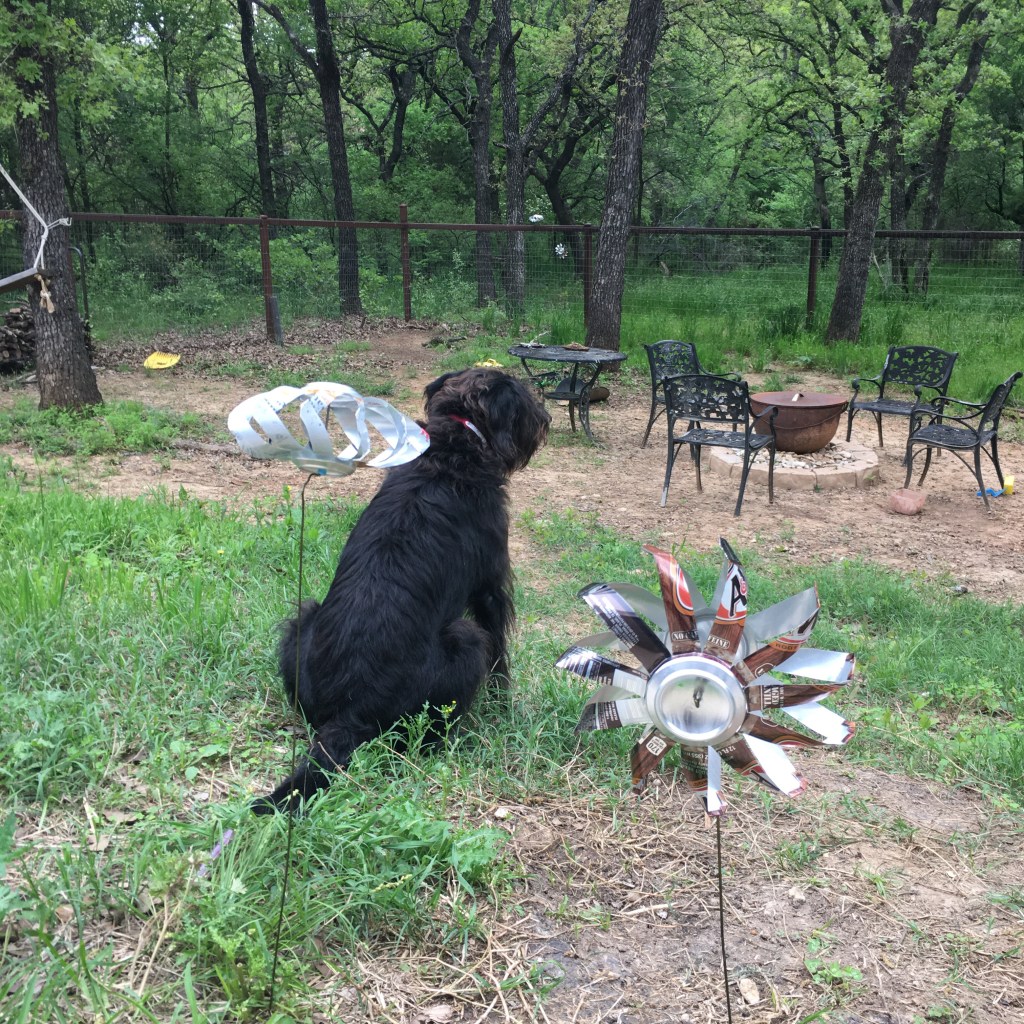
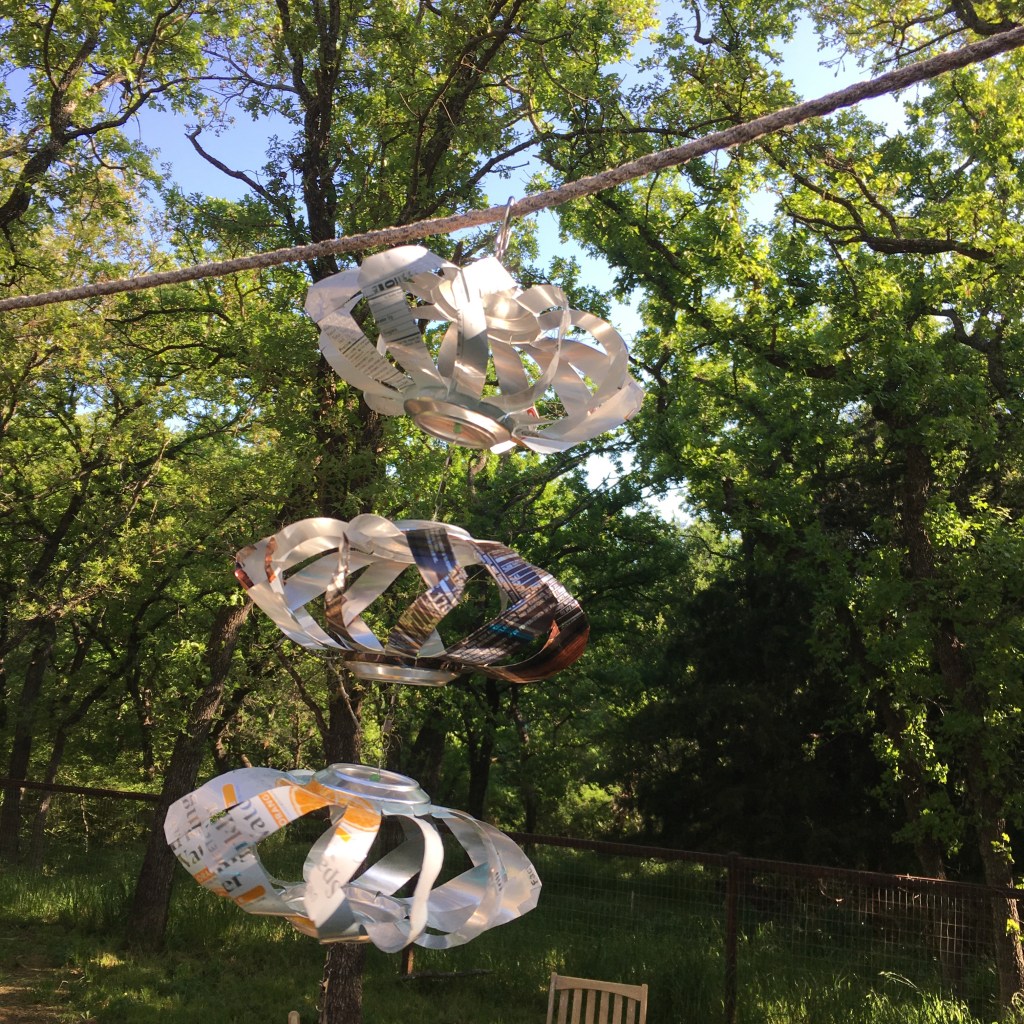
I’ve made more aluminum can wind spinners. As long as I was making, I put together a time lapse video showing my process for making them. My written instructions are on a previous post here. I had the idea of mounting a whole string of these as a column! So much spinning joy!

Wind spinner column mounted on the chicken run

I used wire hangers designed for pants for the support brackets.

Two hangers and a pair of pliers

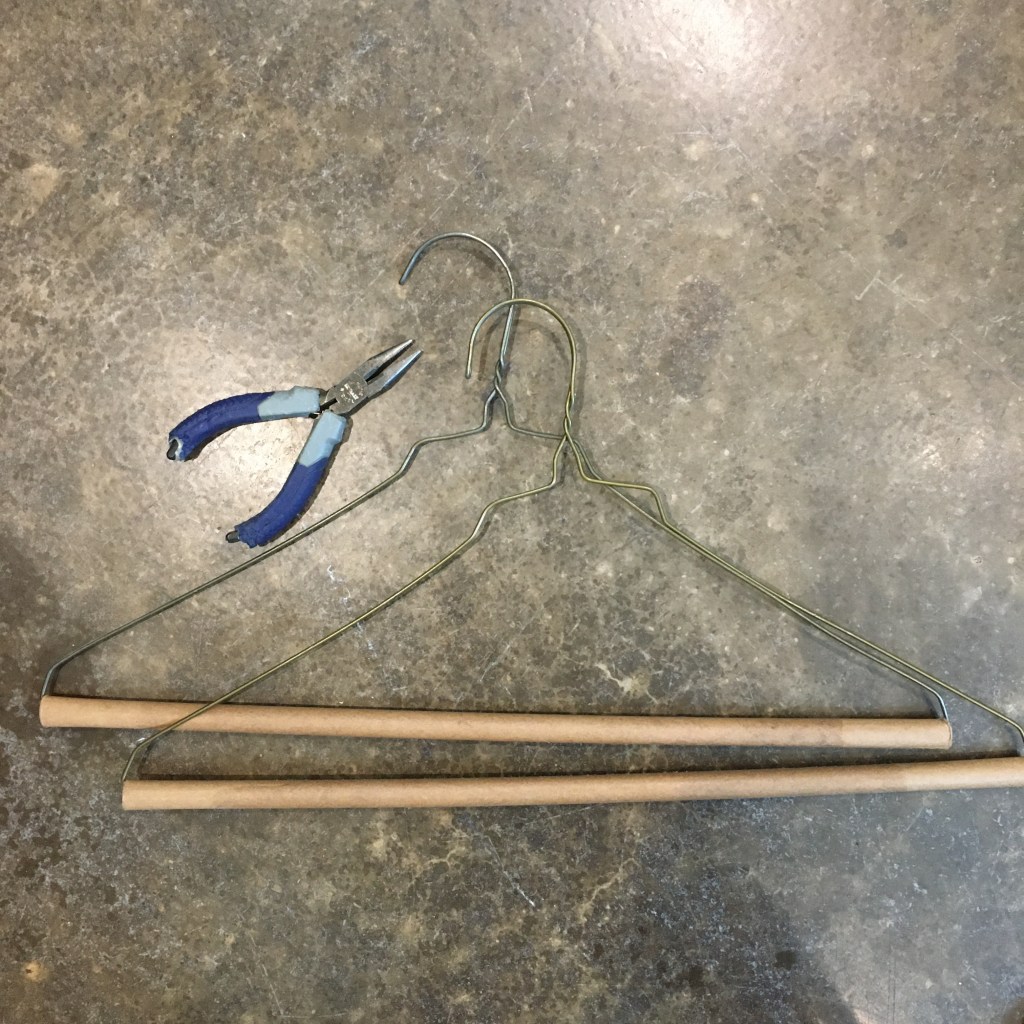
I removed the cardboard tube, and broke off the ends that go into the tubes (I learned the hard way that the sharp bend is already brittle). I made loops for screws, and straightened the curve. I put a 90 degree bend in the folded end to hold the cable for the spinners.

Modified hanger to make bracket for the wind spinner column

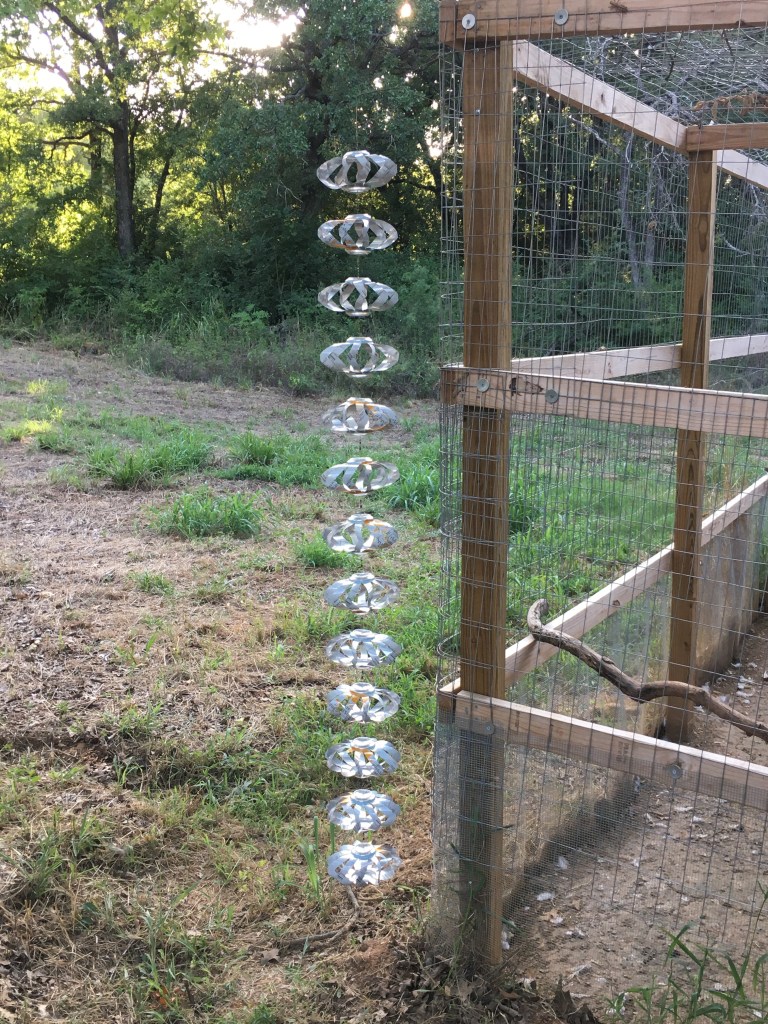
I used lath screws to attach the brackets to a corner of the chicken run. I started with the top bracket, then hung the column of wind spinners. I attached the bottom bracket to hold the column steady so the wind doesn’t blow it into the structure. When complete, it looks like the column is floating, which is a nifty bonus!

Wind spinner column mounted to the catio

I mounted another wind spinner column on the catio. Obsessed? Me? Maybe. Here is a video for your spinning enjoyment.

Can wind spinner

I found a tutorial for making wind spinners from two cans and I may have a problem. These are easy to make, I can make them while still being present for my kids and watching after them as they do their homework, each one doesn’t take much time, and I really like watching them spin. I’m currently experimenting with the best way to get them to spin easily. I have some set up as traditional pin wheels, and some set up on vertical spikes. I’ve been using old wire hangers as supports (seriously, I think these propagate in the dark, I always seem to have some even though I haven’t had dry cleaning done in months).

Aluminum can prep

I found that marking 3/4” around my cans gives me 11 even spokes. It is easiest for me to remove the top of the can with a craft knife, then cut the spokes with kitchen shears. My fingers work fine to bend the spokes out at the base.

Two cans ready to connect

Bent nose pliers make folding up the ends of the spokes easier, and to start, I just bend up about 1/4” to 90 degrees. Then when putting two spokes from different cans together, I finish crimping down the fold, and add a corner fold to secure the connection.

Connected spokes
My dog photobombing the spinner experiment

So the best way is stringing vertically and hanging, by far. The hanger wire mounts seem to have too much friction. I hung three with beading wire (nylon coated steel cable), with glass beads and separated with fishing swivels. Even the slightest breeze gets these spinning!!

Hanging aluminum can wind spinner

Recycled Bottle Wind Spinner

Awhile back I shared my new obsession with bottle cutters. One of the reasons for the obsession was that I really wanted to experiment with the material, and I had the idea to make a wind spinner.

I love the wooden wind spinners that look like they transform their shape as they spin. I thought: “Could I do that with recycled materials?” Turns out I can! The bottle string is light and strong and fairly easy to shape with a little heat. And if anyone else wants to make a cool looking spinner with recycled materials, I made a video to show how I did it.

Not only is the spinner fun to watch in the wind, I hung it near the coop to scare away aerial predators and wild birds that may be carrying avian bird flu. (That is my story and I’m sticking to it. It is not at all that I have a fixation with kinetic sculpture.)