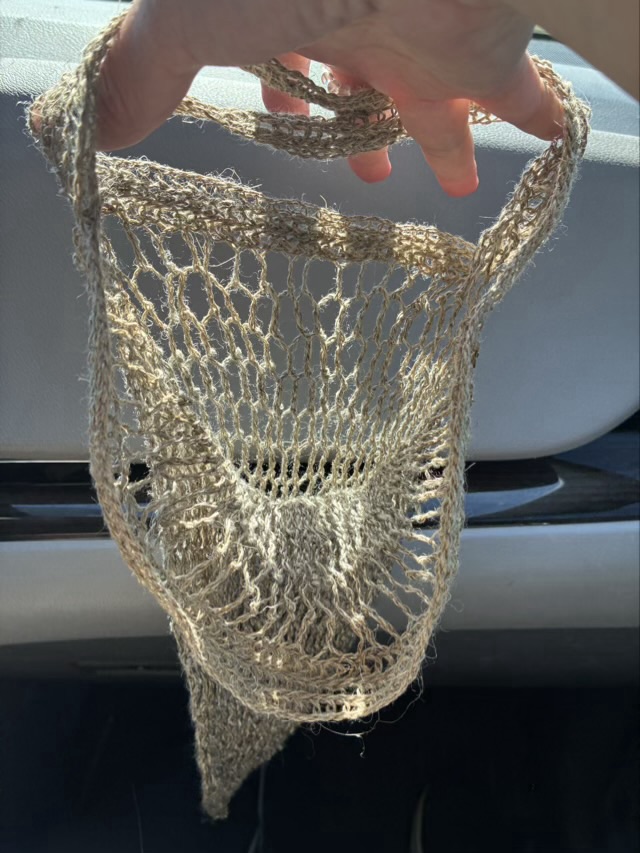
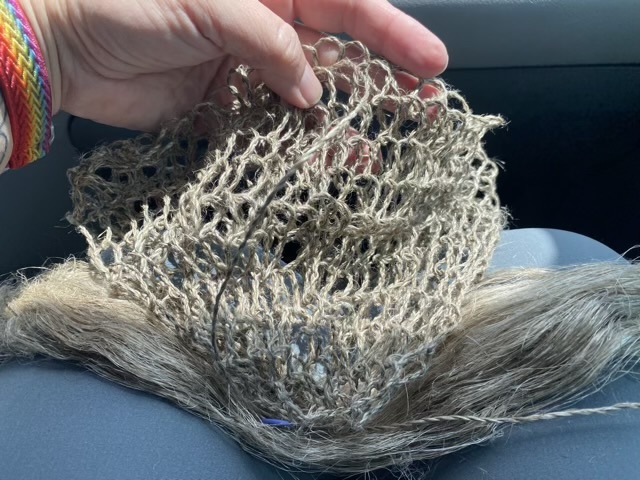
I finished nålbinding handles onto my loop-and-twist linen string bag.
Photo description: loop-and-twist bag made from twined flax and finished with nålbound handles
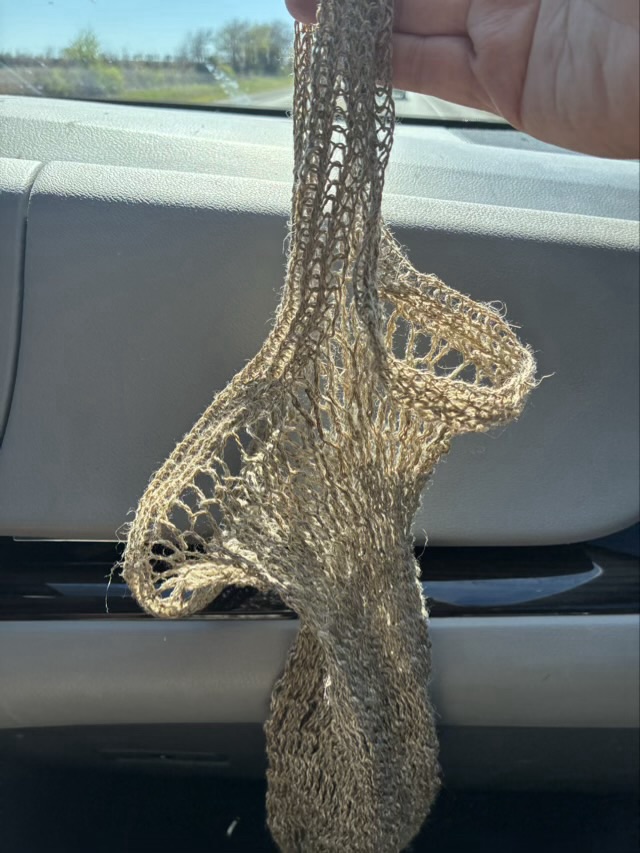
I thought I followed the pull strings that I installed originally, which split the top loops evenly. Hm. No. Not sure what happened, but the second handle had many more loops than the first.
Photo description: side view of the same bag showing the uneven split
The handles didn’t really work out like what was in my head either. The two handles work better as one handle, with access to contents from the sides. I actually think this would be lovely to hold my onions and garlic in the pantry. So while it didn’t fit my original vision, it still will have a use.
Note to my future self: a loose row of nålbinding as a top band, then two arced handles on the sides might work, like a tote bag.
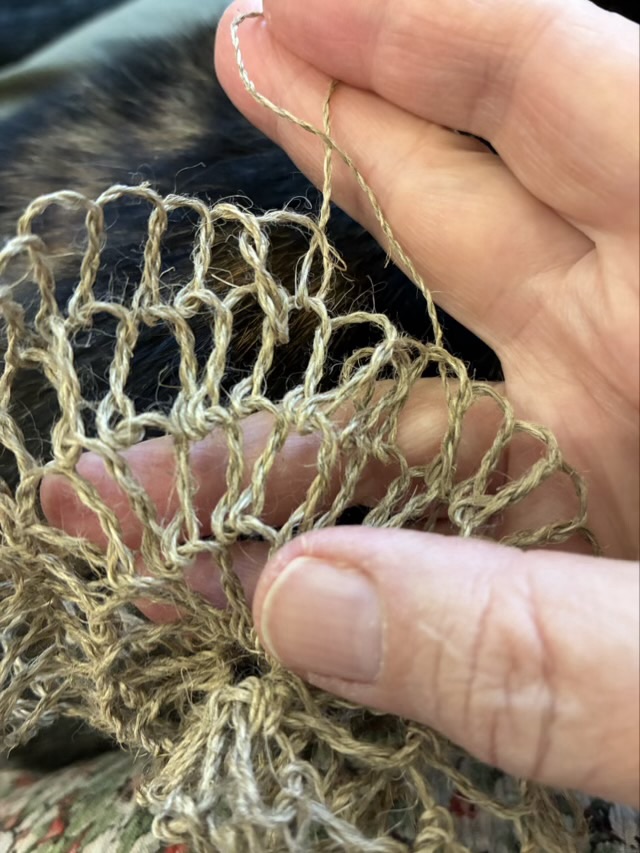
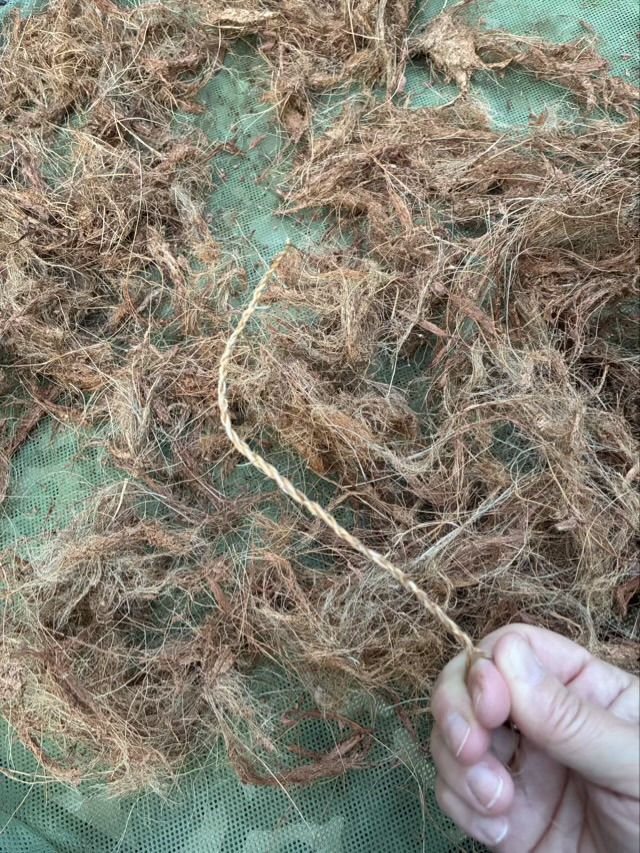
Ripping out knitting or crochet is just a matter of pulling. When I decide to undo a looped project, it isn’t that easy. I had started a new loop and twist bag, but then learned of a new-to-me ancient technique of looping around a core cord. That sounded much more interesting to try than continuing on a second iteration of the same bag I’ve made before. So I pulled out the knots, first the twist, then the knot, for each loop.
Photo description: one twist removed from the beginnings of a loop and twist net bag
The whole of the cord has to be pulled back through each twist and loop, and since I made the cord as I went, I had quite a lot of twined flax to pull through. Eventually it was too much and I kept dealing with tangles, so I cut the cord. I was able to recover a good bit of hand made twine, so it was worth the effort.
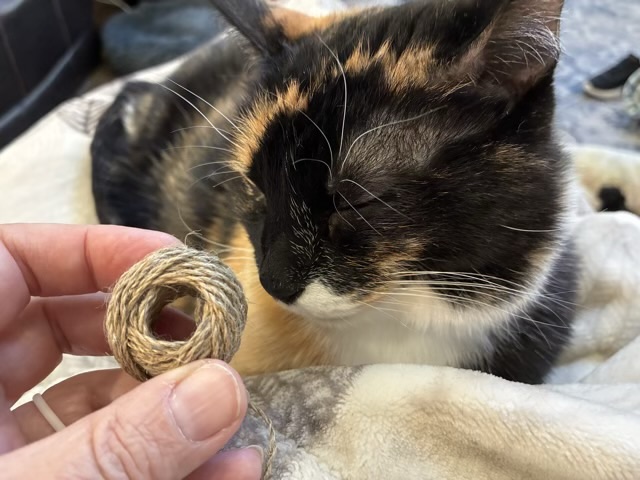
Photo description: small ball of recovered flax twine, with Izzy the calico cat as a background since she sat on my lap the whole time I was pulling out knots
This recovered twine will become the core for the loop around a core construction of the next project.
I took my dried coconut husk back outside after soaking it, pulling it apart, rinsing it, and then air drying it on a drying rack inside. The mass of husk was copiously shedding bits whenever the drying rack was disturbed, so outside was the best choice for further processing. I decided to twine the coconut coir, the long, strong fibers from the coconut husk.
Photo description: twined coconut coir in front of a pile of separated coconut husk
Even with the soak and rinsing, there was still a large amount of spongy brown pith on the fibers, which I scraped off with my nails. I separated out the longest fibers, leaving the pith and the short, fine, breakable fibers, which were more difficult to twine.
Photo description: paper bag of cleaned coconut coir fibersPhoto description: bucket of coconut coir pith, I promise there is a bucket under there
I was a little disappointed in how few long fibers I was able to rescue, and I’m not sure that the soaking and rinsing really made my work any easier. I have four more white coconuts (unripe), which I will try getting the fibers straight from the husk as a comparison. The coir pith I put in my compost heap, it has excellent moisture retention so will do well in the mix for future plants.
Photo description: loop and twist bag in progress next to flax fiber
After about 14 hours of riding in the car, I figure I have put about 12 hours into my loop and twist bag that I am twining from flax fiber as I go. I like the work because I can enjoy the scenery as we drive. I can both twine and loop mostly by feel (I do look when I join in new fiber.) I’m drawing my fiber from the center of the bundle, which I don’t think is the best way, because I’m getting tangles that have to be pulled out. I tried from one end, but the tangles were worse. I should lay out the fibers like flax spinners do, but space in the car is limited, and flax fibers can be over three feet long. The plan is to continue to twine until I run out of untangled fiber, then clean up the tangles and twine the string for the closure.
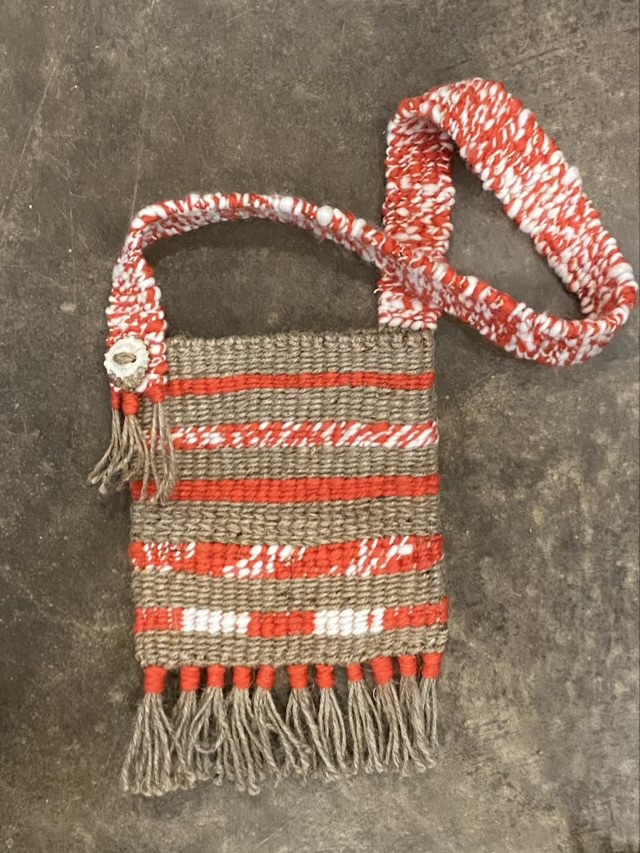
I have finished my twined bag. Yes, I was obsessed with making it and spent three days working on it. (Should I have been doing other things? Oh yes, but this was fun.)
I experimented with the weave as I progressed, not only doing stripes, but changing twist direction and number of twists between warp threads to control which color was on top, using this project as sampler.
Photo description: body of a twined bag made with natural jute and hand spun orange and white wool showing different styled stripes
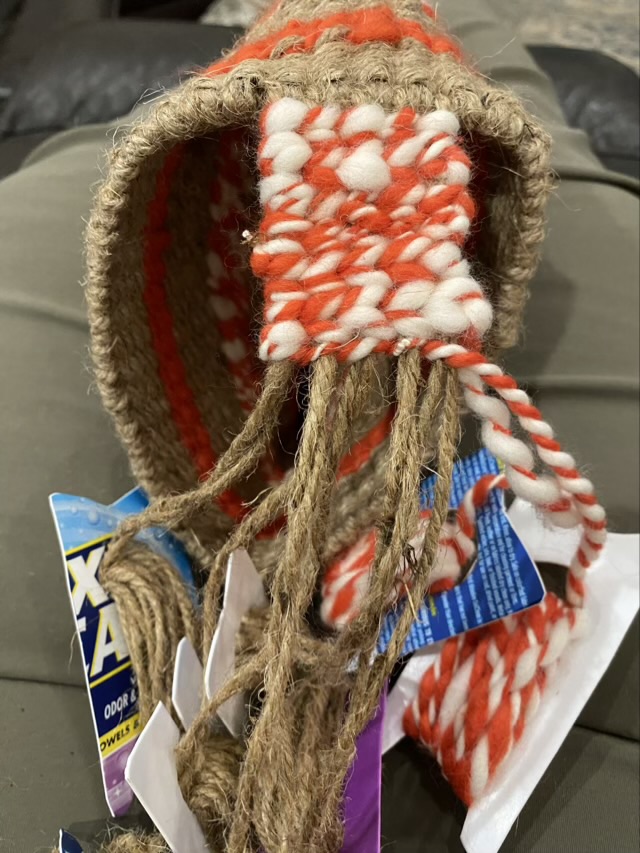
To make the strap, I threaded long strands of jute through the top edge of the bag, then used more hand-spun wool to cover the jute, reversing twine direction on each row, so as not to introduce bias twist in the final strap.
Photo description: starting the strap, with the excess yarn wrapped onto recycled plastic bobbins
I felt the other end of the strap needed some adornment, so I cut a slice of antler and drilled two holes to make a decorative button. It is sewn on, not functional, but I think it came out nice and coordinates well with the natural jute.
Photo description: antler decorative button attached at the other end of the strap.
I finished the bottom end of the bag and the end of the strap with tassels lashed with wool.
Photo description: finished twined shoulder bag made with jute, wool, and antler
I absolutely love this weaving technique. Want to learn more about twining a bag? There is an excellent book called “Twined Bags: A Historic finger weaving craft of the Native Americans” available from Livingston Press, written by Monica Newman Moore.