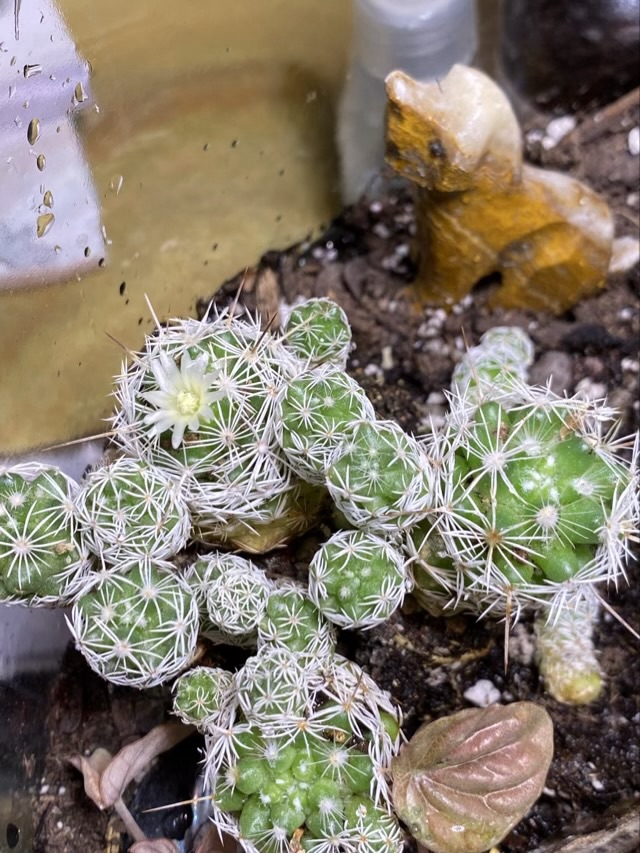
Photo description: cactus with one white bloom, carved stone dog in a terrarium
I have one happy cactus in my terrarium blooming away, one that wanted to bloom and I either missed it or it changed its mind, a few that are holding steady, one that slowly died, and one that bit the dust within days of replanting. I put up an artificial light that runs 9 hours a day (my choices are 3, 9, or 12), and water sparingly once a week. Here is the original post.
We had an old tea jar that lost its lid, so I made it into a terrarium. Since the top was open I opted for succulents, which like the dryer environment.
Photo description: the side of the terrarium showing the layers of sand, charcoal, rocks, bark mix, and potting soil
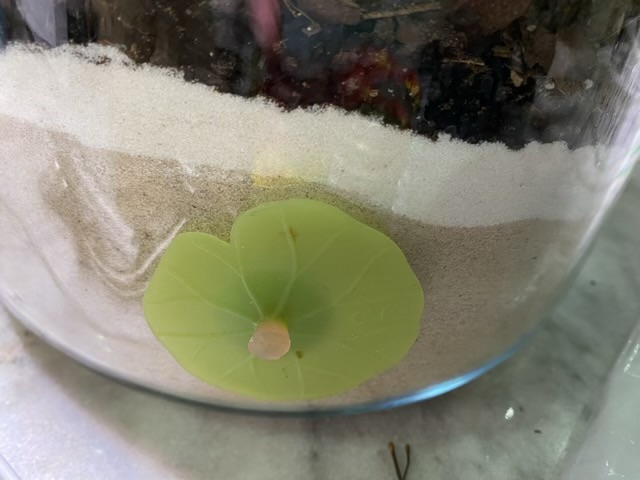
I plugged the tea jar spigot hole with a silicone wine bottle stopper, which worked perfectly.
Photo description: lily pad leaf shaped silicone stopper on the side of the jar
I wanted a two layer layout, with the back plants visibly taller and higher than the foreground plants, but I struggled with soil depth and the root systems of the plants I purchased, so it didn’t quite fit my vision.
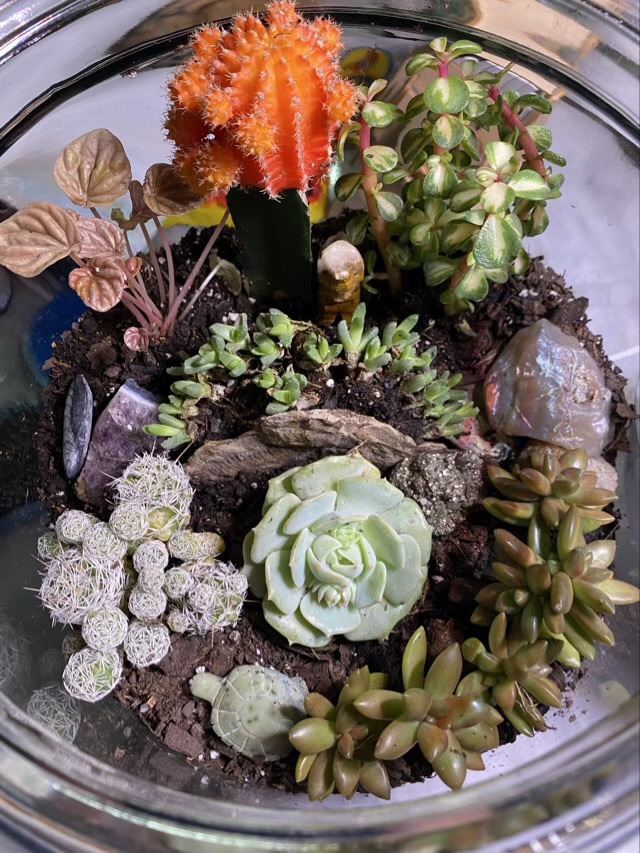
Photo description: looking down into the terrarium with seven types of plants, decorative rocks, and carved stone turtle and coyote
For the non-plant decor, I raided my childhood rock collection, adding some amethyst crystal, pyrite, fish fossil, and two carved stone figures. Although the container and rocks were no cost, the soil layers and plants added up. I do have left overs that can be applied to a different project, though.
I do like the cactus color pop, and that I have a spiral feel to the layout. Now to see what lives.
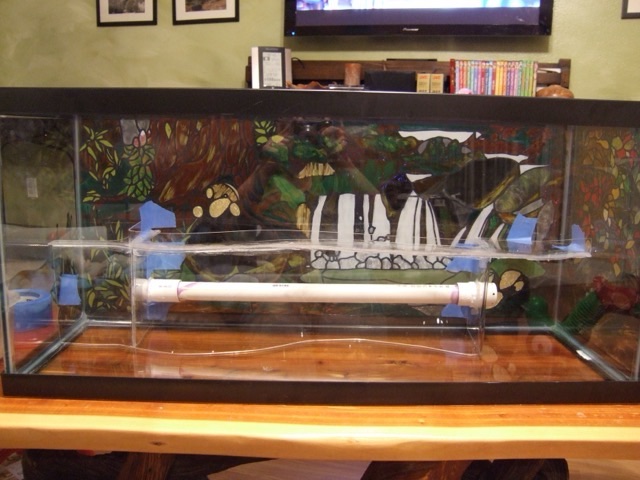
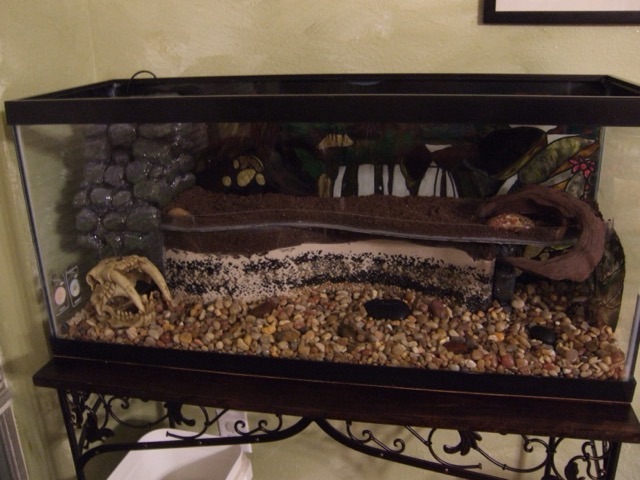
In January 2011 my husband and I designed a terrarium in a 25 gallon tank. I painted a faux stained glass mural with special plastic lead and translucent glass paint on the outside of the tank. We built a clear acrylic planter with a pass through for water circulation and covered the pump with a hand sculpted and water safe painted rock formation made of styrofoam. The bottom section was for fish and two red bellied newts, who would presumably also venture onto the land. The newts had the best story, because they would somehow escape the enclosure and roam the house. We are pretty sure a cat found one, but the other crawled onto my husband’s foot one morning startling him and sending the newt flying. Newt-imer survived the flight and my husband returned him to his enclosure where he lived until 2015. We had to re-home him after a house fire when we all had to find new accommodations for a while.
Photo description: hand painted terrarium tank with custom clear acrylic structuresPhoto description: same tank filled with rock and dirt with faux rock pump cover and skull decoration
While the designing process was interesting, and there were lessons learned, the cleaning and maintaining of a fish tank is not something either of us want to bother with again.
I cleaned and washed the terrarium a third time. When rebuilding this round, the chunk of wood that kept sprouting mold was not included in the build. Instead I turned to our backyard, which is mostly clay and marvelous to sculpt. I put a layer of glass pebbles down in the base, added some activated charcoal, then put down a compacted layer of dried sphagnum moss. I used the top part of a champagne flute (the bottom broke off rather jagged, but it went down into the moss, so no danger of cuts) as a form, basically a glass tube in the middle that would be a “pot” for my jewel orchid to ensure it had room to grow and didn’t get soaked, as I tend to overwater.
Photo description: Bags of rocks and stones on the left, the base of the terrarium showing the glass pebble and charcoal base layer covered with sphagnum moss, and the top of a champagne flute on the right, all on a outdoor cast aluminum table
I gathered clay soil from different areas in the backyard, where wild moss was already growing, and built it up around the glass tube. I found my stash of labradorite pebbles, some of which I tumbled, some were raw, and added the smooth stones as steps, and the rough rocks as “boulders” in the sculpture. I then used a spatula to gather small sheets of moss from different areas in the backyard, trying to find different looks, and laid them over the clay base.
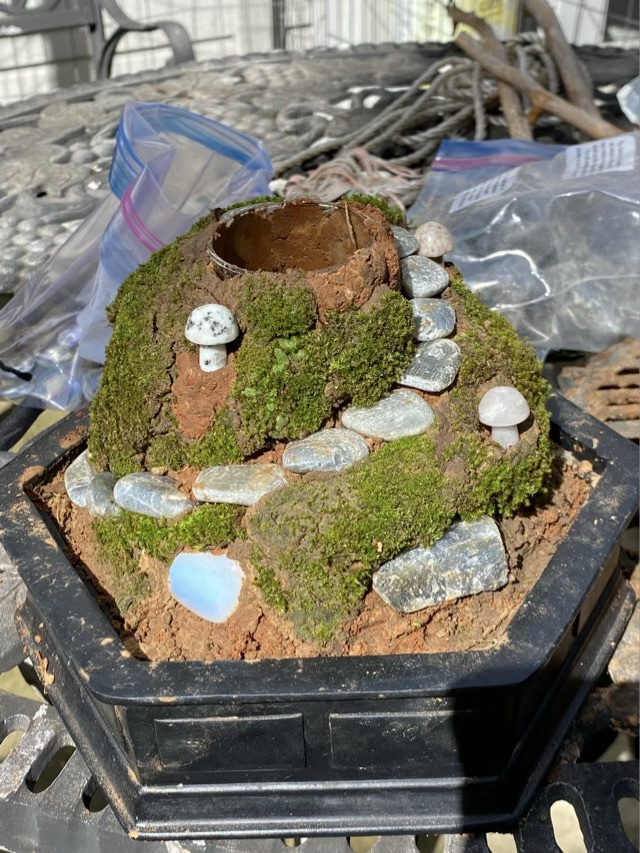
Photo description: moss sculpture in progress outside on the patio table with labradorite, moonstone, and stone mushrooms on a moss covered clay form with a hole in the center held open by the glass tube formerly known as a champagne flute
I really enjoyed this build. The clay soil was easy to work with because we have had a very wet spring, and the moss molded well against the clay. I made a spiral staircase because I like spirals. I filled the center tube with sphagnum moss and put the jewel orchid at the top. I found small plants in the yard in the shade that I tucked between sheets of moss as well.
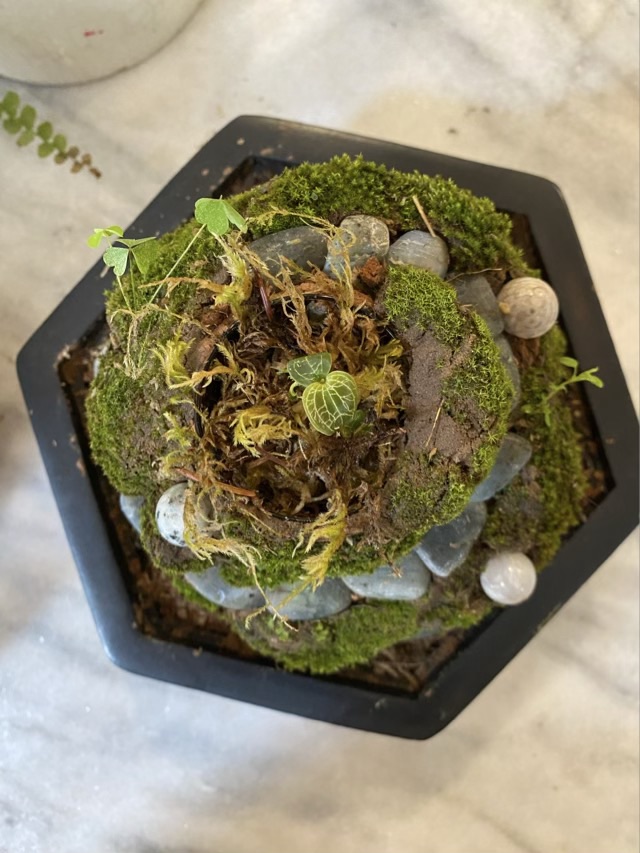
Photo description: moved the build inside, out of the sunlight, this shows the opposite side with a labradorite “boulder” sticking out of the mossy hillPhoto description: another side of the mossarium hill showing one of the labradorite stepping stones showing a blue schiller effectPhoto description: my favorite view, straight down from above the mossarium build showing the sculpted spiral Photo description: not a great photo of the complete mossarium with lid, I need to get out my polarizing filter and good camera to combat the glass glare with the terrarium lid in place, mister to the right, which is an old eye glass cleaning bottle, and left over bags of stone on the left
I’m hoping that the third time is the charm on this mossarium. It was a fun build.
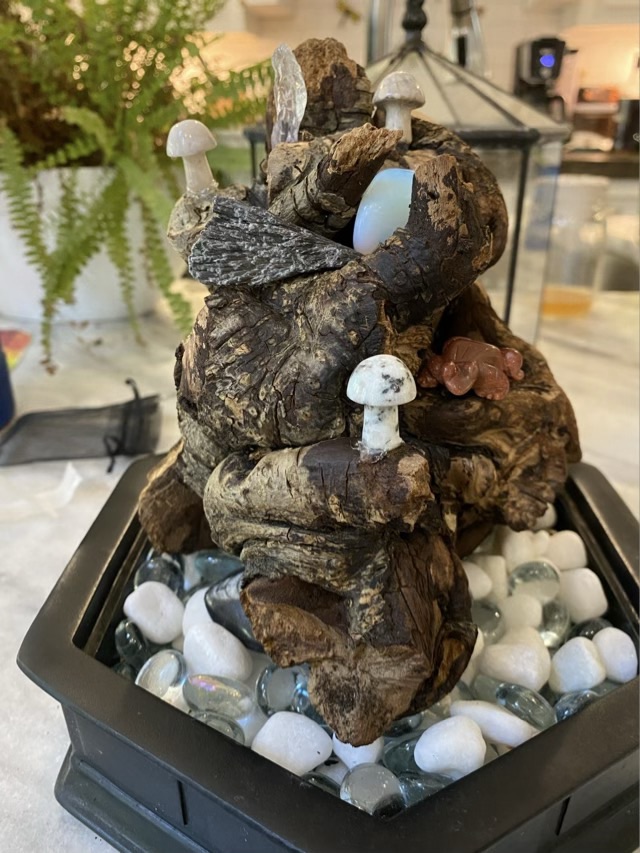
After boiling and baking my gnarled wood that I wanted to use in my terrarium, and washing the base and all the stones, I tried setting it up again. I visited a local vintage store and picked up some interesting stones, including tiny crystal mushrooms. Mushrooms!
Photo description: wood hardscape in a terrarium base with pebbles underneath and festooned with stone mushroom and frog carvings, tumbled stone, and crystal shards.
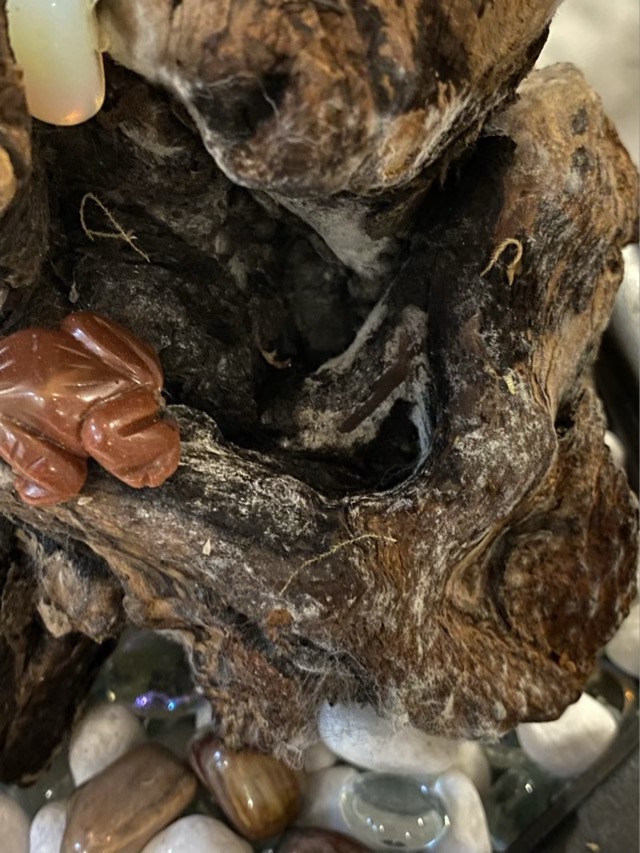
I kept the moisture to a minimum, setting the base with dry decorative rocks and glass pebbles, and using glue dots to adhere the carvings and stones. The only moisture came from the sphagnum moss that I tucked into the two hollows in the wood where I wanted to keep plants. I even braved the shipping and ordered a jewel orchid (I used points, so am not counting the cost of that towards the project). I let the moss sit for a few days to test for mold growth. My orchid arrived earlier than expected, and when I went to mount it, I discovered mold in the hollows. Dang it.
Photo description: close up of a hollow in the wood line with white mold.
I disassembled the terrarium, again, and set the wood out to dry. It is a neat chunk of wood, but clearly not suitable for terrarium life. (I’ve read that a dilute solution of bleach could sanitize wood, but I don’t keep bleach in the house because of our aerobic treatment system.) I washed everything, again, and set it out to dry.
I can’t give up on the terrarium idea, I now have a tiny baby plant that needs nurturing. Ah, but don’t worry, I have another idea. We’ll see if the third time works.