I have read that some people spin alpaca fiber without washing it. Alpaca fleece does not have heavy deposits of lanolin like the wool from sheep. There seems to be a great debate on whether it needs to be washed, or at least very strong feelings, so I thought I would make up my own mind in the matter with a little experiment.

I took three samples from the same fleece (Sugar Plum’s). Two were washed (not scoured, but washed in warm water with mild soap), and third I pulled from the cleanest part of the fleece. One of the washed sections I carded using fine toothed hand carders and made rolags. The second washed section I left uncarded and spun from handfuls. The unwashed section I also spun from handfuls. I did attempt to pull out a rough roving-type bundle of fibers, but after sitting in my bag a couple of minutes, there was little cohesion and it was just easier to spin small sections.

The biggest difference was in spinning the singles. The washed and carded fleece spun smoothly and consistently. The washed uncarded was a little more fiddly to spin especially when I reached clumps of thicker fibers. I had to distribute these sturdier hairs with the finer fibers to keep the yarn from drifting apart. The single also had considerably more halo (fibers sticking out), than the carded sample. It was the same with the unwashed fiber, clumps of fiddly bits and more halo, but in addition, my fingers felt like I had applied lotion. There is definitely some kind of coating on the unwashed alpaca fiber, but it was not unpleasant. I did wrap the unwashed single onto my niddy noddy and gave it a soak in warm water and no-rinse wool wash. Nothing came out of the water. Even though I know the color can change throughout a fleece, I still felt the darker color was due to trapped dirt.
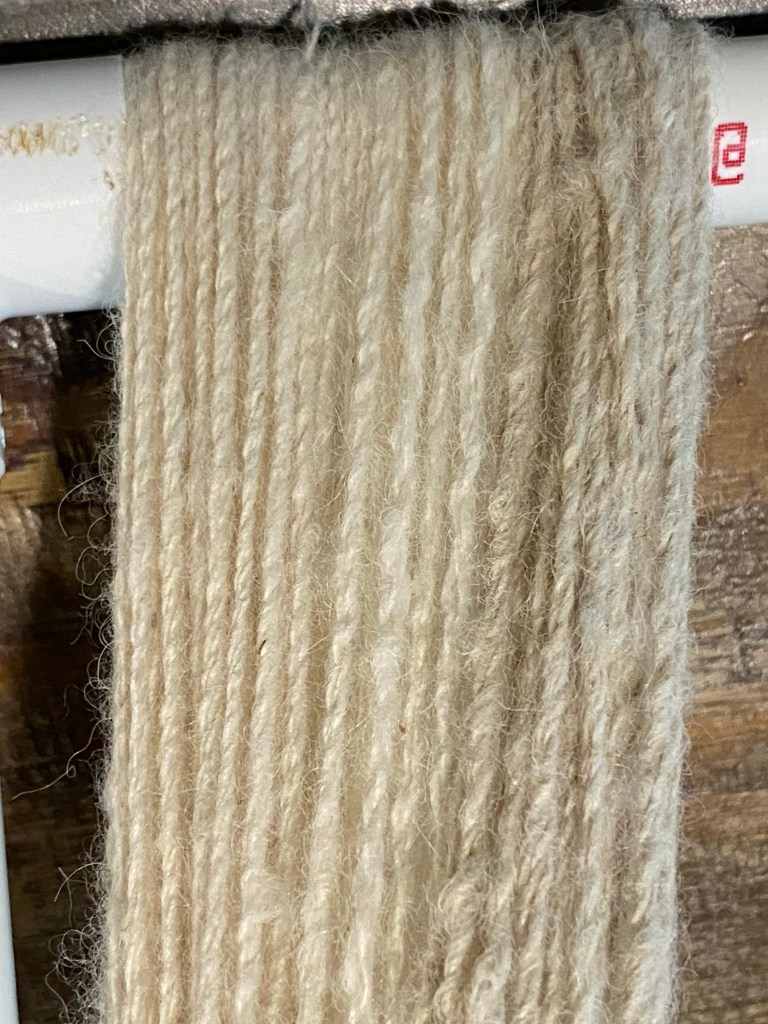
I decided to cable the yarn (ply twice to get a four strand yarn). The differences in fiber preparation made no difference in the mechanics of plying. The uncarded samples still have a more pronounced halo as you can see in the photo above, as well as a less smooth appearance. My plan is to nålbind all the samples with the same stitch (I want to practice a new stitch, so this is a good opportunity).
So how do I stand on the wash or no wash discussion? If I had fleece with very little vegetable matter (VM) and mud, perhaps from a coated animal (the farmer can put coats on to keep the dirt off somewhat, but I don’t know how the animal feels about that), I wouldn’t mind spinning directly from the fleece. The fleeces currently in my possession are not that clean, so I will be washing and carding henceforth.