Managing a center pull ball

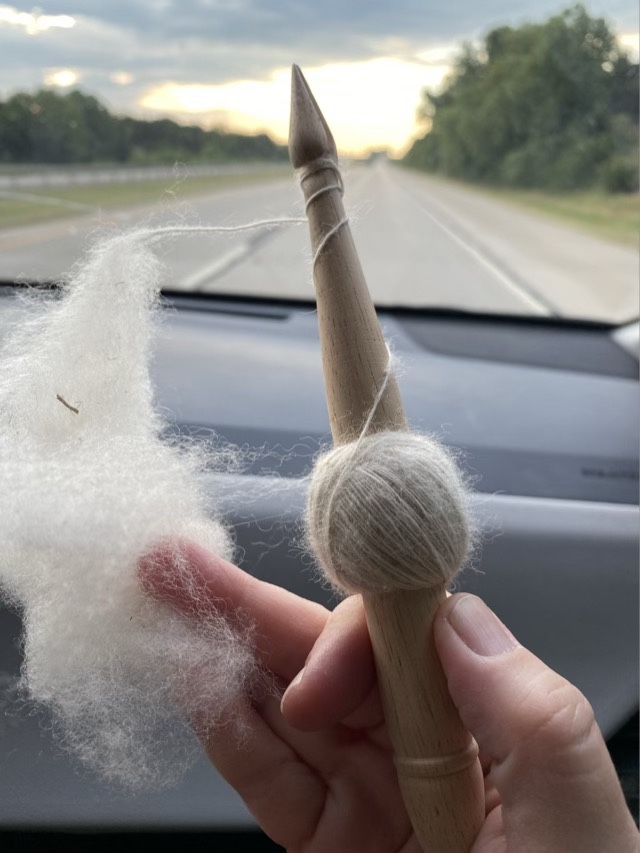
Recently I read a blog by another crafter that advised against making center pull balls, with the reason that the end bits get irrevocably tangled. I love my nostepinne style center pull balls, but have experienced some tangling toward the end of the ball as the energy in the yarn twists the final wraps. I also have a knack for untangling most things, so just deal. But is there a way to manage the ball so there are no tangles? Yes.

Holding a center pull ball on a finger

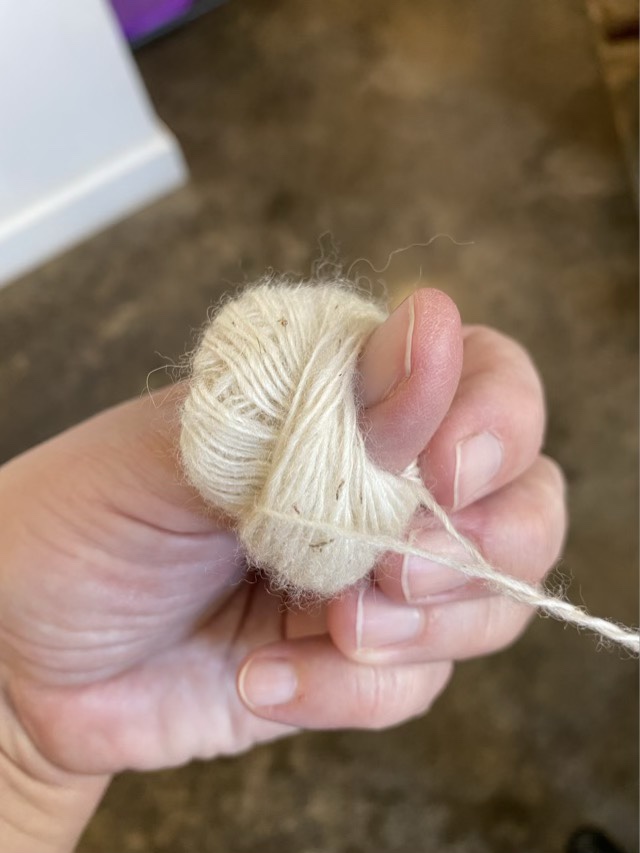
By keeping the center of the ball open with a thumb or finger, the ball cannot collapse upon itself as you unwind. Here is a short video (with cat) showing how the two ends of the yarn come off the ball. This is particularly helpful when making a two-ply yarn from a single ball of single spun yarn.

It is important to recognize that each crafter is different, and there are many different ways to do almost everything. I personally can’t stand round wound balls, the way they skitter and jump as the yarn comes off, and inevitably roll across the floor to join the dust bunnies under the chair.

Spinning on the road

We recently returned from a long road trip, and on the trip I spun when I wasn’t driving. I love it. I can put it down with a few seconds warning, there are no dropped stitches when we go over bumps in the road, it keeps my hands busy, is productive, and calms my soul.

Using a drop spindle to spin prepared alpaca fiber on a road trip

Plying is also possible if I do a 2-ply and use both ends of a ball of single ply (inside and outside ends). I prefer a top whorl spindle to ply, which I happened to pack as my backup spindle. I did not rinse or set the twist with water for any of the spinning, instead relying on time to do the magic.

Plied yarn with top whorl spindle
Five plied balls finished on the trip

I love it so much, that I think I will keep fiber and a spindle in a shoebox in the vehicle, for those parked and waiting moments that occur so often.

For the love of spinning

I was testing a drop spindle while waiting in the car, and struck up a conversation with someone who had hoped to learn spinning, but didn’t get to due to the pandemic. I didn’t have any student spindles in the car. The horror! So I gathered up the spindles I made at home and paired them with some Shetland wool strips torn from a batt (these strips can also be called slivers).

Student spindles with balls of wool

The wool and spindles went into bags with a half sheet of paper filled with as many resources as I could think of to help a beginning spinner.

Fiber resource sheet to go into beginning bags

I have handed out a couple of these kits when I’ve been about town, and even gave a quick spinning demonstration out my car window. Spinning is not for everyone, but they won’t know until they try!

My first 3D print

I have downloaded the free 3D modeling software called Blender. The first thing I decided to build is a drop spindle of my own design. I know a local company that does 3D printing and I’ve been itching to create something. The 3D print came out exactly like my model (after I had some help with sizing), which is very exciting. The printer used an ABS like resin, which is less brittle than regular resin, which I appreciate.

3D printed drop spindle, prototype

I tried out the spindle with some alpaca yarn.

It works! But, the design could use some tweaking. The head, that looked so big in the software, was too small to securely hold the newly spun yarn, and the resin is more dense than I anticipated, so I need to address that. The possibilities of this kind of design are intoxicating. I could be dangerous.

Alpaca fiber spun with the spindle prototype

Next wheel upgrade

The holes drilled through the ballister to hold the spindle on my mini bike spinning wheel (still with me? Good, let’s move on) worked fine for a time, but the stress of the spinning maladjusted the holes and the spindle was binding instead of turning. Taking my engineer husband’s advice, I made an axel. I installed a tube for the spindle rather than just two holes. I had to open the existing holes a bit to fit the tube, and the only tube I could find locally that was small enough was square, but I was able to affix the tube and the spindle shaft fits well.

Tube installed to stabilize the shaft

Because the axel has metal on metal, I needed some lubricant to ease the motion. I found my youngest’s old valve oil for her coronet. Works a treat. Another benefit of musicians in the house.

Valve oil as spindle axel lubricant