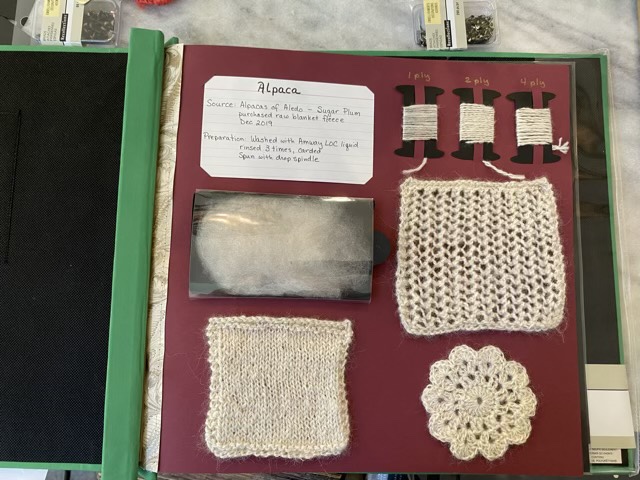
As I spin through as many different fibers as I can get my hands on, I am creating a scrapbook page for each to build a reference book. This is how I build my pages.
Materials:
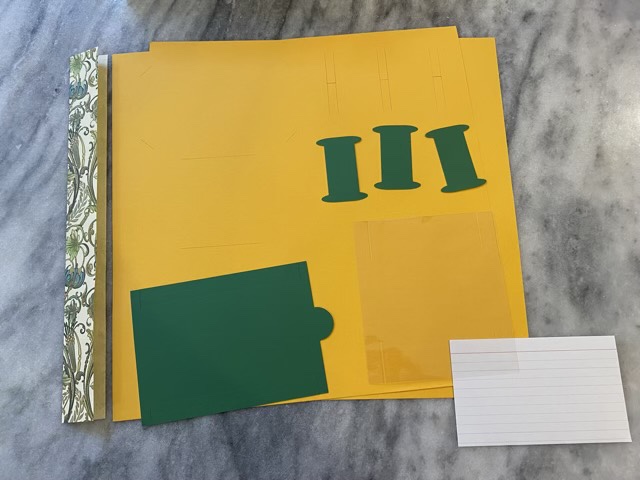
- Two 12”x12” sheets of card stock
- One 8.5”x11” sheet of card stock
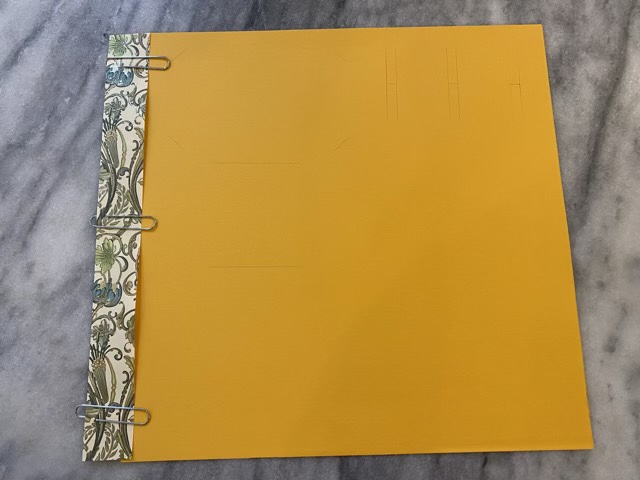
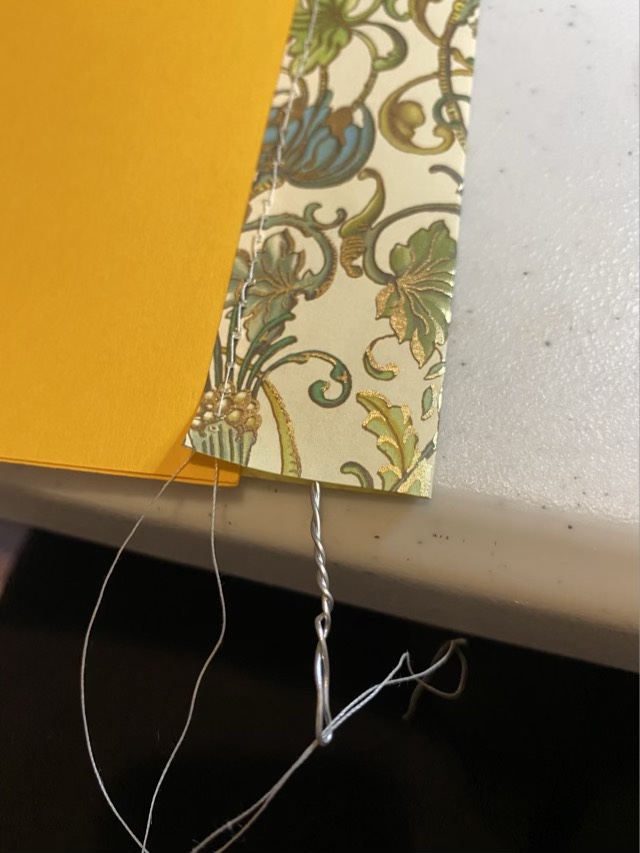
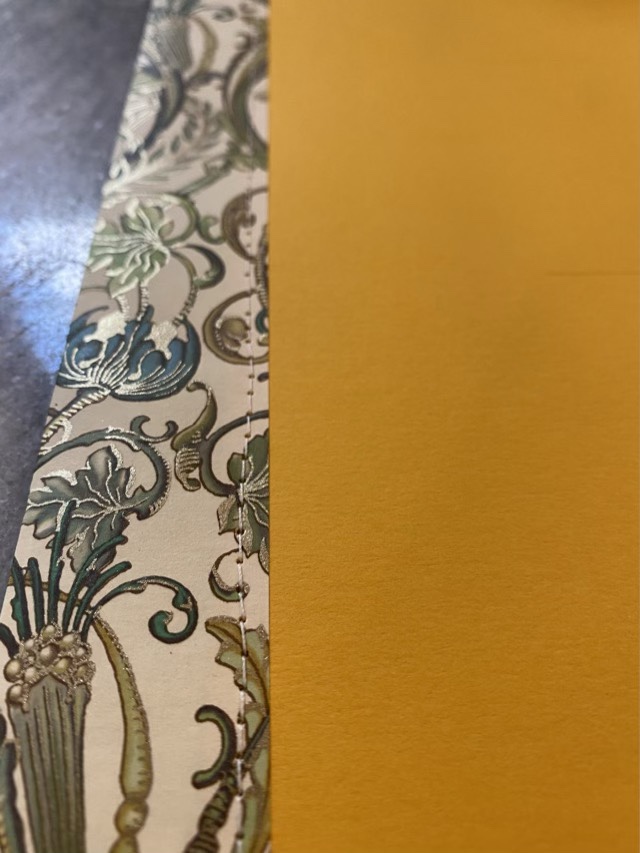
- One 2.5”x12” rectangle of end paper (fancy printed paper with some strength)
- One 8 3/4” x 11 1/4” heat-sealed laminating pouch (sealed empty)
- One 3”x5” index card
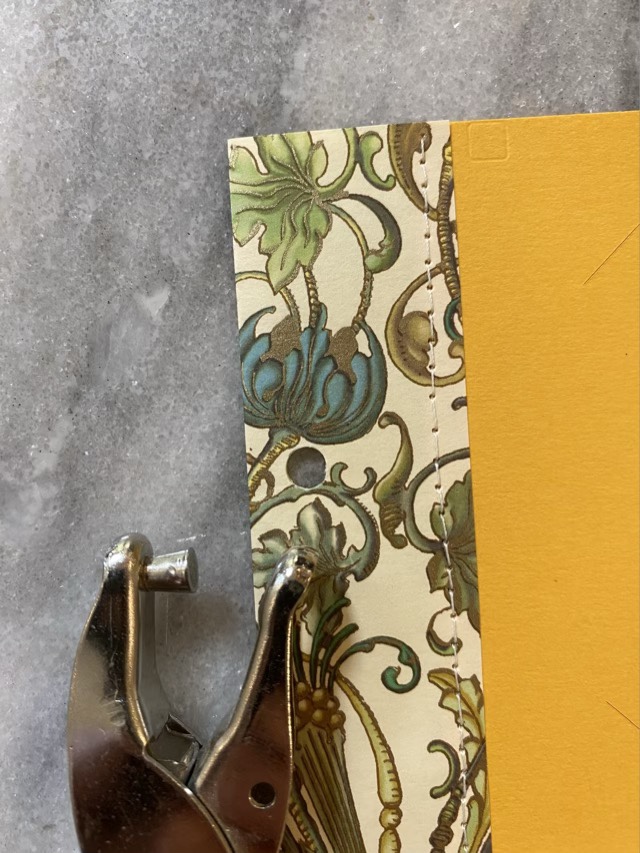
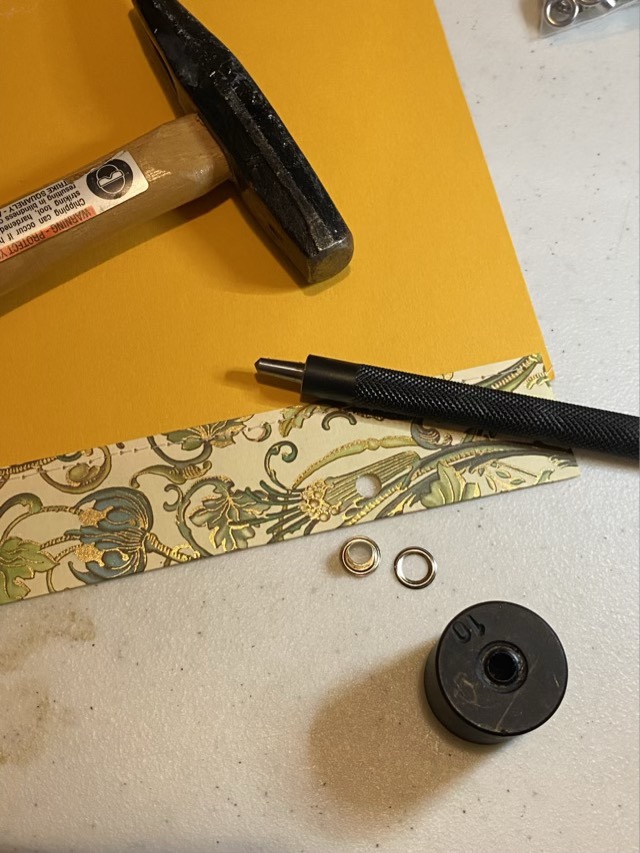
- Two 3/16” inside diameter metal grommets
- Paper brads
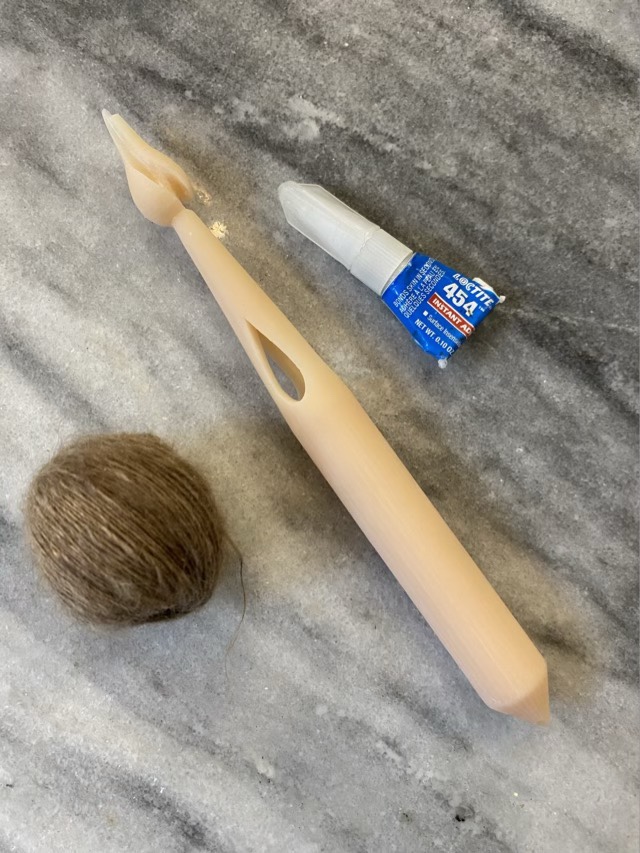
- Hot glue
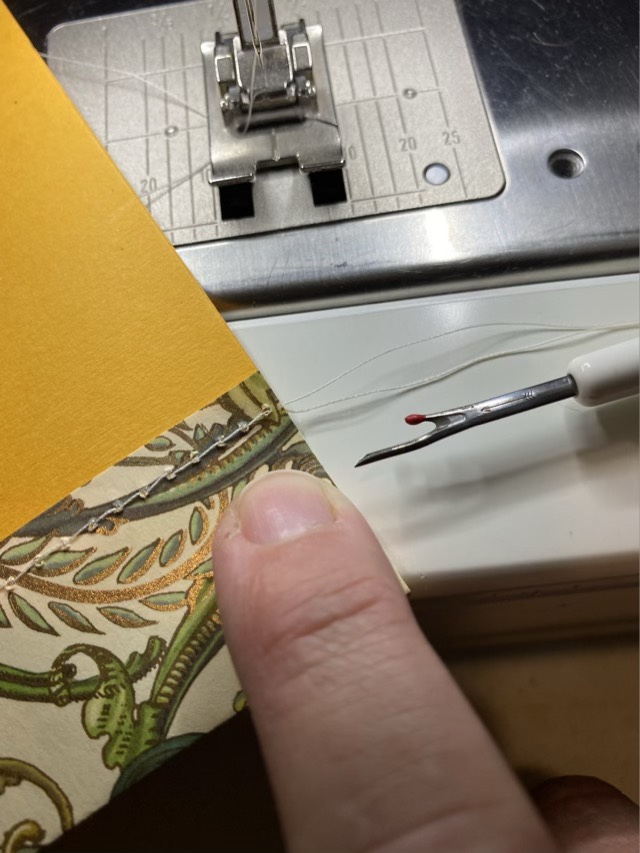
- Thread
I use a Cricut electric cutter to score and cut my cardstock, but similar preparations can be done by hand with a craft knife. I make a 1/4” drawer, three “spools” from coordinating cardstock, a drawer sleeve from heat-sealed laminate, and cut one sheet of cardstock with slots to hold each element. Paper brads will hold the swatches onto the page. The Cricut project is available here: https://design.cricut.com/landing/project-detail/630799ca21506d2c4716a4c2


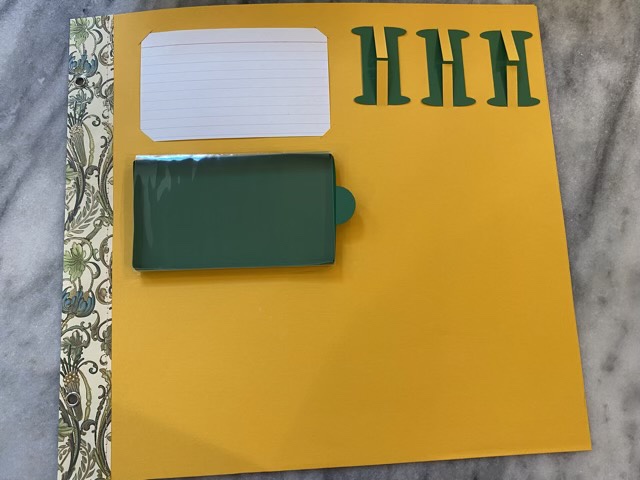

Descriptions of the yarn can go on the index card, unspun fiber can go in the drawer, spun yarn of different plies go on the spools, and knit, crochet, nålbinding, or weaving swatches can be attached with paper brads to the open areas.