I have finished spinning and plying my banana fiber sample from Hearthside Fibers. I’m still using the drop spindle with the lost hook because I haven’t had the spindle and a new hook in the same room yet. The yarn came out less even than usual because I was trying to spin thicker and push myself out of my comfort zone. It should give some interesting texture once it is worked up, though. The texture of the yarn is cottony, even though it is a long stapled plant fiber (cotton has a short staple, or fiber length).
Photo description: banana fiber (made from banana leaves) two ply yarn on a well used drop spindle
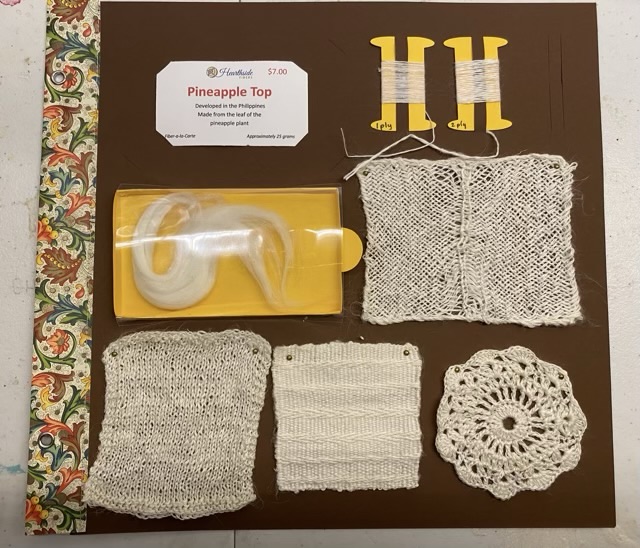
My fiber study page for my pineapple fiber sample is done!
Photo description: clockwise from top left: card from Hearthside fibers that says “Pineapple Top, Developed in the Philippines, Made from the leaf of the pineapple plant”, paper bobbins with single spun and 2-ply hand spun yarn, sprang swatch, crochet swatch, woven swatch, knit swatch, unspun fiber
The crochet round gave me fits with this fiber. I spun it so fine I was having trouble getting the right gauge for my regular coaster pattern. I think I ripped it apart three times. I ended up winging it, filling the space with stitches and numbers that fit.
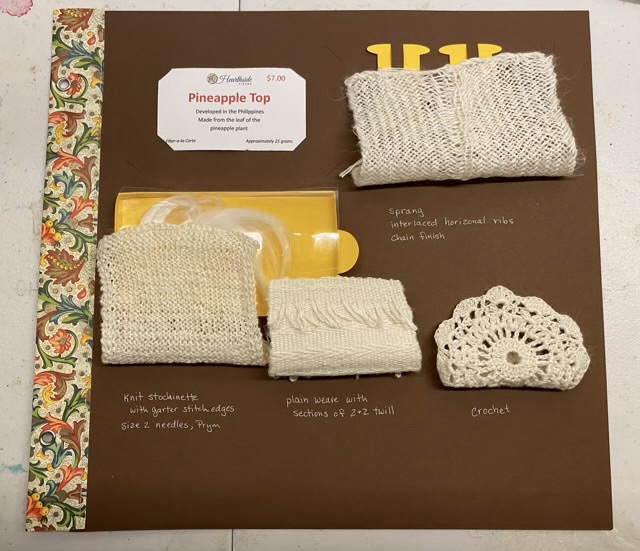
Photo description: same page with the swatches flipped up to show hand written descriptions: “Sprang interlaced horizontal ribs chain finished”, “crochet”, “plain weave with sections of 2×2 twill”, “knit stockinette with garter stitch edges size 2 needles, Prym”
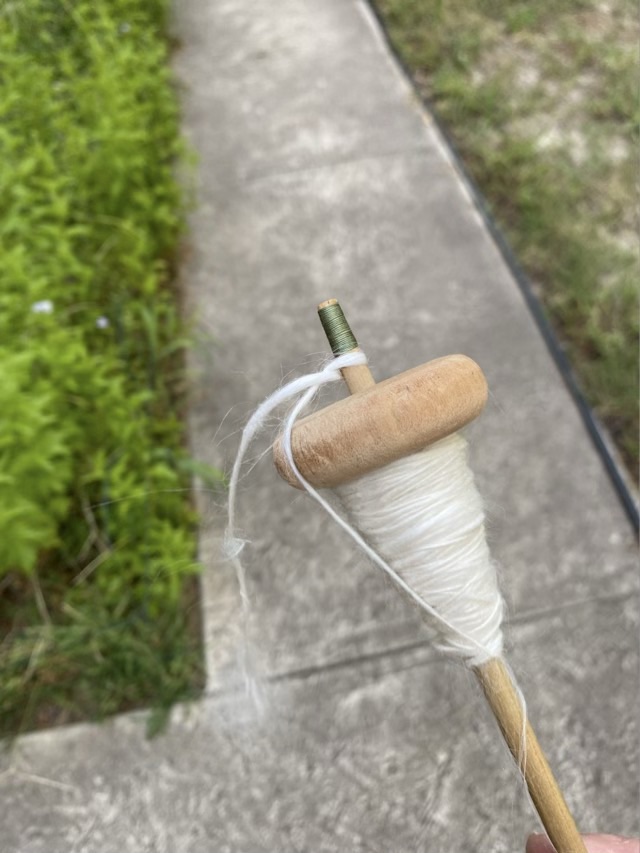
For my next spinning adventure I selected banana fiber (made from banana leaves) from my stash. It was already in my mind to consciously spin thicker singles, because my default spin size has been getting quite fine. It was a double challenge with the banana fiber which has about an 8 inch staple length (the length of individual fibers). Spinning fine would not be a challenge, spinning thicker was! To add to my challenge my fingers decided to spin the singles counterclockwise, opposite to how I usually spin. (Probably because I ply counterclockwise when I’ve spun clockwise, so my hands were already in ply mode.) The counterclockwise twist did not make the hook on my spindle happy, and it unscrewed in the middle of the walk and flew off into the grass. Hm. Undeterred, I switched to making a half hitch to secured the spun yarn.
Photo description: white banana fiber on a top whorl spindle secured with a half hitch below the silk cord lashing
I was pleased that the silk lashing I do on the top of my spindle shaft also serves as a security measure for the half hitch. Not only did I finish the walk still spinning, I continued to use the half hitch method for the rest of the spin over the next few walks.
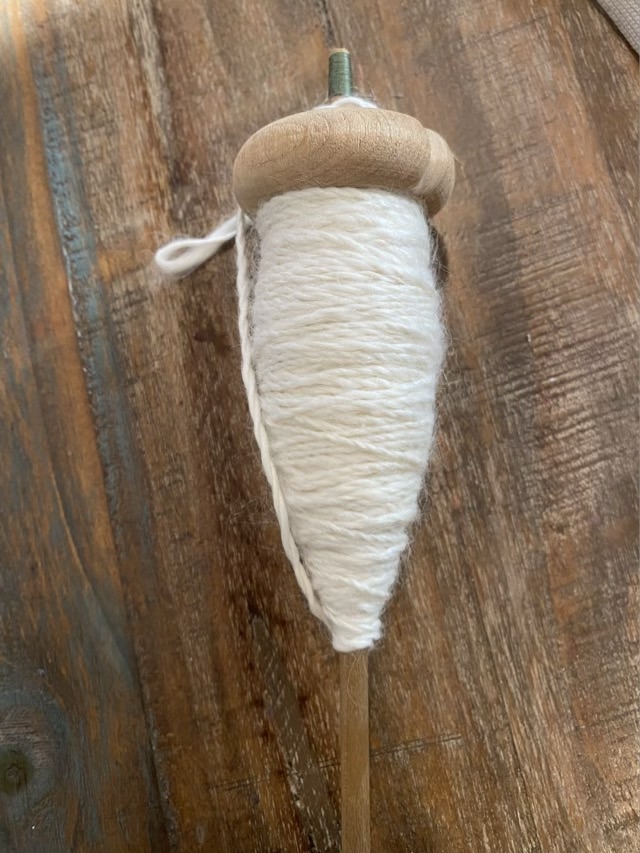
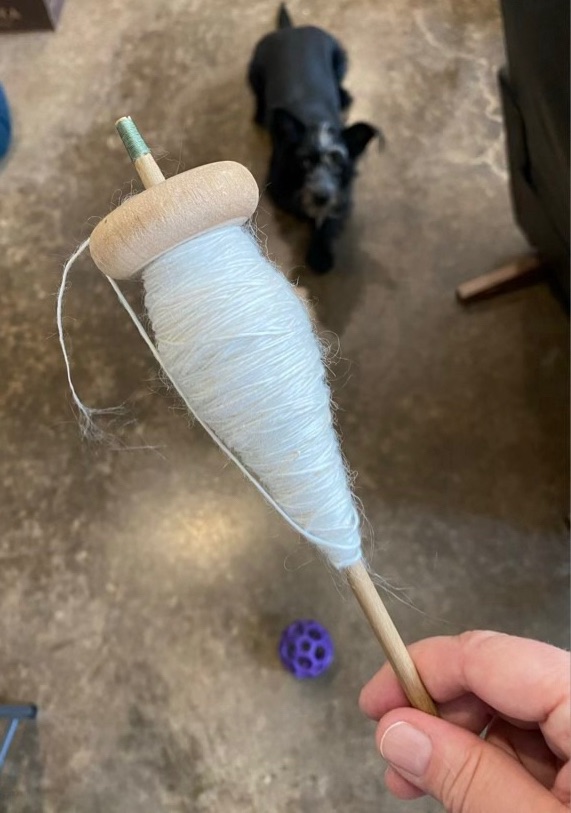
Photo description: all the banana fiber from my sample spun up on the spindle still missing the hook, Missy the dog and her ball in the background because it is hot in Texas and my last leg of the walk was around the kitchen counter inside
I managed to spin slightly thicker, we’ll see how it plies up. The banana fiber has a stiffness to it, more like flax, and doesn’t need much twist to make viable yarn. It had a cottony feel to it, despite the long staple length. It was easy to spin, but I think if I spin it again I will load the fiber on a distaff rather than pull off sections of combed top roving.
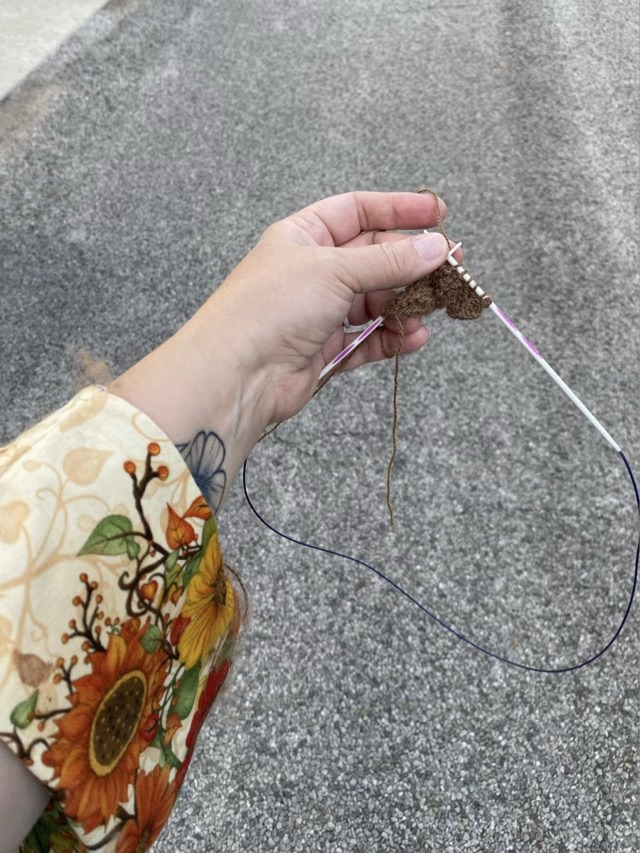
I’ve been spinning on my morning walks for some time. I finished spinning up some camel fiber, but forgot to bring down a more fiber. I didn’t want to clomp up the stairs and wake everyone up at 6am, so grabbed a ball of the plied camel fiber, a crochet hook, and circular knitting needles. It was experiment time. My intention was to make my fiber page swatches as I walked. I know the crochet pattern I use by memory, and I don’t need a pattern for my knit swatch. I think I have crocheted hats while walking before, so finishing up the crocheted camel swatch wasn’t pushing the limits really. I’m pretty sure I haven’t knit on the hoof, but with the circular needles, it wasn’t a problem. I don’t think I would take a large or fiddly project out for a stroll, because dropped stitches would be a nightmare, but a simple patch is easily done.
Photo description: asphalt background, size 2 circular knitting needles with hand spun camel fiber cast on and in progress knitting garter stitch. The ball of yarn is in the colorful bag hanging on my arm.
Things I can do while walking: spin yarn, ply yarn, crochet, knit, nålbind, chew gum. Just not all at the same time. (By the way, I really recommend not chewing gum while working with fiber, stray hairs get everywhere.)
I thought my fiber page CRICUT pattern was available online, but apparently it wasn’t, until now. I have made the cut design public and included a materials list and a link to the blog post that has assembly instructions. The link to the CRICUT Design Space project is here: https://design.cricut.com/landing/project-detail/630799ca21506d2c4716a4c2
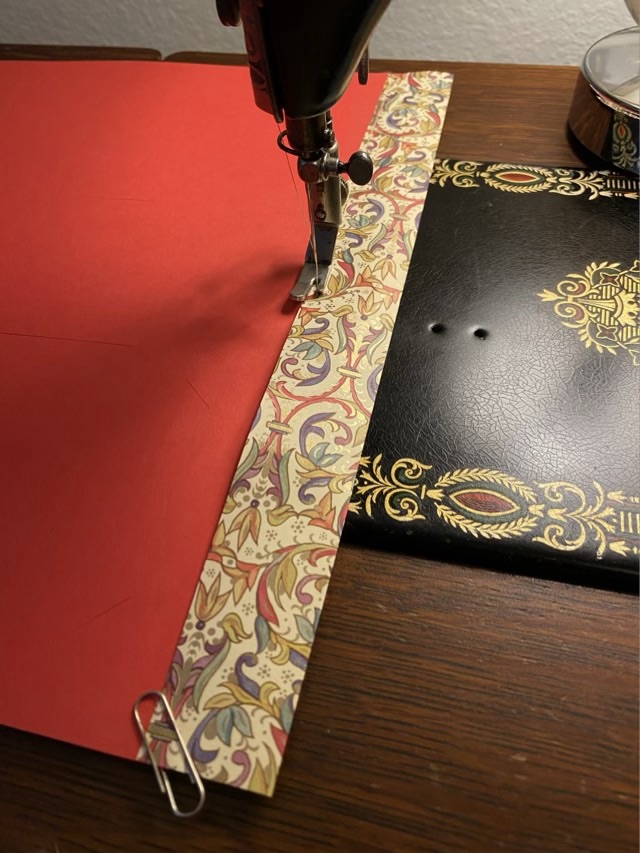
I discovered that the template wasn’t public when I went to make more pages. I assembled my entire stash of 12×12 card stock to make 10 additional pages, which should keep me supplied for a while. I sewed the spine of each page using the 1916 Singer Treadle sewing machine, which did a fabulous job.
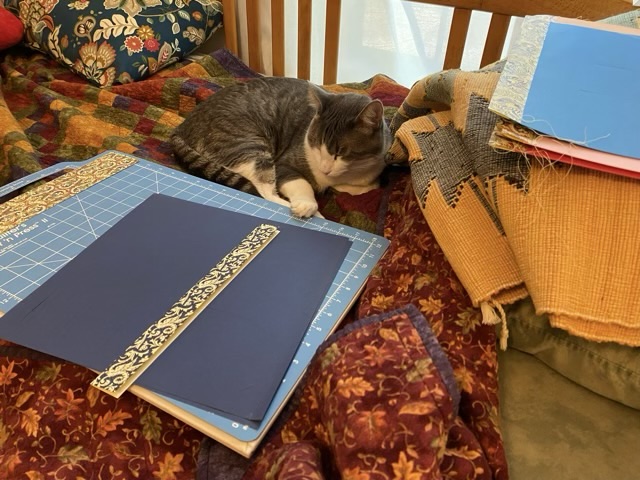
Photo description: sewing a paper spine to card stock with a Singer model 66 treadle machinePhoto description: My supervisor napping: Thor the cat keeping me company during assembly by laying on the bed with the materialsPhoto description: 10 new fiber study pages with colorful end paper spines, additional elements are in a plastic bag to ease storage until they are needed
I only fully assembled two pages with the paper spools and fiber drawer for my two current projects. The rest I left so they would stack easier until the time comes to fill them with fiber.
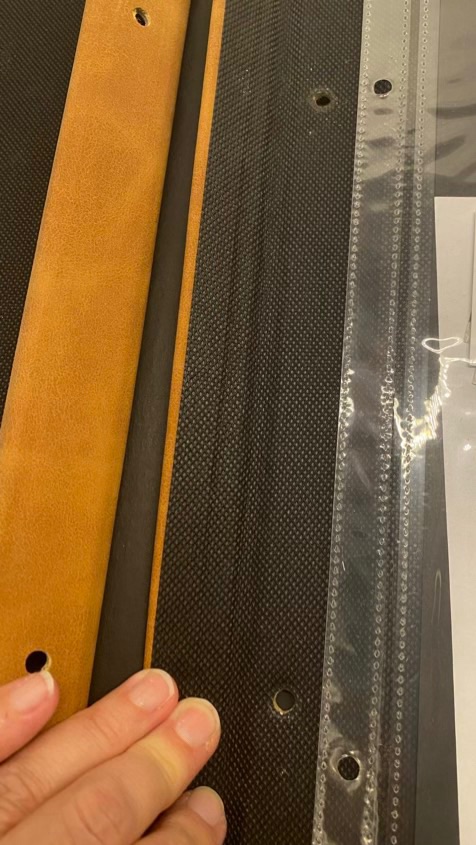
And here is a cautionary tale: when buying photo albums, pay close attention to the spacing of the holes and size of the album. I have too many fiber pages for one book, so bought a new one but didn’t double check dimensions (I really should know better). I’m also stubborn, and rather than returning the book, I cut new holes. My eventual plan is to make my own covers, but I needed something to protect the pages in the interim. Frustrating.
Photo description: post holes on the new cover and old page don’t match up