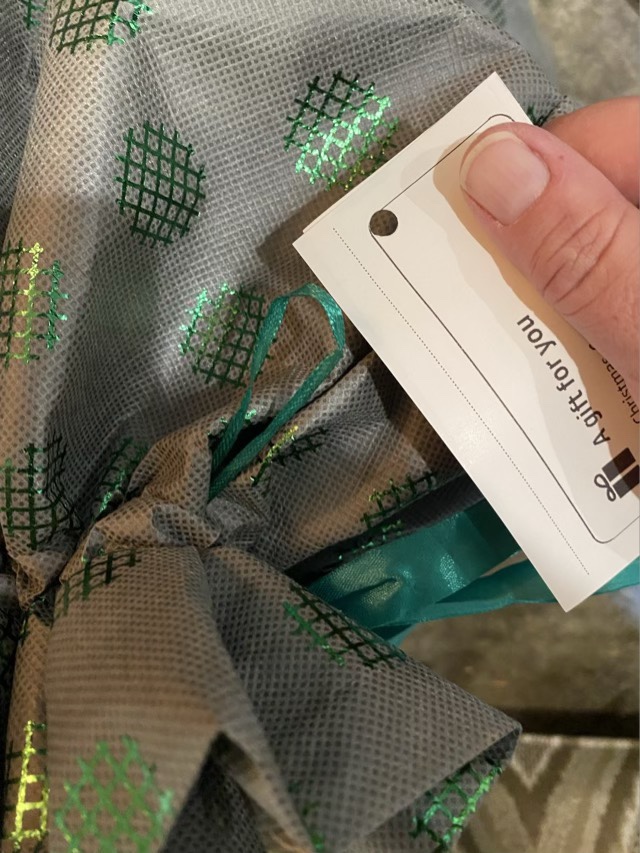
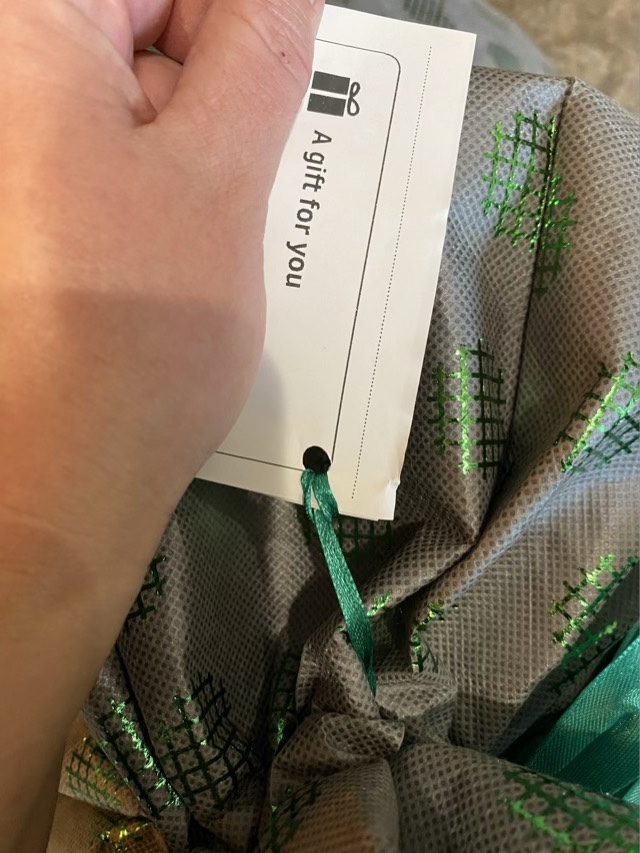
Our family exchanges many Amazon wrapped gifts. The bags are fantastic for reuse, and to make it even easier, the tag loops can be reused as well by removing the old tag and looping a new tag in (here is a short video). Even easier, fold the little tag Amazon sends with the gift, and punch a hole in. The paper is flexible enough to thread through the loop to attach the tag.
Old tag removed, new tag preppedNew tag attached
Yes, you could also glue or tape the preprinted tag onto the old tag. I have also been known to make a hand written new tag, but now I have another option to solve the labeling gifts issue. I like choices.
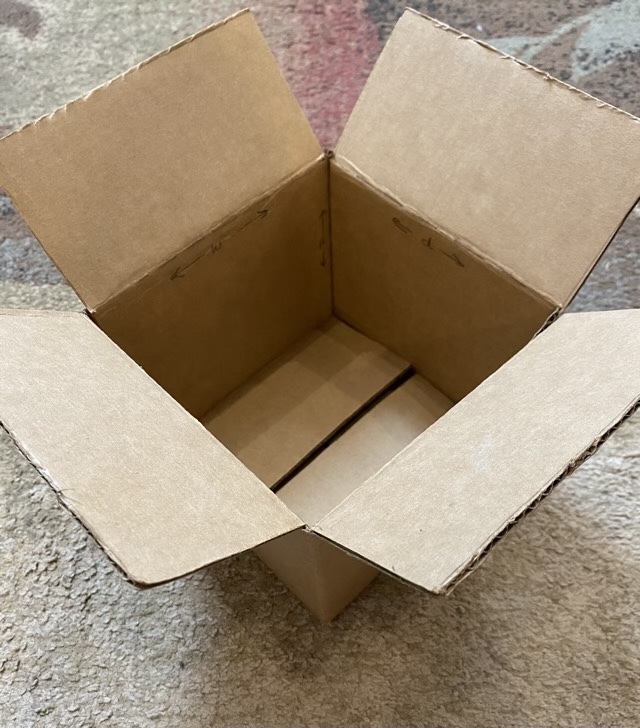
Here is how to make a smaller box from a big box. We get a regular supply of cardboard delivered to the house, but they are usually too big to use to wrap gifts directly. So I use them make smaller boxes.
What you need:
Large cardboard box (or sheets of cardboard)
Heavy scissors (I use kitchen shears)
Ruler
Pencil
Length, width, and height for the new box
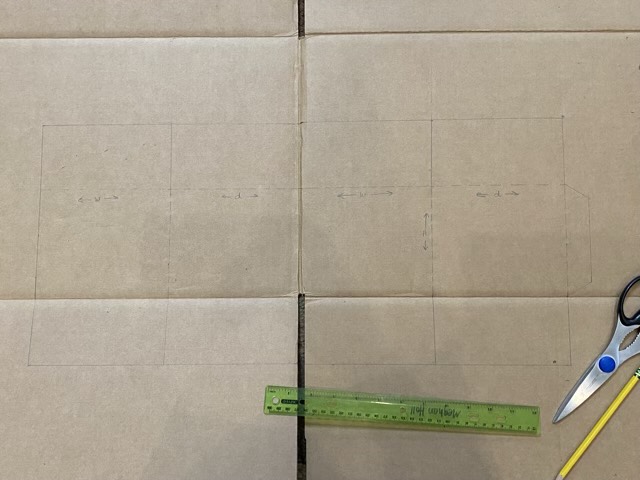
Start by deconstructing the old box. Most cardboard boxes have a single glued seam along a side edge that can be pulled apart. Lay the box flat and layout the cut and fold lines for the new box.
Cut and fold lines laid out on cardboard
I recommend using existing fold lines if possible. Measuring out from the center, mark the width of the new box with dotted lines (for folds). My box is 6x6x5, so the sides are all the same width. If you need different width and length, alternate the values as shown in pencil in the picture above. Mark the height of the box across the sides also with a dotted fold line. Make a one inch tab on the end (mine is on the right). Above and below each side, measure out flaps that have a height equal to 1/2 the width. Then using heavy scissors, cut out along the outside lines.
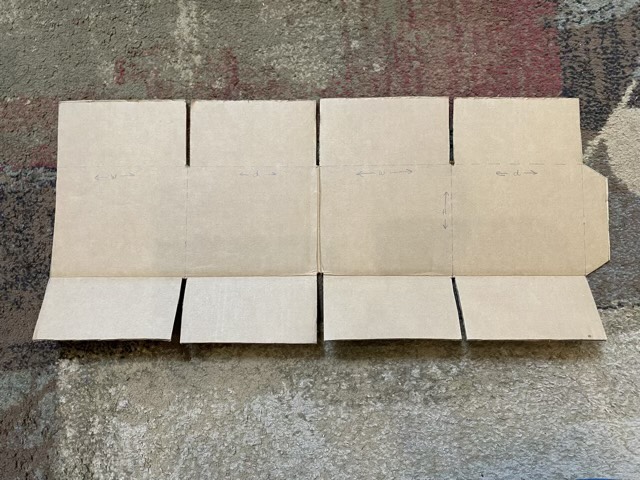
Box pattern cut from larger box
Cut the flaps free by making two cuts on either side of the line. This makes gives room in the corners when the box is assembled.
Box flaps cut free
Before folding the sides, tab, and flaps, gently score the lines using a ruler and a pointy, but not sharp implement (such as the outside tip of the scissors, or a dull pencil). Then gently fold the cardboard along the line. If the cardboard buckles instead of folding neatly, score again a little harder, and work the fold with your fingers close to the line.
Flaps, sides, and tab prefolded
Check the box by folding it together with the flap inside the opposite edge. If it looks serviceable, use hot glue to secure the tab in place. The box can be store flat, or assembled with packing tape.
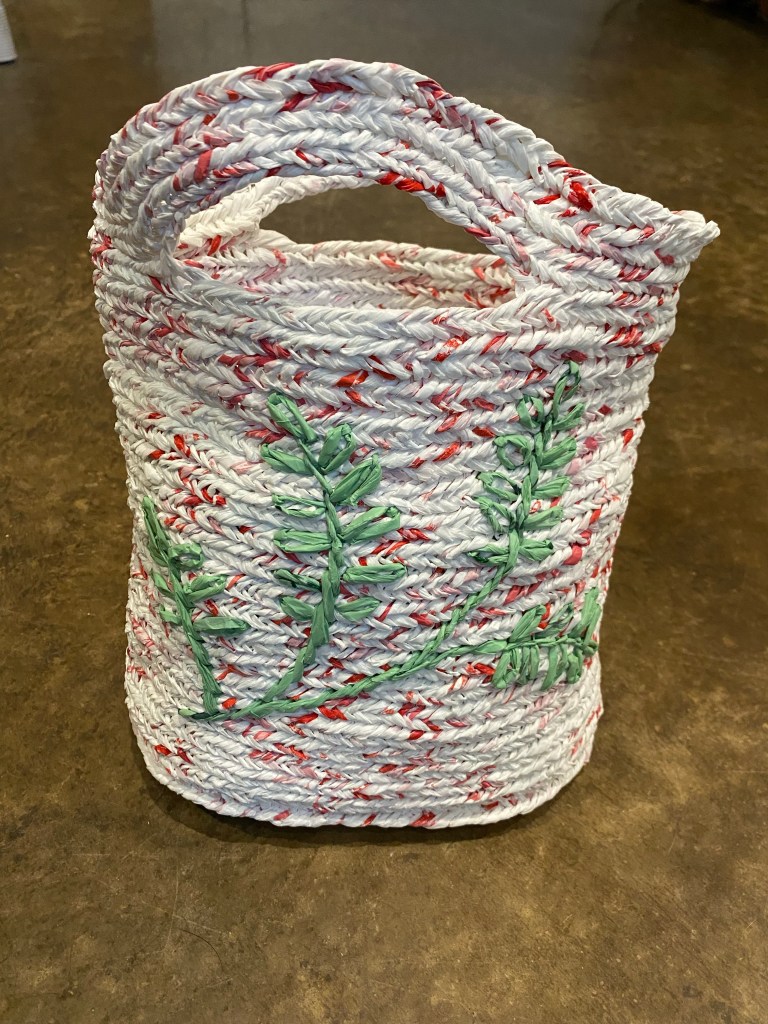
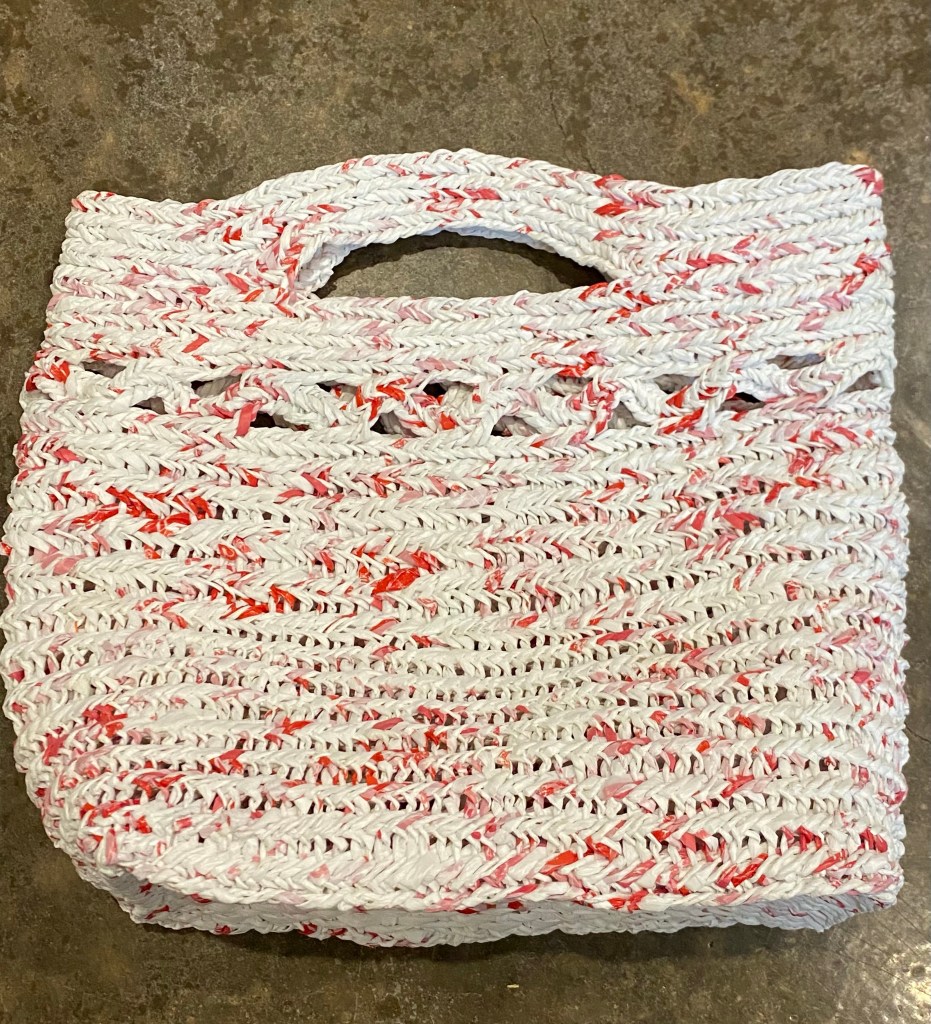
I finished another nålbound bag! I used loops of grocery bag plastic, and added some embroidery using loops from a different color bag. I learned that doubling the loops makes a very stiff fabric (the base was made as an oval with doubled loops, but is a bit wonky because of the stiffness). The sides were done with single loops thumb tensioned (meaning the loops are the diameter of my thumb) done in Finnish 2+2 with an F2 connection (here is an excellent resource site). The sides are much more flexible than the base, but still sturdy enough to stand tall on their own. (Although I did stuff the bag for the picture.)
Nålbound bag (9”x10”) made from plastic grocery bags
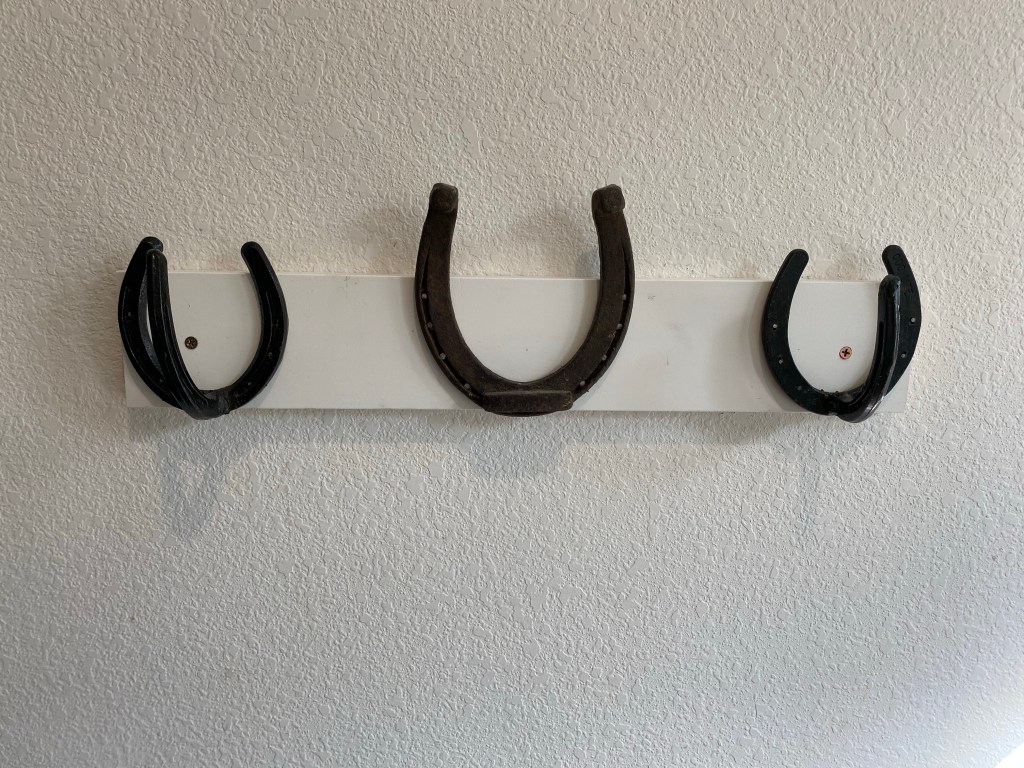
One of the good things that came from the gecko running behind the coat hooks and the coat hooks coming out from the wall as the cat, dog, and I scrambled for the critter, is that it prompted me to find a better way to secure the horse shoe hooks to the wall. I love these hooks that my husband’s cousins made when they were learning to weld. I have four of them and they work great on solid wood. I tried having two on the wall by the back door, and tried to get the tiny nails that would fit in the nail holes to reach far enough into a stud, but they consistently came loose. So now I had to do something sturdier. I combed the garage and found a nice length of 1×4” trim, already painted. But it was shorter than the horse shoes. Hmm. If I set the horse shoes up above the rail, then I would be able to use the tops as hooks as well, increasing the number of usable hooks from two to six. And if I added the other horse shoe I had sitting on the counter, then I would have eight hooks!
Horse shoe coat rack mounted on a painted board
I attached the board to the wall, centering it on the studs, checking level, and running two screws into the studs. Then I took finish nails that had heads large enough to not go all the way through the horse shoe holes and set the metal lined up with the bottom of the board. I used a nail set to tap the nails down into the shoe to keep it firmly attached.
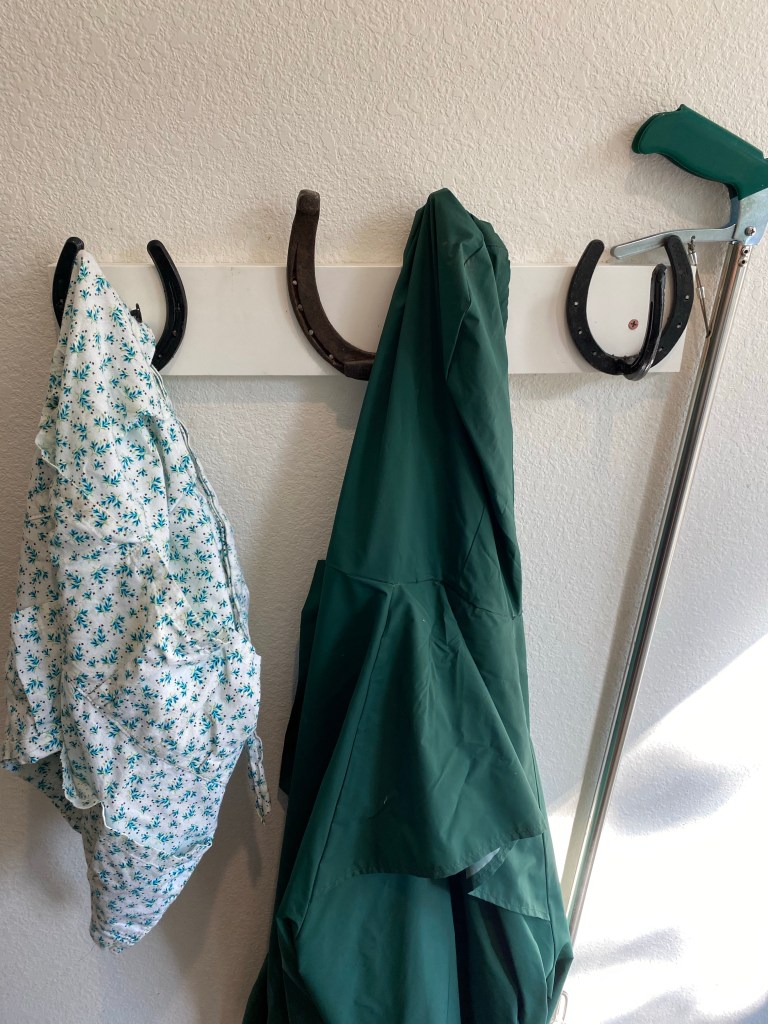
Horse shoe coat rack with an egg apron on a hook, a coat on the top of a horse shoe, and my snake grabber resting on the wood
Now we have a sturdy coat rack! The best part? I only had one trip to the garage. I was able to anticipate everything I would need, gather it, and use it all. It is unusual for me not to have to make a few trips back and forth for forgotten items. (Yes, I did put everything away as soon as I was done!)
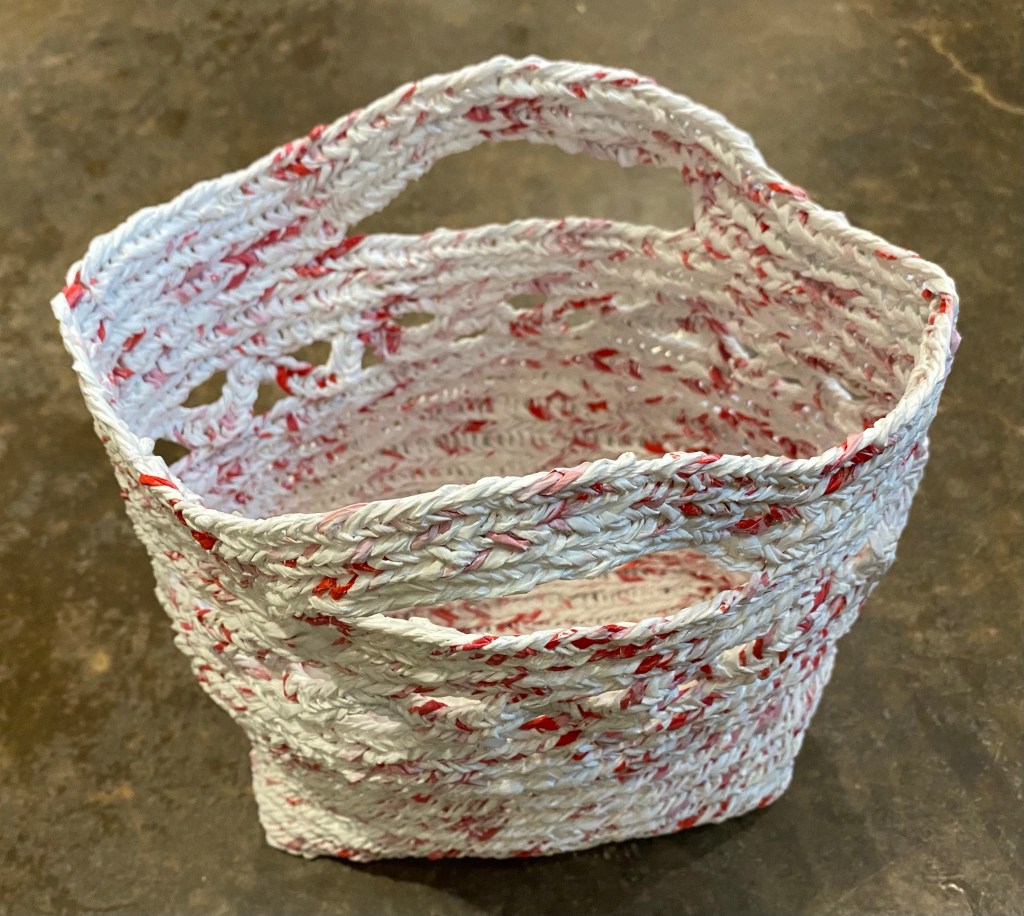
I finished the plarn bag! Or maybe it is a basket. It can stand on its own, but is still flexible. Hm.
Nålbound bag made from plastic grocery bags
I changed connection stitches mid-bag (we’ll just call it a bag, yes?) because I was aiming for the tight braided look I’ve seen produced with the Finnish 2+2 stitch. I figured out my tension at the 2/3rd mark, and the stitches finally achieved the look I wanted, so I decided to also try some decorative work (since it is an experimental object anyway).
Woven bottom of the nålbound bag
It turned out quite functional and sturdy. The handles with the three rounds are comfortable, and I made it to be large enough to hold my longest spindle. I can tell where I changed connections (from M1 F1 to F2, note to self), and where I achieved even tension, but I’m going to claim them as design choices.
Nålbound bag made of plarn
Whether the finished project is considered a bag or a basket, it is done!
P.S. This took me three weeks to complete, working in bits and pieces. The magic of the blogosphere made it seem like a few days, but it wasn’t!
P.P.S. This bag used the plastic from approximately 43 grocery bags. (And it drives me crazy when I hit “publish” instead of “save as draft” on a post.)