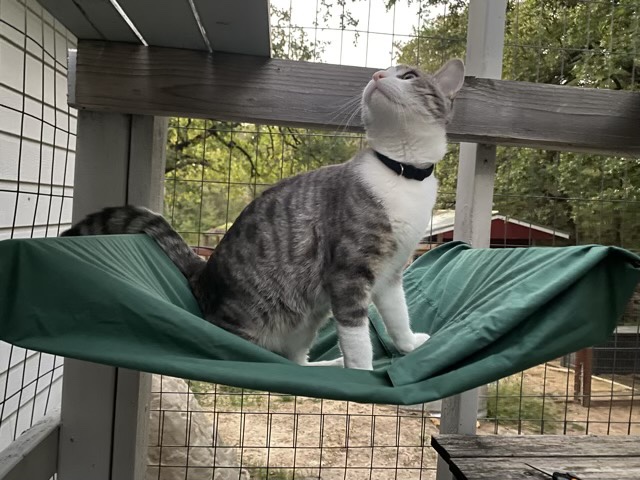
One of the sling beds in the catio gave up under the weight of the kitten and popped its grommet. I removed the rest, it has lasted awhile, and puzzled over a replacement. The two sections of 1 x4” wood that I screwed to the catio supports seemed about the size of a pillow case. It turned out it was a little wider, but with a quick seam and a couple of snipped holes, I converted an old pillow case into a cat sling bed that slides over two parallel boards.
Photo description: Gray tabby sitting in the hammock made with a repurposed green cotton pillowcase suspended by two boards
Cotton does degrade in the sun, but this might be a better design idea than grommets in the corners screwed to the board. I’ll see of the cats use this setup, and if they do, replace the cotton with outdoor resistant fabric.
I finished recycling my Bernat blanket yarn mermaid tail into cat mats. In total, I made 7 large mats, 3 crate-sized mats, and one round basket liner. The yarn used was taken from the old unused blanket and scraps from other projects.
Photo description: Seven crocheted rectangles
To make the mats, using a 8mm hook or a hook that makes a tight but not difficult stitch, chain 30 for a large mat, or 20 for a crate sized mat. Single crochet each row until the mat measures about 17”. I donated most of the mats to the local no-kill cat shelter.
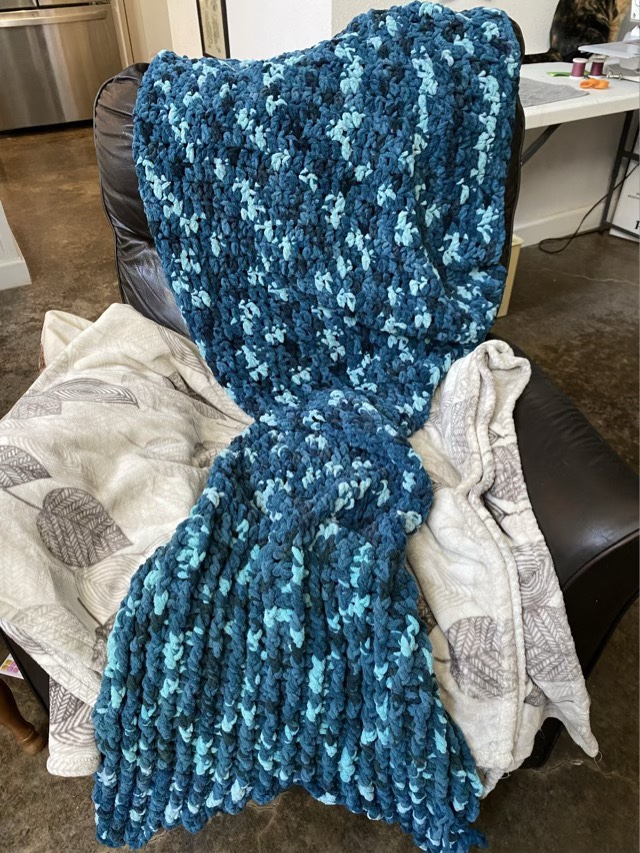
Years ago I crocheted the mermaid tail blankets that were all the rage for my girls. The idea was cool, but they never used them. Getting in and out of a leg hugging device is a pain.
Crocheted mermaid tail blanket
With my girl’s great room switch this summer, I found the blankets tucked in the back of their closets. One got sent to recycling, but Izzy the cat gave me an idea for the second.
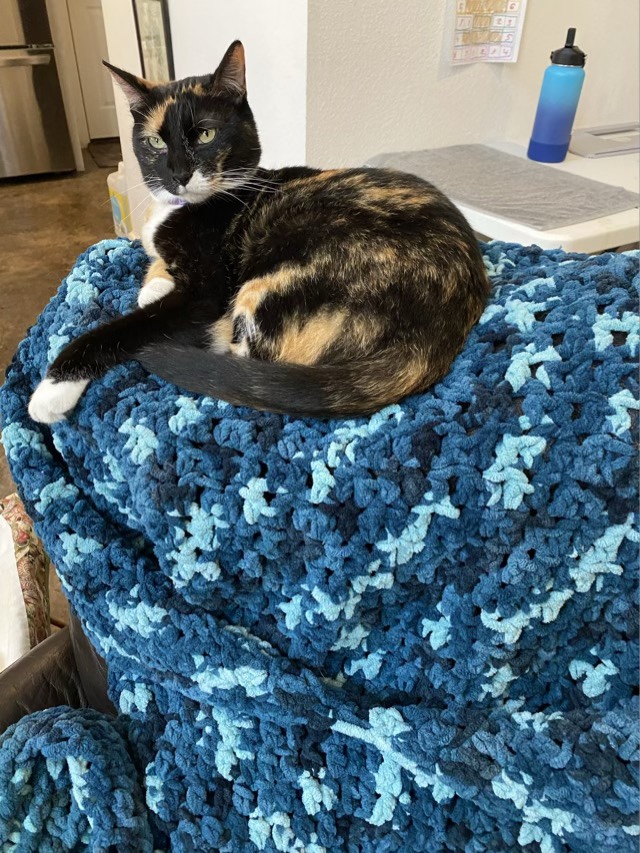
Izzy lying on the blanket draped over a chair.
Rather than sending the blanket for someone else to recycle, I could frog it (rip it, rip it out) and reuse the yarn. Bernat makes a wonderful blanket yarn that doesn’t shed and holds up well after years. So I found the end (by the way, weaving in the ends really does secure them well, it took forever to free the yarn!), and rather than undo all the stitches and wind a ball, I’m crocheting from one project to another. I frog a bit, crochet a bit, repeat. It skips the ball winding part and deprives the kitten of an opportunity to unwind the ball of yarn. What am I making? Cat mats. I use a smaller hook, and a single crochet stitch and make a rectangular mat. The blanket yarn and stitch make it thick and sturdy, and Izzy completely approves of the finished project.
Izzy laying on a mat crocheted with Bernat blanket yarn
In the background of the picture is an amigurumi bunny, also made of blanket yarn. I’m developing a mix and match pattern and will be teaching an upcoming class. The yarn from the blanket it too dark for critters, but I can take the mats to our local no-kill shelter.
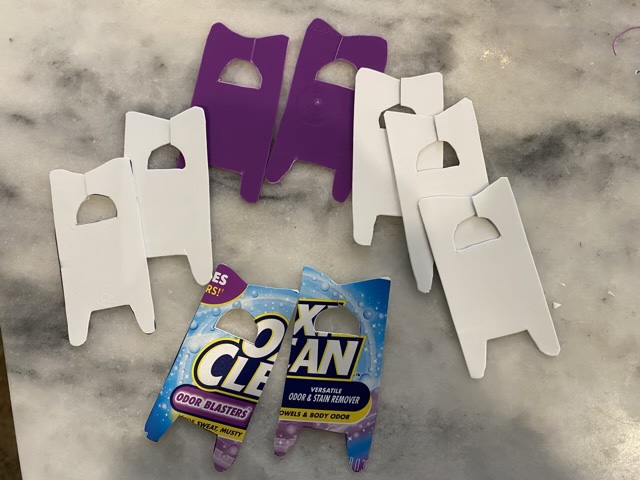
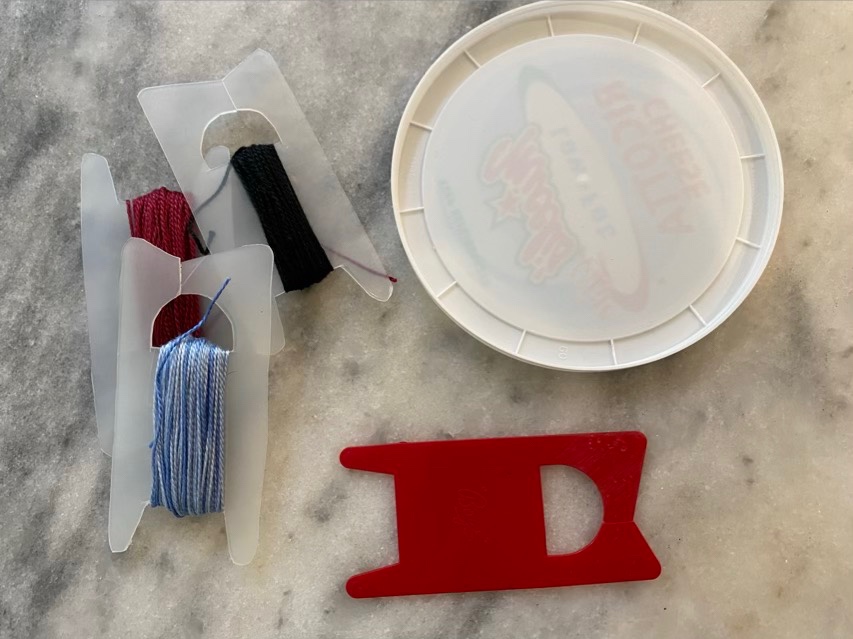
In my Grandma’s stash of knitting supplies, there is a stack of bobbins she made from plastic containers. I decided to follow suit, and make more bobbins from my used plastic lids.
Grandma’s bobbins (left), commercial bobbin (bottom), ricotta cheese lid (right)
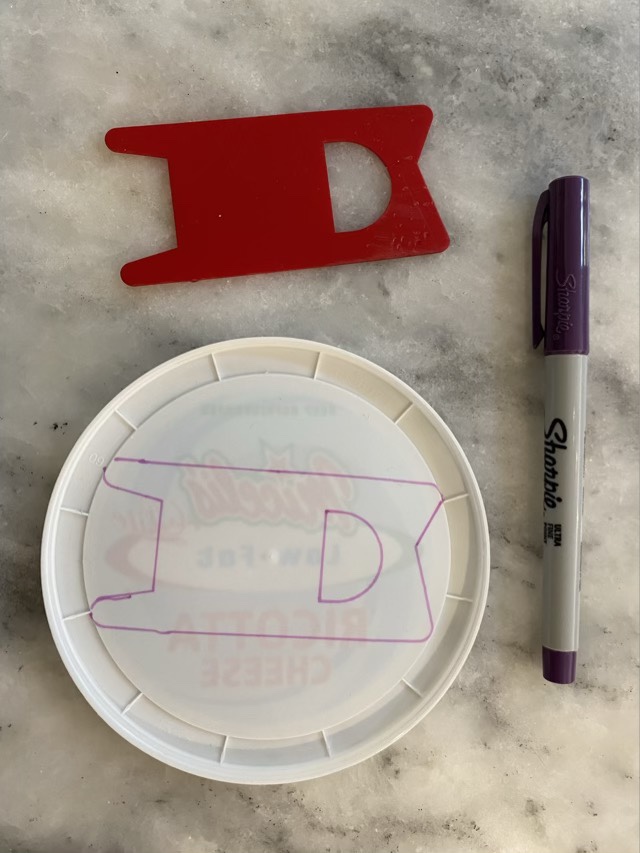
There are no signs of tracing on Grandma’s bobbins, I’m not sure if she wiped them off, they wore off, or she made so many she didn’t need to trace them. I need trace lines, so I used a thin sharpie to outline the commercial bobbin.
Tracing the bobbin onto the lid
I cut out the traced design with kitchen scissors.
Cut out bobbin
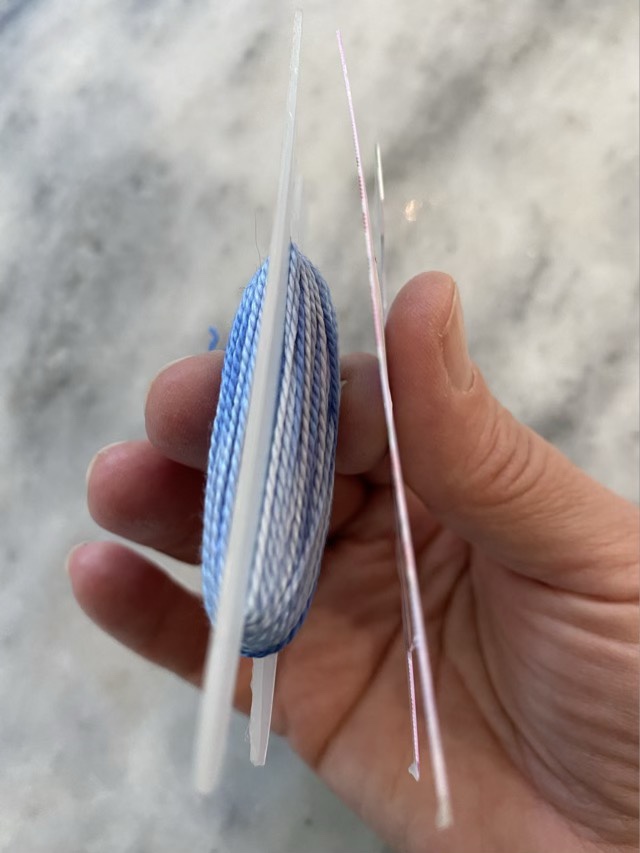
I think cutting was a harder task for Grandma; the plastic she used was much thicker than mine. It is a visible reminder that plastics manufacture has changed, and products are using less plastic per item now.
Grandma’s plastic (left), modern plastic (right)
Despite the thinner material, my new bobbin works great to organize the extra bits of thread I’m accumulating as I warp my Inkle loom.