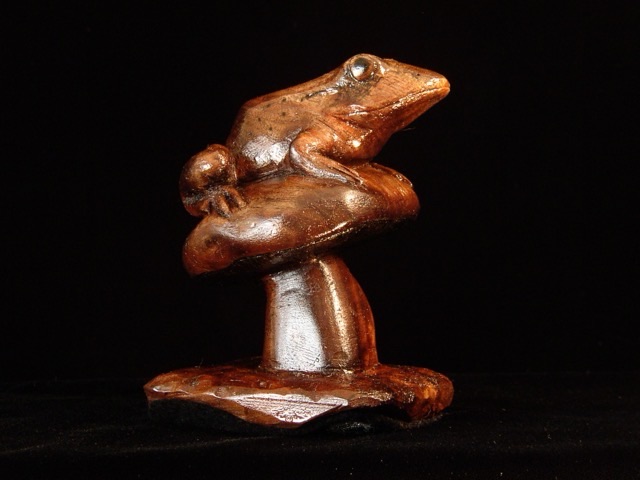
Photo description: hand carved wooden frog sitting on a mushroom
Here is a throwback to August of 2004, when I was getting ambitious with my wood carving. I had made a polymer clay model, then used that as a reference to carve the wood. I don’t remember which wood I used, but it looks like it might be walnut. That would be the time that I realized I was not only allergic to walnuts, but to walnut wood and oils as well (makes sense now, was quite devastating then). I like clear coats, and have steered away from wood stain for many years, so the dark surface of the wood is likely not stained. The darkened eye and frog skin markings were pyrography done with an old soldering iron.
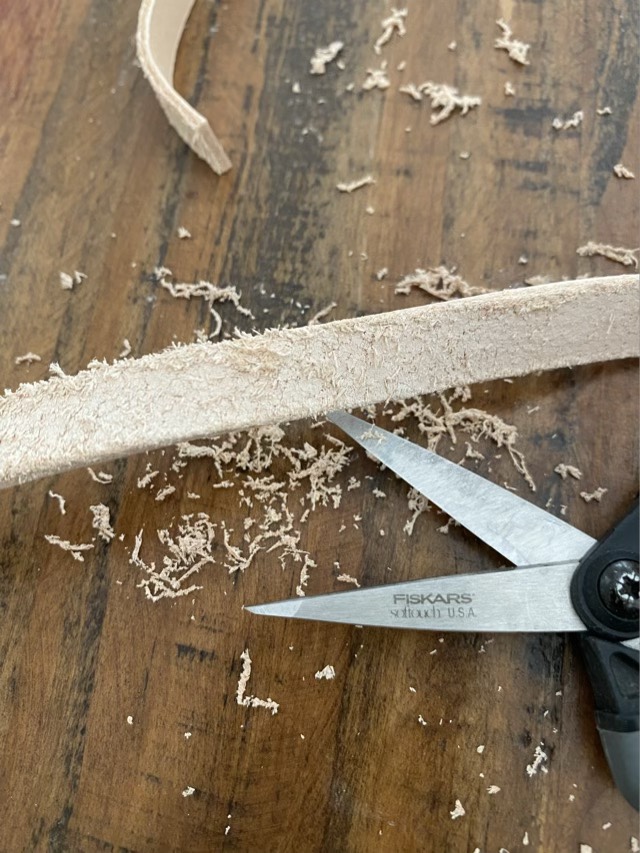
I recently finished a commissioned order for leather wrap bracelets with a saying. I used 1/2” strips of tooling leather, which were a little fuzzier on the back side than I’m used to, so I trimmed the “fuzz” as a first step.
Trimming off excess leather on the back of a tooling strip with scissors
Next I wet and smoothed the edges of each strip round with a slicker. I found a wooden slicker tool awhile back, but am not impressed with it in the raw state. I think I will give it a good sanding and glossy finish before using it again.
Wooden slicker tool and three wet strips of leather
I have multiple options on making the saying on the leather: I have stamps, leather tools, and my pyrography kit. I haven’t done pyrography on leather, so really wanted to see how it might work. I took a scrap piece of tooling leather and did some experiments.
Scrap leather with “Find” written with pyrography
I found that the heat of the pyrography pen, when at about 5 and a half, would burn into the leather and make a mark like stamping, but also darkened the leather. This was what I was hoping for! I could do the sentence free hand. I also found that it was better to dye the leather first, then burn it, then seal it.
Laying out the design on a paper strip “Find Joy and Meaning where you can, and file the rest appropriately.”Dyed and burned bracelets with buttons unassembled, the shorter one was my test case
Once the pyrography was done, I cut in the button hole and sealed the bracelets. When the sealant was dry, I punched holes for the button and used waxed linen to sew on the button. The leather had become stiff, so some bending and moving freed up the form some.
Finished bracelets sitting on the windowsil
I do really enjoy pyrography, so this was a fun project and discovery!
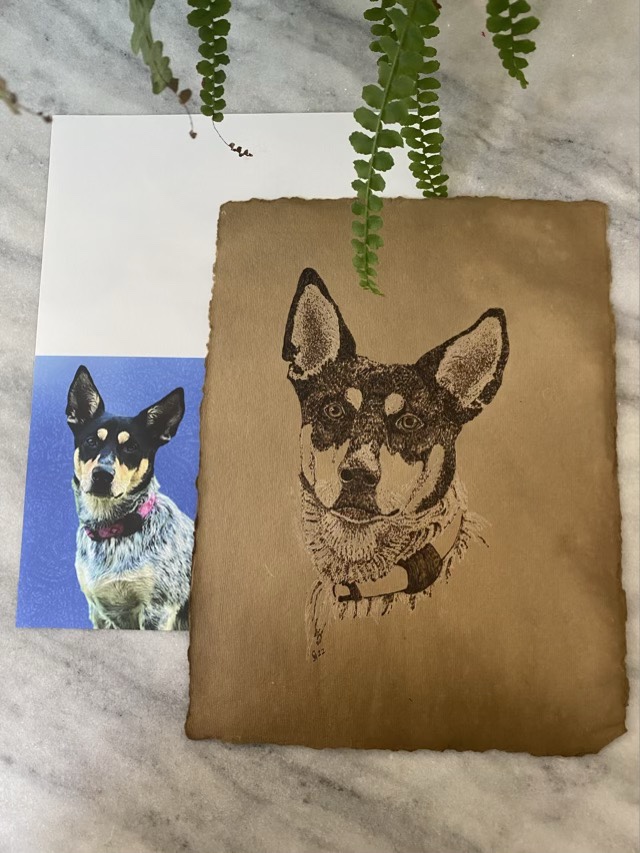
Reference photo (left) and pyrography on hand made paper (right)
My second work in pyrography is also a beloved pet. I’m quite pleased with how this one came out. Working with the wood burning kit is much like pointillism, nearly all the shapes are made with small burn dots layered upon one another. I have several more pieces of this particular paper to experiment with before I have to source more and hope the light and dark effect still works.
I used my professional wood burner setup on hand made paper. Using different tips and heat settings I was able to lighten and darken parts of the image. I’m calling this done while I still like it and before I take it too far. (It happens to me. Often.)
Labrador burned into handmade paper
The paper was not hand made by me, but ordered through Etsy. It was darker than I expected, but it worked out just fine.