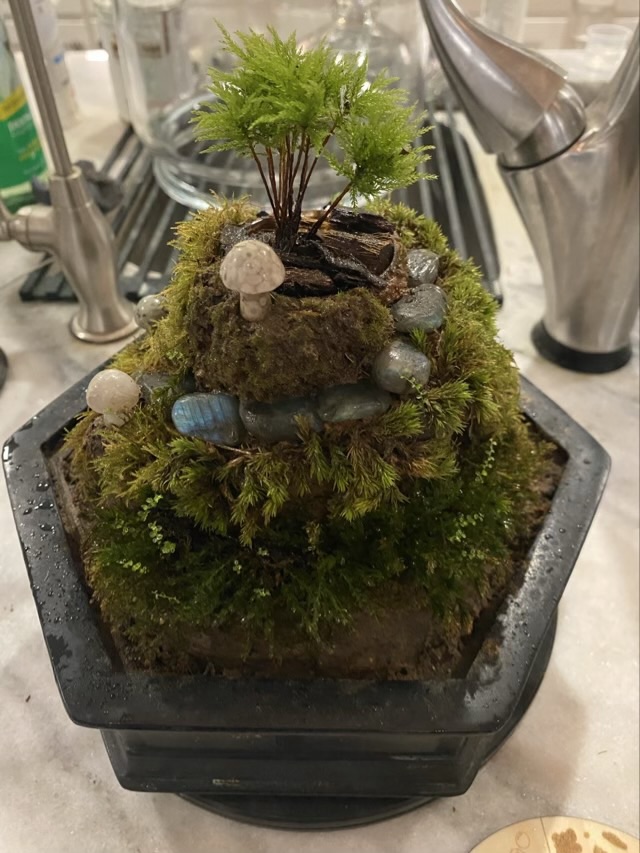
My little jewel orchid was not thriving in the terrarium; I don’t think it had enough light. The moss I purchased was thriving though, so I went looking for something relatively tall (1-2 inches) to crown my miniature hill. I found Climacium Tree Moss (Dendroides / Americanum). This moss grows a kind of trunk and looks like a miniature copse of trees. Adorable and perfect.
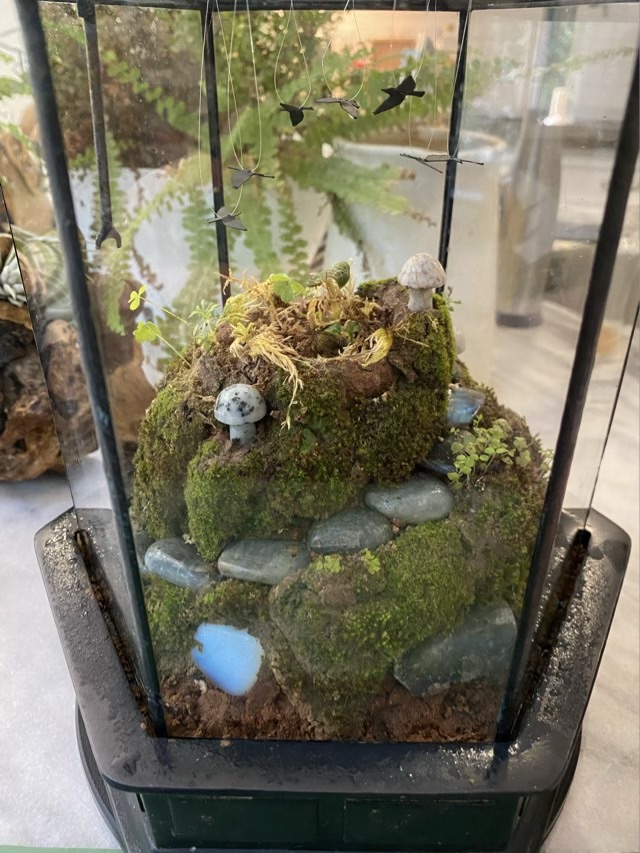
Photo description: mossarium without the glass cover showing the new tree moss on top and new growth on the moss near the base, stone “steps” of polished labradorite, and carved stone mushrooms
The jewel orchid lost its roots (probably too wet in the terrarium), so I put it in a jar with some living moss near a north facing window (no direct sunlight, but plenty of indirect). I’ll post an update on it as it recovers. I’ve read that an orchid can regrow roots from healthy stem and leaf, so I’m hoping.
I had been keeping the left over moss I purchased for my mossarium in the plastic container it shipped in, but I noticed some mold growing in there, so introduced the moss to an empty glass jar. I put some orchid substrate on the bottom, formed a loose ball with the moss, and tucked it i to the jar. Because it is a patterned jar, it doesn’t show the moss clearly, so looks… questionable.
Photo description: moss and substrate in an old glass jar with glass lid
The natural moss that I gathered from the back yard for my mossarium all died in a dramatic going-brown-and-crumbling way, except for one small patch. I bought some cultivated moss to replace it (it came in a multi-pack, ooo).
Photo description: four kinds of moss and the plastic container they were shipped in
I tucked the moss in crevices that I formed in my clay terrarium base, and used the sheet moss on the vertical slopes. To keep the sheet moss in place, I used short sections of a broken toothpick as tiny stakes.
Photo description: using a section of a wood toothpick to stake down sheet moss
I left some open areas of dirt, but not many. I quite enjoyed the placing of the moss, although I’m hoping that this round survives.
Photo description: mossarium with new moss applied to the small artificial hill with labradorite steps spiraling to the top and jewel orchid at the crown
I do have extra sphagnum moss and another similar looking moss. I put them back in the container and will keep them moist until I figure out something better.
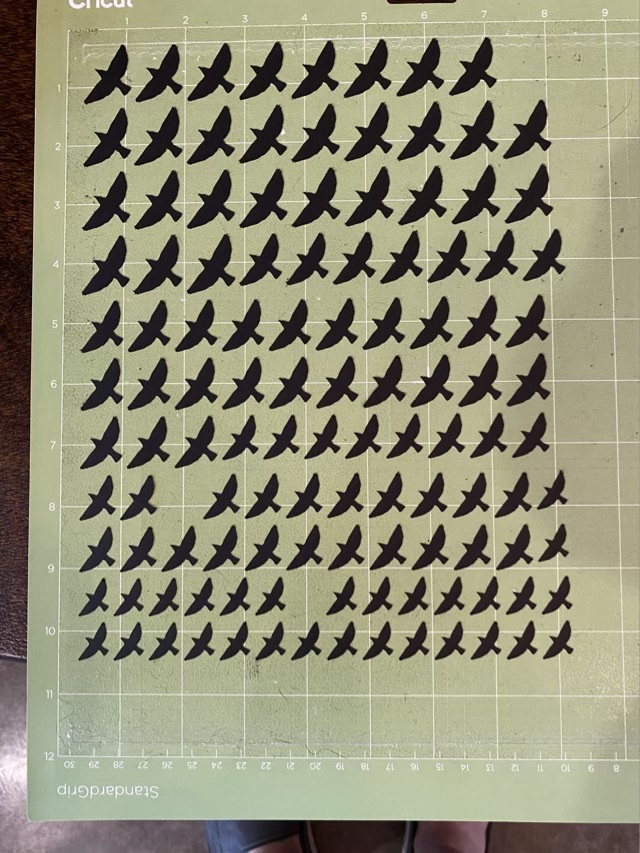
I love my little mossarium, and keep looking for tiny things to add: little plants from the yard, lichen, birds. Birds! I cut out flying bird silhouettes on my Cricut from black cardstock, and hung them from monofilament attached to a wire mobile.
Photo description: more card stock black bird cutouts than I needed in four sizes on a green Cricut mat
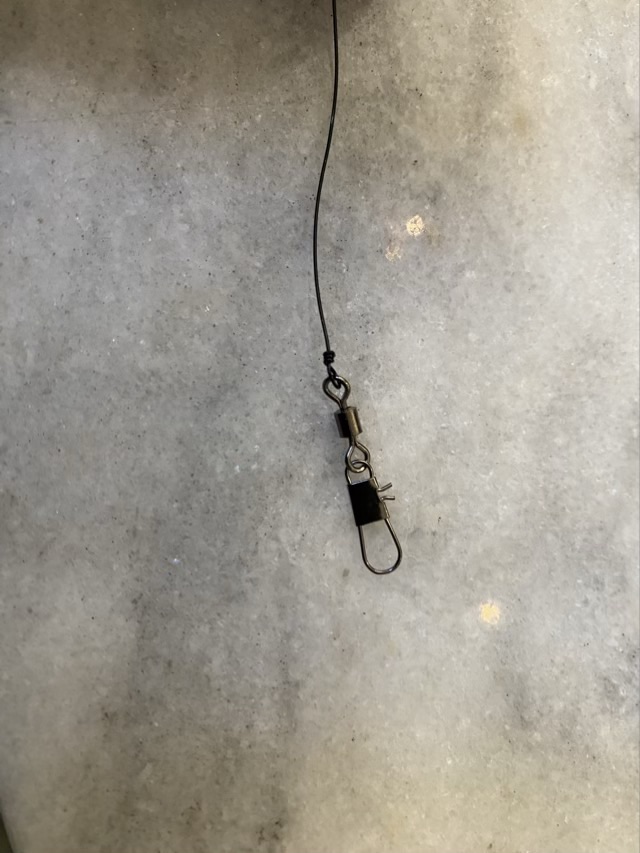
I used 22 gauge black coated copper wire to hang a fishing swivel on the inside of the terrarium.
Photo description: small fishing swivel connected to black wire with a closed loop
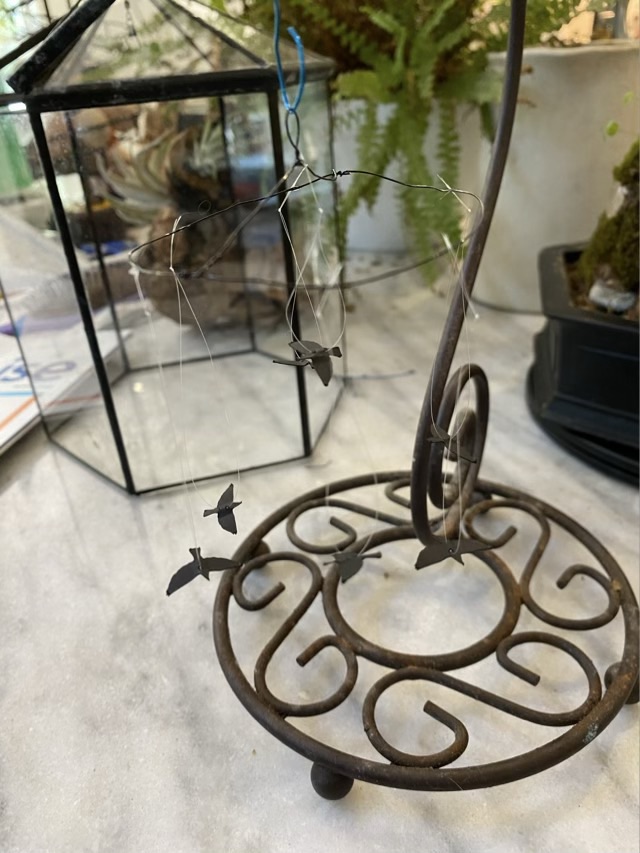
I made a circle of wire with a cross bar and loop, and hung it from a banana stand so I could balance it as I added the birds, which had monofilament strung through the body area. I only needed seven of the smallest birds I cut, the rest will be saved for other projects. I used super glue to tack the line onto the wire because I didn’t want the line to slide along the wire, and I didn’t want to add weight by making wire loops.
Photo description: tiny bird mobile hanging from a banana stand, terrarium lid in the background Photo description: mobile in place in the terrarium lid, showing the wire circle hanging from the fishing swivel attached to the peak of the lid and the birds hanging downPhoto description: terrarium lid in place over the moss covered mini landscape
Here is a 5 second video of the birds “flying”. I put the terrarium on a small lazy susan, so when I turn it, the birds turn at a different rate, and will continue to spin briefly when the turntable stops. The swivel doesn’t spin as freely as I would like, but this is a happy start.
I cleaned and washed the terrarium a third time. When rebuilding this round, the chunk of wood that kept sprouting mold was not included in the build. Instead I turned to our backyard, which is mostly clay and marvelous to sculpt. I put a layer of glass pebbles down in the base, added some activated charcoal, then put down a compacted layer of dried sphagnum moss. I used the top part of a champagne flute (the bottom broke off rather jagged, but it went down into the moss, so no danger of cuts) as a form, basically a glass tube in the middle that would be a “pot” for my jewel orchid to ensure it had room to grow and didn’t get soaked, as I tend to overwater.
Photo description: Bags of rocks and stones on the left, the base of the terrarium showing the glass pebble and charcoal base layer covered with sphagnum moss, and the top of a champagne flute on the right, all on a outdoor cast aluminum table
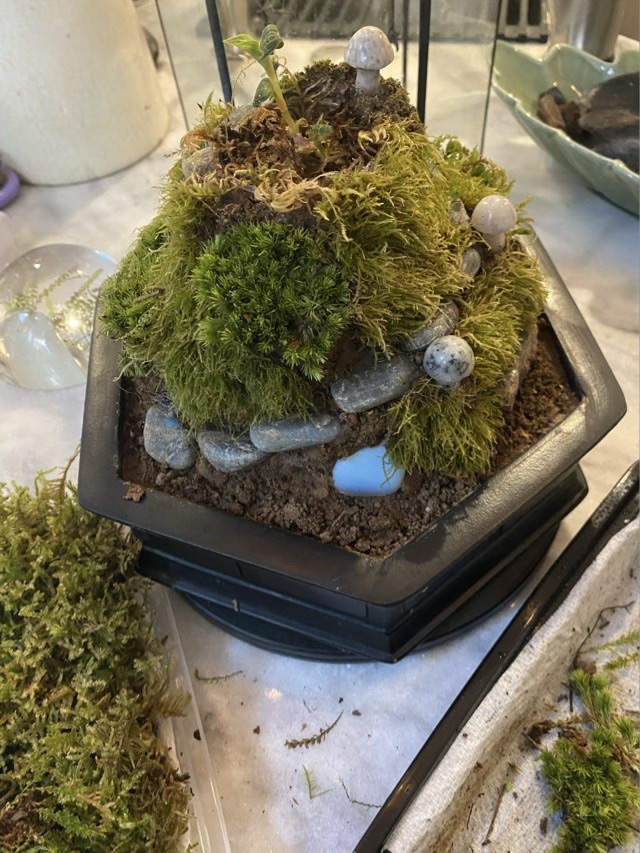
I gathered clay soil from different areas in the backyard, where wild moss was already growing, and built it up around the glass tube. I found my stash of labradorite pebbles, some of which I tumbled, some were raw, and added the smooth stones as steps, and the rough rocks as “boulders” in the sculpture. I then used a spatula to gather small sheets of moss from different areas in the backyard, trying to find different looks, and laid them over the clay base.
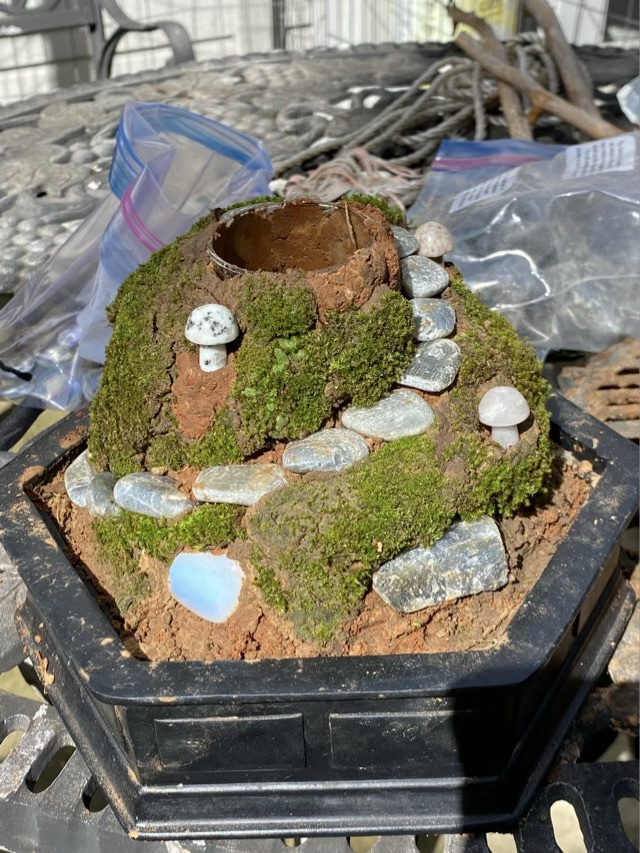
Photo description: moss sculpture in progress outside on the patio table with labradorite, moonstone, and stone mushrooms on a moss covered clay form with a hole in the center held open by the glass tube formerly known as a champagne flute
I really enjoyed this build. The clay soil was easy to work with because we have had a very wet spring, and the moss molded well against the clay. I made a spiral staircase because I like spirals. I filled the center tube with sphagnum moss and put the jewel orchid at the top. I found small plants in the yard in the shade that I tucked between sheets of moss as well.
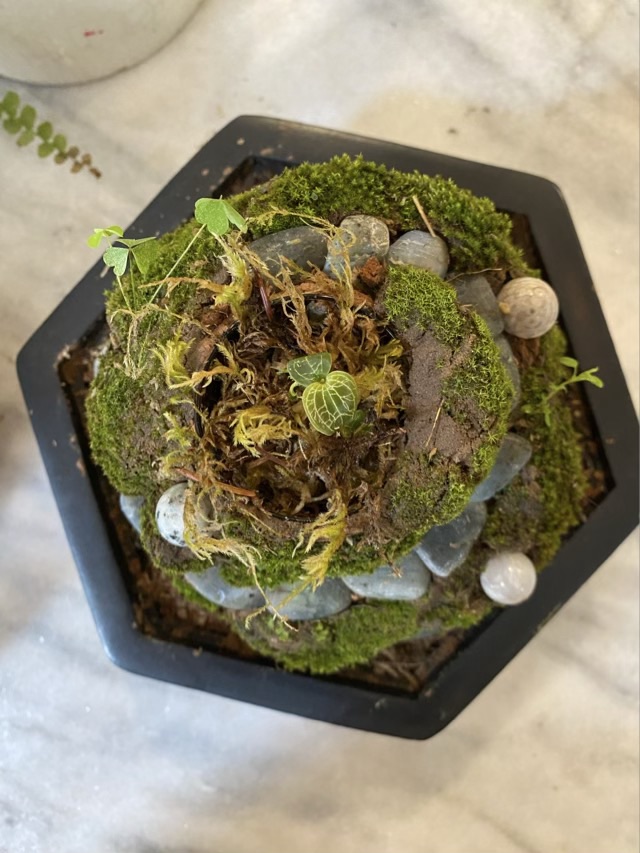
Photo description: moved the build inside, out of the sunlight, this shows the opposite side with a labradorite “boulder” sticking out of the mossy hillPhoto description: another side of the mossarium hill showing one of the labradorite stepping stones showing a blue schiller effectPhoto description: my favorite view, straight down from above the mossarium build showing the sculpted spiral Photo description: not a great photo of the complete mossarium with lid, I need to get out my polarizing filter and good camera to combat the glass glare with the terrarium lid in place, mister to the right, which is an old eye glass cleaning bottle, and left over bags of stone on the left
I’m hoping that the third time is the charm on this mossarium. It was a fun build.