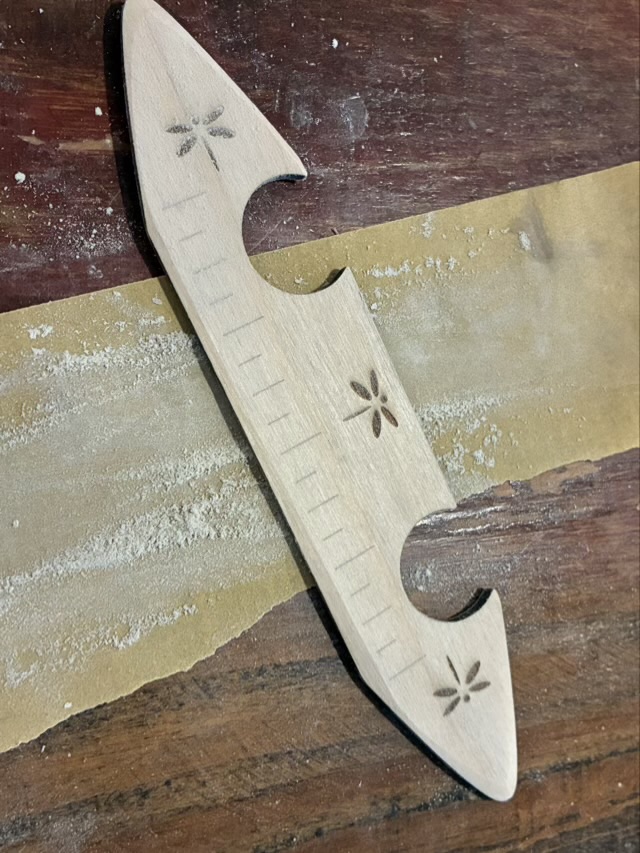
The shuttle I designed for my new inkle loom wasn’t working as well as I hoped. In Adobe Illustrator I designed a new one based on a weaving stick that I found digging through my weaving tools. I used my laser cutter to engrave a ruler and decoration and cut it out of 1/8” birch plywood. I then sanded the points and bottom edge to make a bevel so it was easier to slide it through the warp shed.
Photo description: wood shuttle with yarn storage on sandpaper being used to create a bevel on the bottom edge
I finished the shuttle with butcher block conditioner and let it dry overnight.
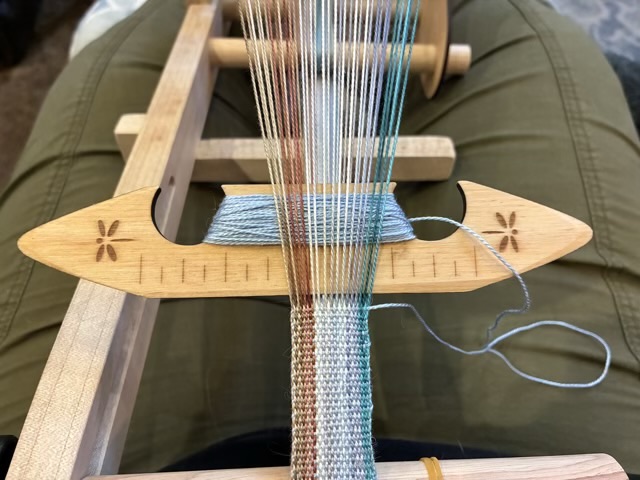
Photo description: finished shuttle in use on my inkle loom
I think the design needs some more refining. The upper part of the circles that hold the yarn also catch on the warp threads if I’m not careful. The holes are sized the way they are so the shuttle can hang on an inkle loom post when not in use. I’m not sure that functionality is worth the irritation of catching threads.
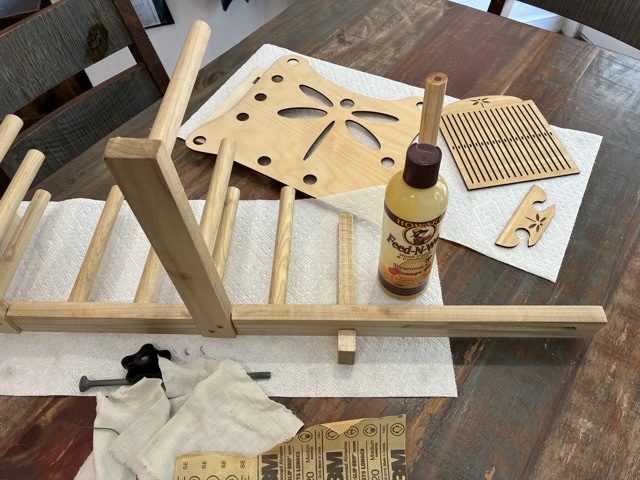
I applied Howard’s Feed-n-wax to my newly made inkle loom, and to the freshly designed and cut wood rigid heddle and shuttle, both marked with the dragonfly symbol I designed for the loom.
Photo description: inkle loom in pieces so the feed-n-wax can be rubbed onto all the surfaces
It was so hard to wait for the finish to dry, I really wanted to warp it up and get testing!
I am putting together a display to showcase a number of different twined fibers. I decided to make the twine holders 3×5 with large print so that they could be read from a distance, and used my laser cutter to cut them from 1/8” plywood. Each card is finished with Howard’s butcher block conditioner before I start twining.
First up is long line flax.
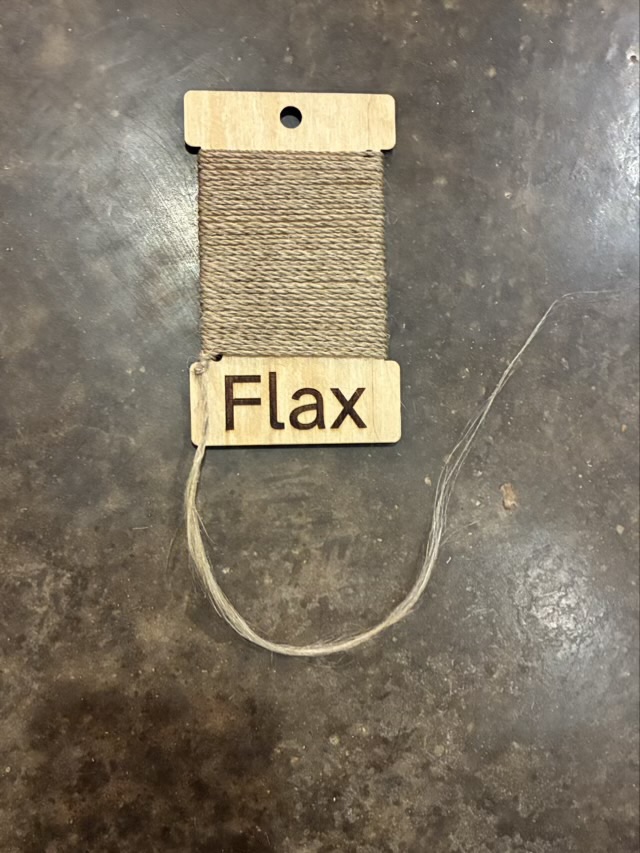
Photo description: twined flax on a 3×5 flat wood “spool” with the word “flax” fill engraved on the bottom, a hole at the top for hanging, and two start and end holes to securely attach the twine to the card
I love long line flax, the ideal product that comes from flax processing. It is easy to twine and very strong, but still soft. I left a tail on the twined example so that people can see what the fiber looks like before it is twined.
Flax has been grown and harvested for thousands of years to produce linen cloth. The fabric softens with washing, and its breathability is superior in hot environments. Long line flax is sold in stricks, a bundle of fiber twisted, then twisted back on itself to form a stable spiral. Tow is shorter lengths of flax left over from the long line processing, and can be carded before being spun. I find touching a damp sponge before twining helps me grip the fibers better. Spinners will keep a small bowl of water at hand to smooth their spinning. Flax needs less twist than cotton or wool when spinning and can be spun extremely fine, using just a few fibers.
Eve Schaub is currently doing a project to grow a dress in her backyard, and is growing and processing flax. She is doing a great job showing the process, bringing in experts to teach aspects of the processing, and doing so in an entertaining way. It is well worth following her journey.
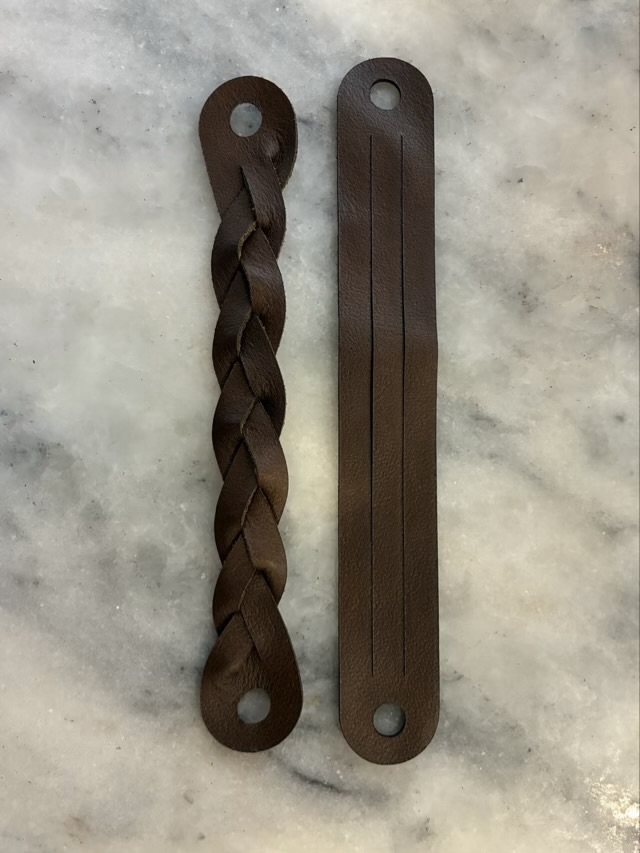
I’ve been fascinated for years with the magic braid done with leather where both ends of the braid are uncut. I found a good tutorial that uses reclaimed leather, and I had to try it.
Photo description: two pieces of leather reclaimed from an old recliner and cut with a laser cutter, the one on the left has been braided, the one on the right has not
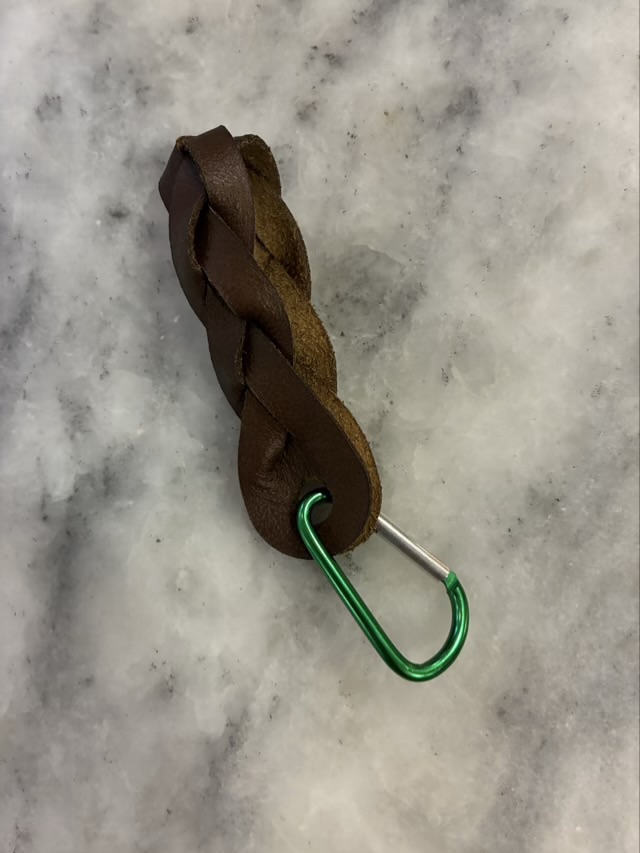
I did not make these into bracelets as in the tutorial, but into key chain fobs, by folding them in half and adding a clip.
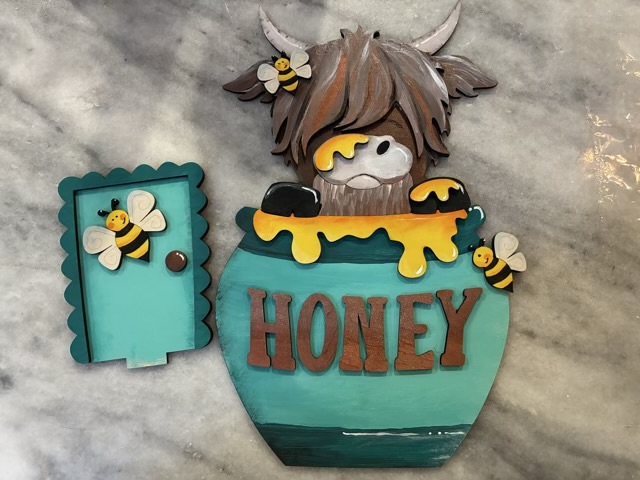
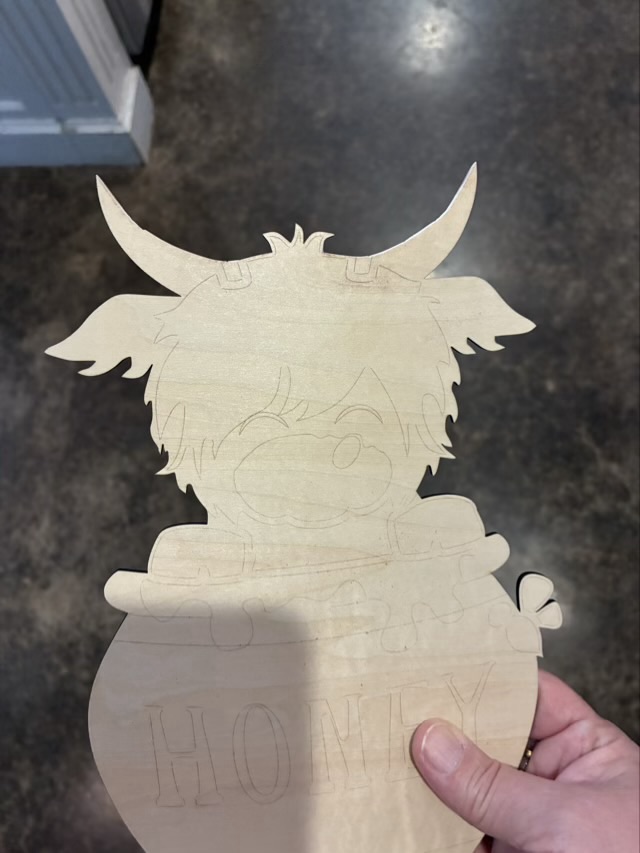
I went to a painting class at our new local Hobby Hut to do an interchangeable shelf sitter. Very cute design, there is a “bird house” base and the door and central design can be changed out. I painted the base at the studio but took the highland coo in the honey home to paint.
Photo description: interchangeable parts painted by me of a highland coo in a honey pot with three bees
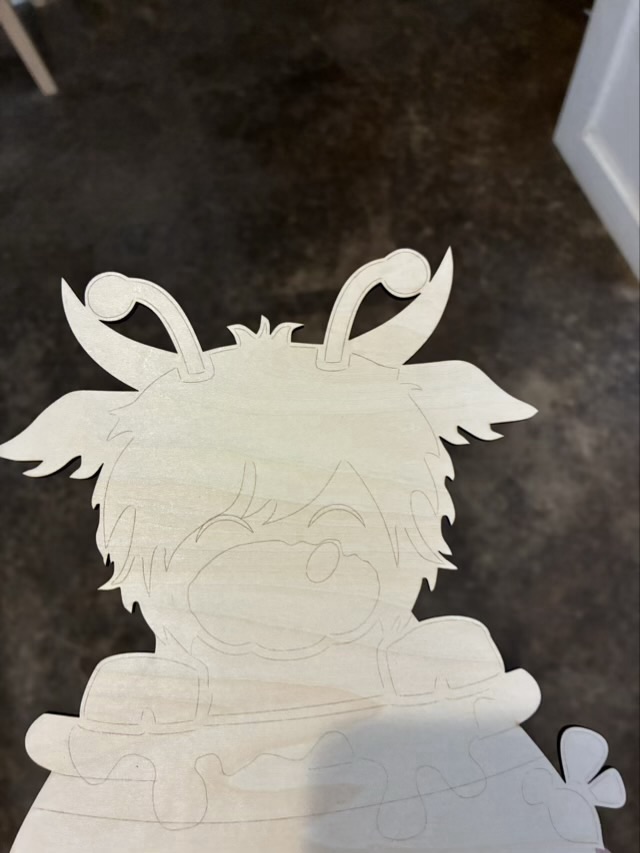
The original design had antenna on the highland coo, which I didn’t care for, so I cut them off before painting.
Photo description: original laser cut wood highland coo bass with antenna Photo description: antenna removed with a band saw and the horns smoothed down with sand paper
I did have to fill the space on the next layer where the antenna were supposed to go, but some cutoff bits of wood and a heavy layer of paint did the trick.
I will post the glued together finished project once I’ve done a clear UV protectant spray coat. It has been raining almost every day, so I haven’t had the chance yet.