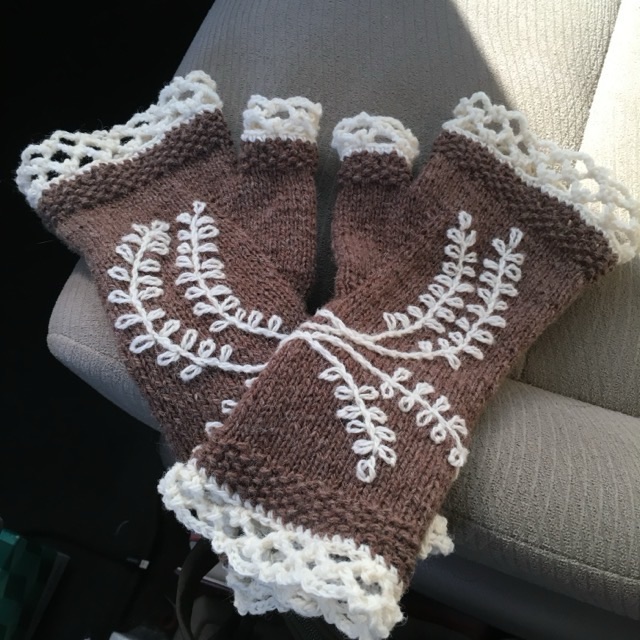
In October 2018 I finished a pair of fingerless gloves. I’m quite pleased with these, I knit a brown glove with wool yarn with stockinette stitch for the base and moss stitch for the edges, then used white wool to crochet a simple picot lace to the wrist and fingers. Using the same white wool I embroidered a mirrored leaf design on each glove. To plan the leaf design I digitally drew on a picture of the gloves then used my drawing as a guide for the stitches.
Photo description: brown and white fingerless gloves made from fingering weight wool yarn using knit, crochet, and embroidery techniques
I really enjoy making things using multiple methods in a single item. One day I’ll figure out how to make something spun, woven, knit, crocheted, nålbound, and embroidered.
To test my theory that knit i-cord has the most options by varying yarn weight and needle size, I knit worsted weight cotton with size two needles, which are much smaller than recommended for the yarn.
Photo description: i-cord knit with worsted weight cotton yarn and a size 2 circular Prym needle
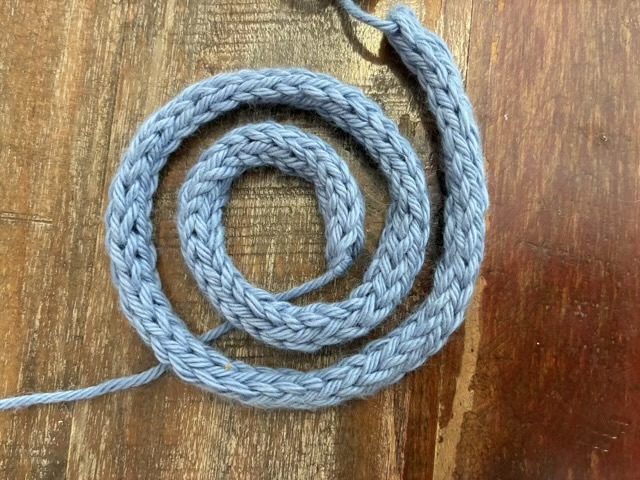
As expected the cord comes out more dense and sturdy than cord knit with bigger needles. I only managed to make 10 inches of cord in 30 minutes. It has 20% stretch, which is 5% less than the i-cord knitted with size 8 needles. I’m a little disappointed that the difference in stretch isn’t more different.
Photo description: 10 inches of densely knit purple i-cord in a small spiral
Hm. Yes, I can vary stitch density by changing needle size, but I think I would choose another method if I needed a dense cord with less stretch.
In a world where you can be anything, be kind. Never forget.
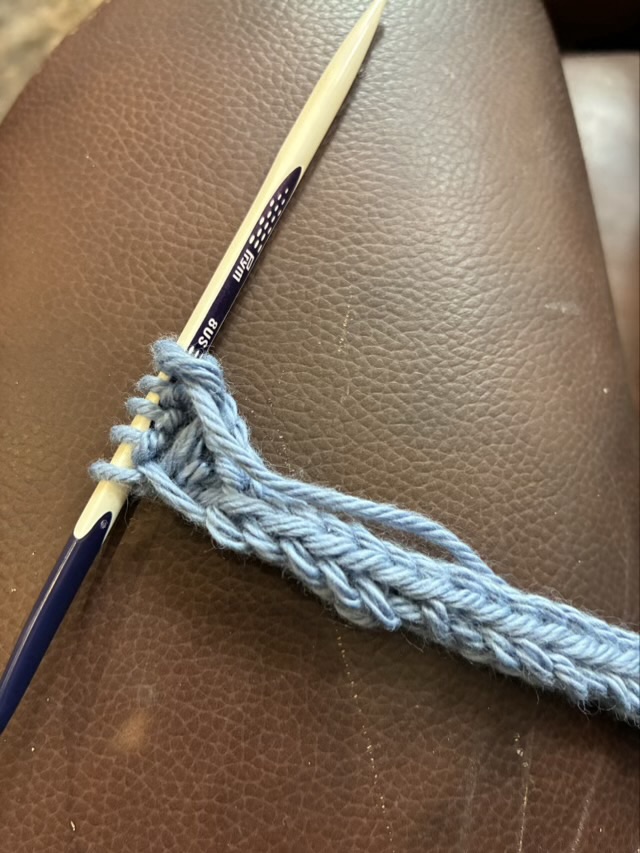
I-cord is traditionally knit with knitting needles. It is possible to make an i-cord of many different gauges and densities depending on the yarn weight and needle size, which makes this method of i-cord making the most versatile. I started with cotton worsted weight yarn and one size 8 circular needle (two double pointed needles work as well).
Photo description: i-cord being knit on a circular size 8 Prym needle with blue cotton yarn, back side, showing the gap from knitting a small round object on a straight needle
There is a little gap that happens at the back of the knitting where the yarn is brought back to the front, but this disappears when the cord is stretched and worked and the loops settle in. Somehow, near the end of the cord I added a stitch to have five instead of four. Hm.
Photo description: knitted i-cord made from blue worsted weight cotton yarn
In 30 minutes I made 18” of cord, which has a little more body than the crocheted and dolly knit versions. It has 25% stretch (18” stretched to 22.5”).
I think I will experiment with yarn weight to needle size variations of i-cord. I actually prefer my cordage to not have much stretch. Experiments will continue.
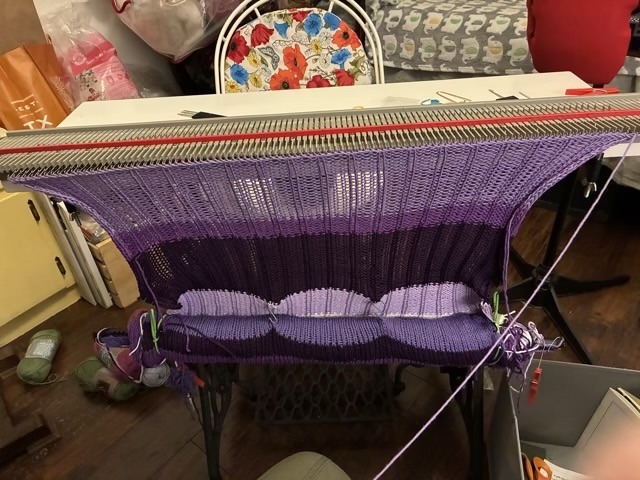
I did another full width (100 stitches) knitting project on my “incredible sweater machine”. I wanted to make a shawl with random purple stripes, and originally intended it to be 65” long and calculated it needed 350 rows of knitting.
Photo description: The incredible knitting machine set up on a narrow table with purple cotton yarn in four shades plus white, last row is finished and backstitched
I tracked the hours I spent at the knitting machine using a row counter app (Knitting Chart), and when I bound off I had put in 8 hours to make 350 rows, which is much faster than I hand knit. I also had better focus, this project on regular needles would have sat for long periods of time. I did put in a rib every four stitches, and hooking up the perl ladders did slow down the process, but it was worth the time to have the shawl lay flatter and add interest to both sides.
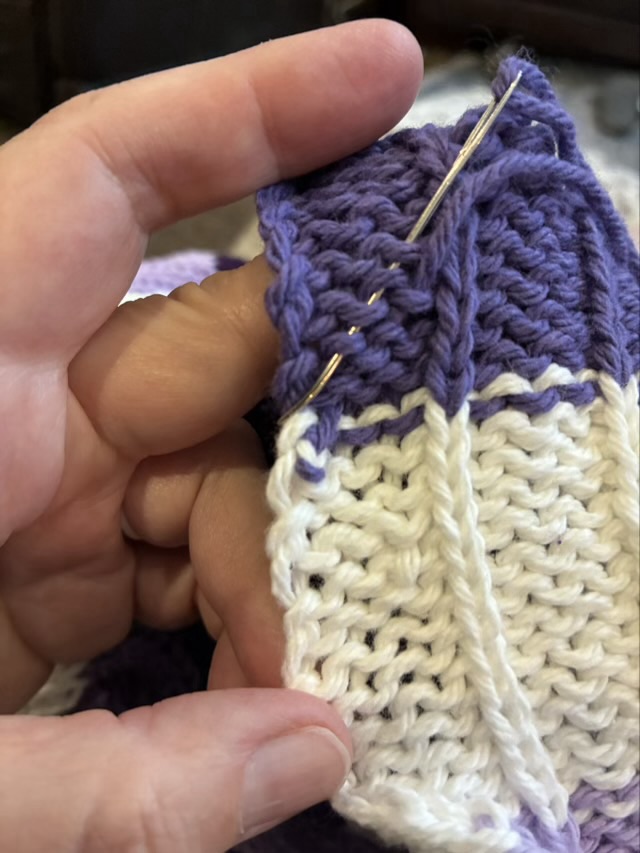
I wove in the ends my favorite way with knit: at an angle on the perl side.
Photo description: weaving in ends with a large eye needle on the perl side, going under the perl bumps at an angle
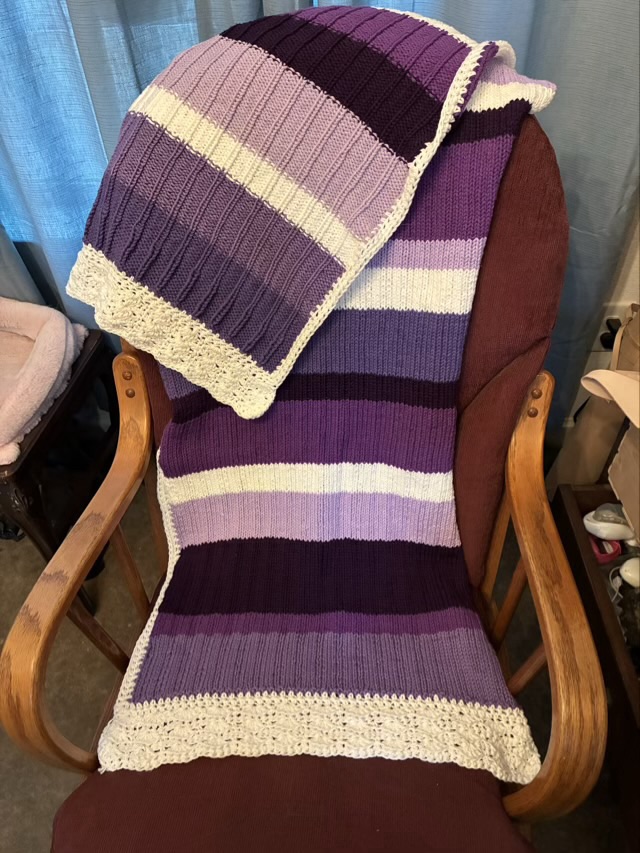
The cotton yarn knit tighter than my acrylic gauge swatch, so I didn’t make it to my desired length. I decided to crochet along the edges, a half double crochet stitch every other knit stitch, then added shell lace to the ends.
Photo description: glider chair with machine knit shawl in purples and white stripes with crocheted lace edges, showing both sides of the knit and crochet, pre-blocking
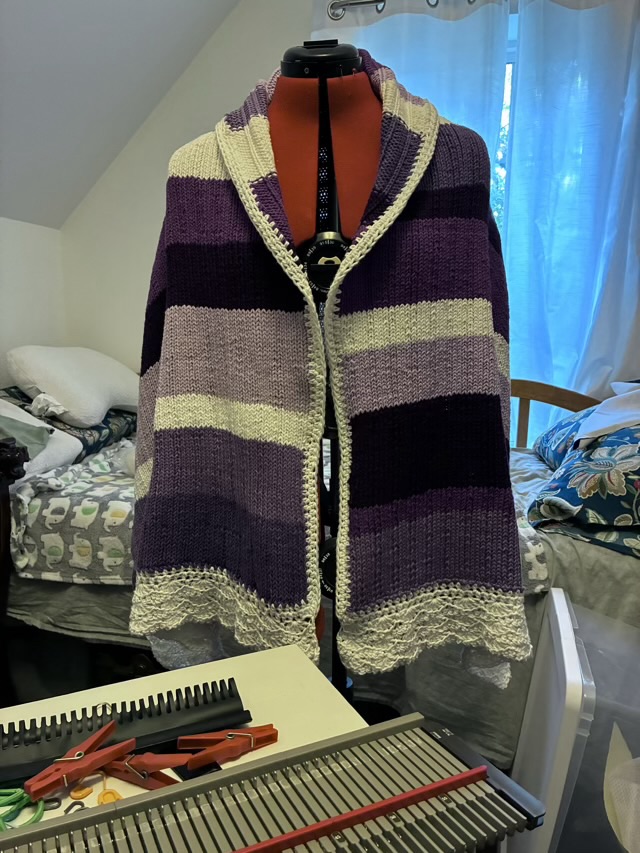
I steam blocked the shawl using a steamer and ironing board, which really helped even out the stitches and relax the curl.
Photo description: striped shawl on an ironing board, steamed areas on the counterPhoto description: finished shawl on a dress mannequin with the sweater machine in the foreground
I decided to see what would happen if I knit the full length of my “Incredible Sweater Machine”, and since I can’t seem to only change one thing, would it be lace-like if I left every third stitch unhooked?
Photo description: The incredible sweater machine clamped to a narrow table with a full width swatch of fabric knitted with every third stitch skipped
I was thinking that there were needles missing on my machine because there are blank slots at each end, but the blank places are parking for the knitting cartridge. The cartridge needs to be completely clear of the needles in order to be ready to knit the next row. The loops on the very end are a little squirrely as the fabric lengthens because they angle inward and it takes extra attention to make sure they don’t pop off. Other than that, knitting the full row of needles isn’t much different than making a smaller panel.
Skipping stitches is just a matter of placing a needle in a non-working position. The shuttle puts yarn over the area, but doesn’t pull it in and make a loop. However, when I removed the fabric from the machine, the knit stitches happily expanded into the space and just became loose, not lace-like at all.
Photo description: panel of knit fabric with skipped stitches, on the left the stitches have eased back together and the stripe dissapeared
I decided to put a rib in where I left a blank, which is what is recommended for making a rib stitch on the machine. It was definitely awkward using a crochet hook and linking the loops after the fabric was off the machine, but I can firmly say that I am no longer apprehensive about runs in my knitting!
Photo description: same fabric panel but with the spaces turned into perl stitches, the top and bottom edge now lay flat
The yarn I used was from the scrap bin and turned out to be self striping, which was a surprise as I knit. I rather like the bold horizontal rows of color with the vertical texture stripes of the rib, and there is the bonus that at least the top and bottom of the fabric doesn’t curl. It turns out the ribbing at the bottom of a sweater isn’t to give it an elastic band, but to keep the bottom from curling up. Hm.