I’ve found I rather like a beaded ring as a fidget, especially one made of stone with an elastic cord. the smooth beads have a nice feel and the elastic allows me to switch it from finger to finger. I fiddle with the ring rather than worrying at my cuticles.
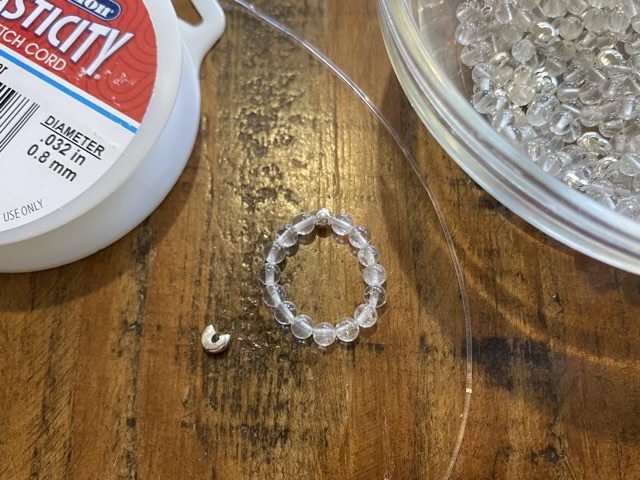
I make them with 4mm quartz crystal round beads, 0.8 mm clear elastic beading cord, and a 4mm silver plated brass knot cover. When making a knot in the elastic, use a surgeon’s knot and pull it slowly tight until the elastic is stretched thin in the knot. Trim the ends then cover the knot with the split metal bead and clamp it shut gently with needle nose pliers. I don’t glue my knots because hard glue makes the elastic brittle.