Recycled cotton plant holder

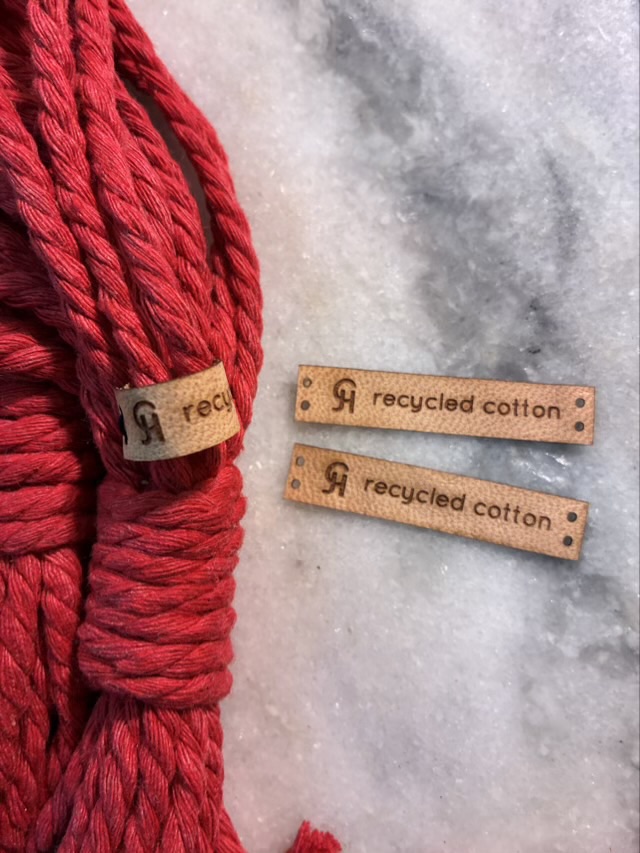
I found a source of recycled cotton macrame cord from RockMountainCo, based out of Colorado, and some recycled glass beads from our local vintage store, The Haps. The combination of recycled/upcycled materials seemed very appropriate to make macrame hanging plant holders requested by my sister.

Photo description: close-up of the macrame in progress, adding a bead to the center two strands of a half knot twist

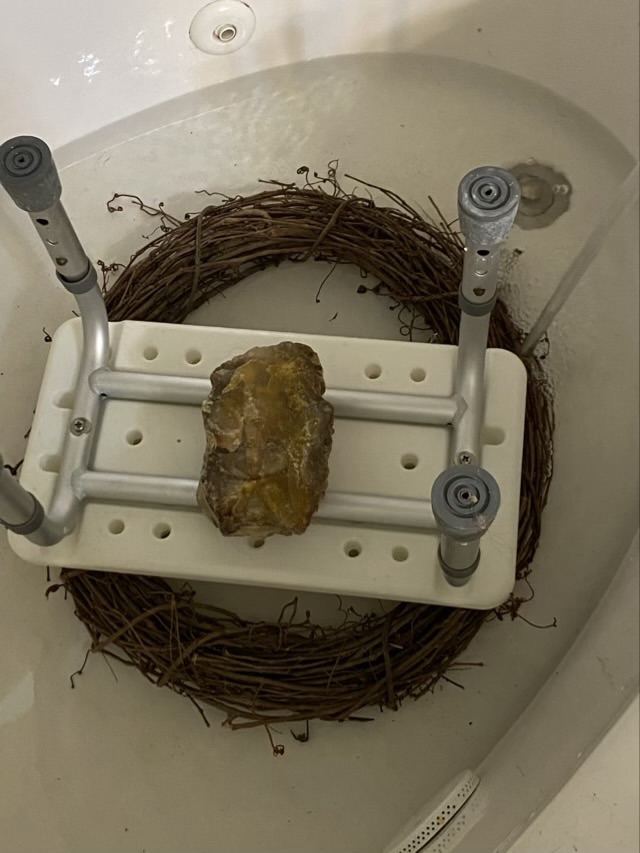
I found that my bag twining loom works well to hold macrame in progress, and to display the finished piece.

Photo description: hanging macrame pot holder made from red recycled cotton cord and recycled glass beads hanging from a bag twining loom
Photo description: leather tags marked with my signature and “recycled cotton”, one sewn into a circle on the macrame hanging

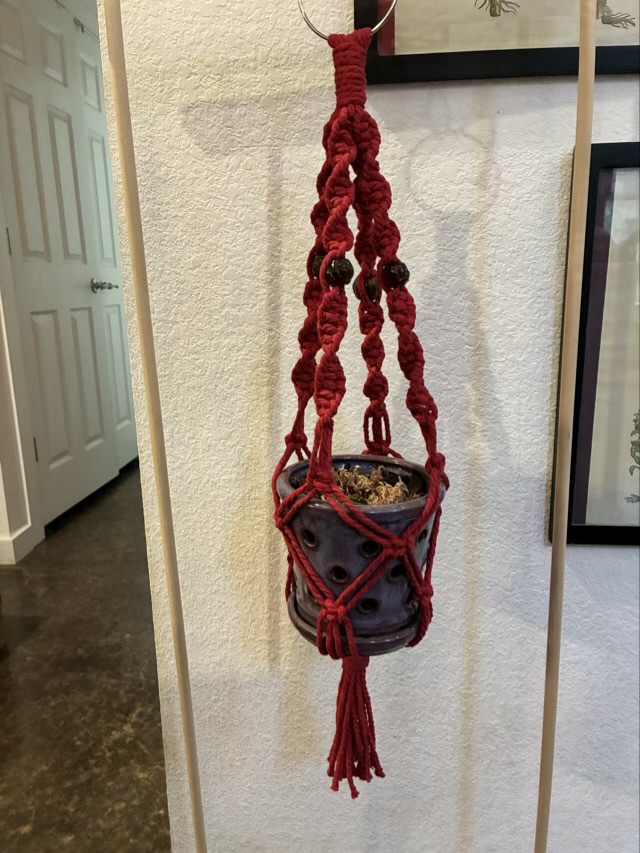
Technical details: I cut 8 lengths of 4mm cord 99 inches long, folded them in half through a welded metal ring, lashed the strands together with 30 inches of cord, made four half-knot twisted sections with 15 knots on either side of the bead, then three sets of offset square knots to make the body of the holder, finishing with another 30 inches of cord to lash the strands together at the bottom.

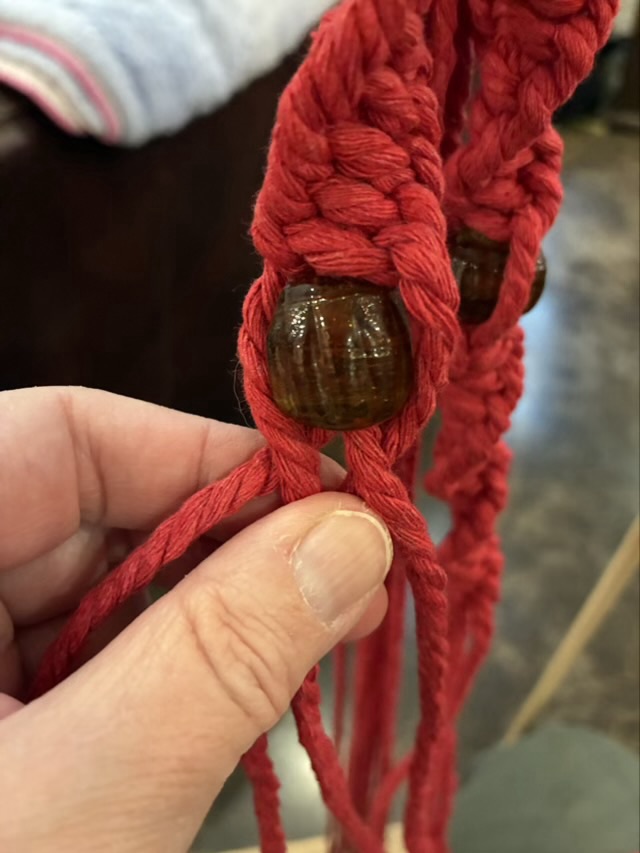
In macrame, when making a half-square knot twist, the two center cords function as a core, and don’t get knotted, so the outer knotted cords get short and the middle don’t. To balance this and make the most of the cordage, I used a bead to interrupt the pattern and switch the outer and inner cords. By making the same number of knots above and below the bead, the cords end up the same length. A little macrame trick for those that read this far.

Random weave attempt

I really like random weave objects that are well done, so it is on my craft bucket list to practice random weaving. I realized I had a source of dried grapevine readily available in the wreath blank hanging on the front door. I filled the bathtub with water, weighted down the wreath, and let it soak for two days.

Photo description: grapevine wreath soaking in a tub with an upside down shower stool and a rock weighing it down

The random weave started out fine; I used loops and interlocked them as I circled around. The problem came when I tried to make the sides curve to make a basket. It stubbornly kept returning to a flat state. Hm. I kept at it for while, then acquiesced to the material’s demands. I finished weaving in all the vines that would weave (a portion was too thick, some were too short, and some were too brittle.) I then took all the little tendrils and wrapped them around nearby vines to lock the weave in.

Photo description: flat random weave still wet on the floor

I decided to hang the … object… back on the door. When it was dry I added some colored glass drops using some hot glue, then added fake spider silk by stretching out hot glue strands to give the disc even more of a tangle feel.

Photo description: grapevine tangle with glass drops hanging on a red door
Photo description: closeup side view of the grapevine tangle showing the hot glue strands

I think my issue was trying to make a medium sized basket with larger sized vines. And next time I think I should work on a form that has the shape I want.

Throwback Thursday: Picture frames

In May of 2013 I was into making sculptural wood and wire photo frames.

Photo description: oak wood photo frame with wire tree and Mother of Pearl buttons as leaves

I cut the frame from hardwood, sanded and finished it, then put a peg hole and dowel in the back to function as a stand. I drilled holes for the wires, epoxied them in and shaped them. I added tabs to the back to hold the photos in. Did I take a picture of the back? Not of this one.

Photo description: back of an owl photo frame showing peg stand, metal tabs, and hanging hardware. The eyes of the owl were fused glass with iron oxide pupils that matched the tone of the wood. the back of the eyes can be seen in the photo.

My photo skills took a slip back at this time. Many of the photos for the other frames were blurry, or at a strange angle, and others were taken with photos in them. Some of the photos of photos were decent, but since I don’t post faces on this blog, it made them unsuitable for future use. In my past-self’s defense, I had two young children and I’m frankly lucky to have remembered to take pictures at all.

Throwback Thursday: glass hat

In February 2013 I made a small glass baseball style cap from glass clay and painted it with pearlescent powder before firing it in my kiln. It is a very wee object, measuring at less than an inch in length.

Photo description: small glass hat next to a plastic ruler
Photo description: inside of the hat with my maker’s mark
Photo description: back of hat showing some detail work that remained after firing

Throwback Thursday: recycled glass

Back in December of 2012 I was into cutting up wine bottles and heating them up to melting in my kiln. I made an ornament from the base of a green bottle, cut a groove in the side with my wet grinder, and wire wrapped it. Using an engraving tool I wrote the first verse from A Visit from St Nicholas by Clement-Clark Moore in a spiral out in tiny lettering.

Photo description: green glass ornament with spiral writing and organza ribbon

As I scroll my photo history, I don’t take every craft project for a throwback post. When I look at a photo, if there aren’t enough words in my head, it doesn’t get picked. There are some projects where I don’t remember what materials I used, or don’t have any in process photos to remind me how I constructed it. So I keep scrolling. Since I’m still picking projects from 13 years ago, I figure I have some leeway.