Feet are free

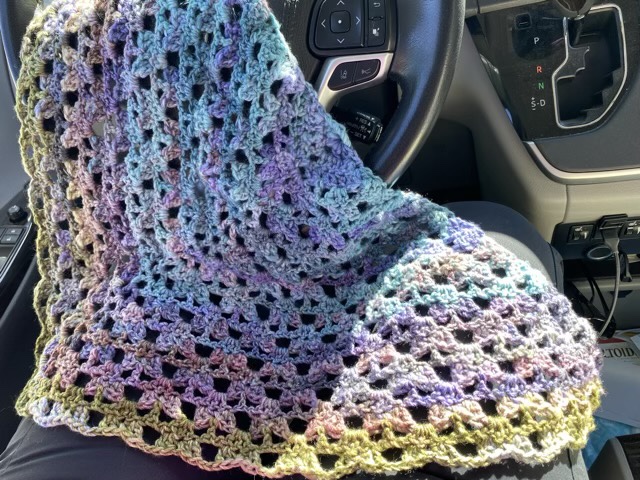
I’ve started a new crochet project. I’m using up yarn from my stash to make what I hope will be a 1960s style duster length vest. We’ll see how much yarn I have. Since the piece is worked from the bottom up, I figure I can keep working until I’m almost out of yarn, then finish the arm holes. At that point I should know about how much yarn that will take. I’m working from a vintage 1969 pattern, and as per my standard method, I’ve deviated. It is an easy thing to pick up and put down, so makes an ideal chair project. I just have to count to five (5 chain stitches to create the net lace). Missy the dog noticed that even though my hands are busy, my feet are free. Good thing that I can kick the ball and still count.

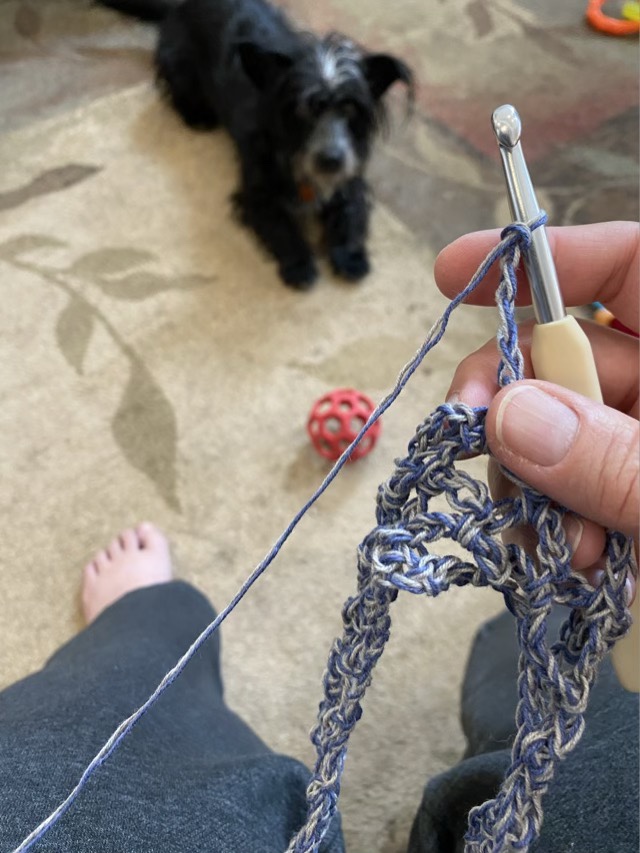
Missy presenting her ball for a kick while I crochet

Lining a crocheted bag

My eldest recently found a beautiful crocheted drawstring bag from a local shop (I’m very excited about the new shop, there are fibers to spin and classes being lined up!) The bag is beautiful, but needed a liner to hold the dice my eldest wanted to put in there. We pawed through my fabric stash and found some light weight black knit that would stretch well with the crochet and wouldn’t show through.

Pieces of knit fabric to make a lining

Because the bag had a round base and cylindrical sides, I matched the design with the lining, cutting a circle of fabric the size of the base, and a rectangle slightly oversized.

Sewing the rectangle to the circle

I started sewing the long edge of the rectangle to the circle, leaving room on the rectangle for the side seam. I used a jersey stitch on my sewing machine to keep it stretchy.

Cutting off the excess

When I finished the base seam, there was extra fabric on the rectangle, which is OK, better than not enough. I trimmed the extra fabric off and sewed up the side seam.

Hand sewing in the lining

With the seams facing out, I fit the liner to the bag, folding over the top of the liner, and hand stitching the folded edge to the yarn work. I was very careful to follow the bag just below the drawstrings so as not to impede their function.

Liner installed
Completed bag

I am pleased with the liner, it expands very well with the crochet, doesn’t peek through the stitches, and should keep anything put inside nice and safe.

Prototype

It isn’t often that I finish my prototype after I finish a larger project. Usually the idea is to wrap up the smaller project first so I’m better prepared. Ah well. This doll’s scarf was my purse project, and I used it to figure out a pattern I purchased. When I finished the larger scarf (see yesterday’s post), I still had waiting time, so pulled this project out of my purse and bound it off.

Finished doll scarf

Since I added a button to the larger scarf, I gave this one a button too. I found in my stash a hand made polymer clay and metal button I created years ago. It coordinated with the yarn beautifully!

Blocked and buttoned triangular doll scarf

The pattern for this scarf is from Dessert Blossom Crafts and is called “Amore Shawl”. It is a nice pattern once you get the repeats down.

That didn’t take long

My second waiting shawl is more like a brief pause shawl. It took less than a week to finish, and probably only three or four hours of active work. Crochet lace goes fast, especially with thicker yarn.

Finished shawl/scarf, hand spun roving from Supernova dye works, crocheted with a pattern from Desert Blossom Crafts

It is more the size of a scarf than a shawl, and to help it stay on, I put a button on one corner, and use the natural holes in the lace as button holes.

Shawl after blocking with sewn on button

I like how the color variation came out. When I spun it on my vintage wheel, I separated out the colors in the roving, sorted them, then spun. I used a chain ply to preserve the gradient. The gradient came out beautifully when it was crocheted!

New waiting project

I’ve started a crochet project using the first yarn I spun on my spinning wheel. The consistency varies wildly, so I took my wraps per inch (wpi) measurements from one of the thicker sections.

Measuring wraps per inch on hand-spun yarn

I consulted a wraps per inch chart to select a crochet hook size based on my measurement of 9 wpi. By selecting a hook for the thicker parts of the yarn, the thinner areas will be more lacey, but that is OK because my pattern is for a lace shawl. If I sized the hook for the thinner sections of yarn, the shawl would become stiff for the thicker sections.

Start of a new shawl project

I’ve put the whole project in a bag in the car so it is ready for the waiting times.