I switched tracks on what I am doing with the yarn remnants. I decided a need a new front door wreath, and am now making crocheted botanical elements.
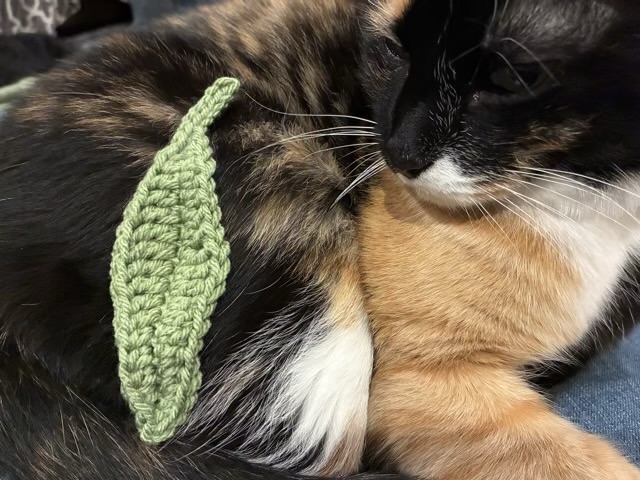
Photo description: green crocheted leaf laying on a calico cat
This first leaf started with a chain, then I worked each side of the chain with single crochet, half-double crochet, double crochet, and triple crochet to make curved sides. The stem is slip stitched.
It is a humble beginning, but I hope it will bloom into something remarkable.
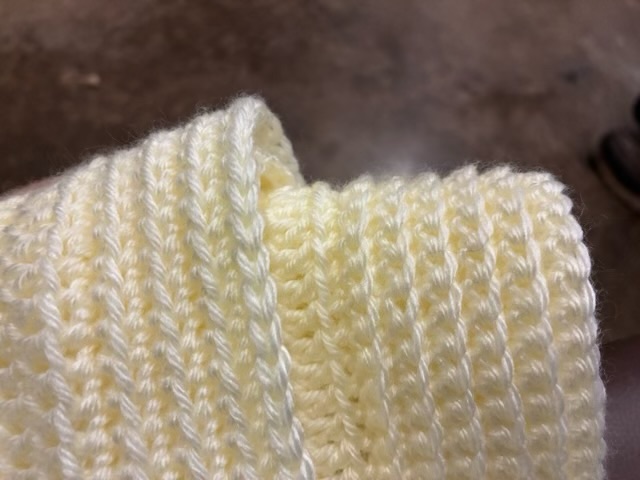
It seems like single crochet in the back loop, reversing direction each row, would create the same fabric as single crochet in the front loop one row, and single crochet in the back loop the next row in the round. It does not.
Photo description: close up of two hat brims, the left one is alternating rounds of front loop and back loop single crochet, the one on the right is single crochet in the back loop switching direction each round
In the photo above, the left brim has some ridges, but feels thin. The brim on the right is soft and squishy.
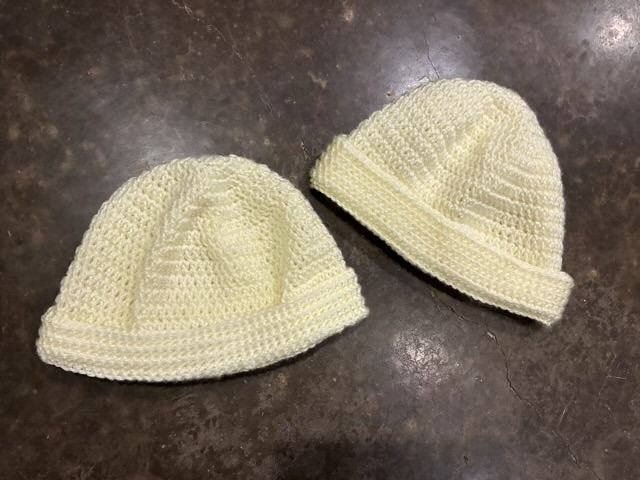
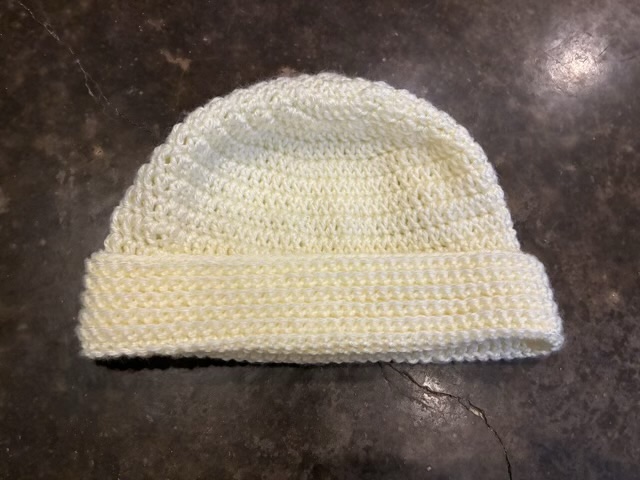
Photo description: two crocheted hats with different brims in off white acrylic yarn
The single crochet in the back loop switching directions is vastly superior as a hat brim and honestly for any other application where warmth and comfort is needed.
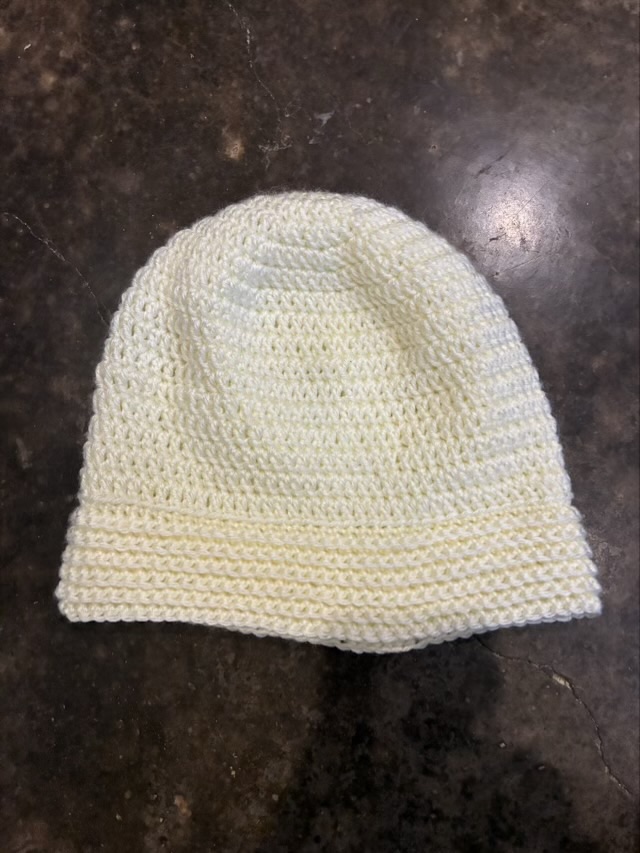
When I have a plethora of yarn remnants on hand, I default to making hats. I like to experiment with different stitches and construction methods, and it uses up the yarn in a useful and quick way. This round, I’m exploring the folded brim. Making a hat longer than necessary, then folding it up to double over the ears does a better job keeping ears toasty and warm than a single layer.
Photo description: off-white acrylic crocheted hat showing the full length Photo description: same hat with a brim folded up
I constructed the hat with double crochets in concentric circles, then for the brim did single crochet in the back loop and changed direction each round. This makes for a lovely squishy accordion-like fabric.
I do wonder if I could achieve the same effect crocheting in the back loop one round and the front loop the second round, to avoid the awkward turnaround where I tend to accidentally add stitches. Hm.
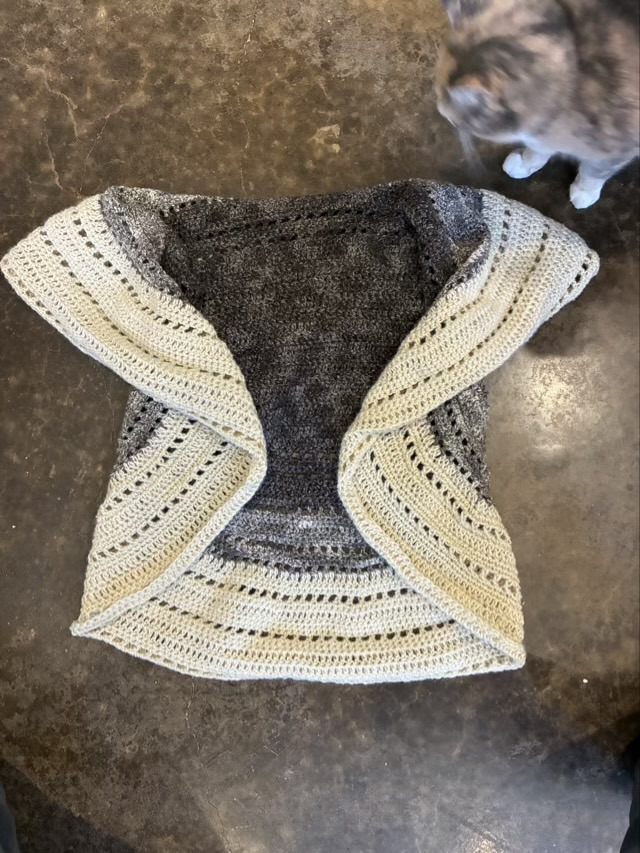
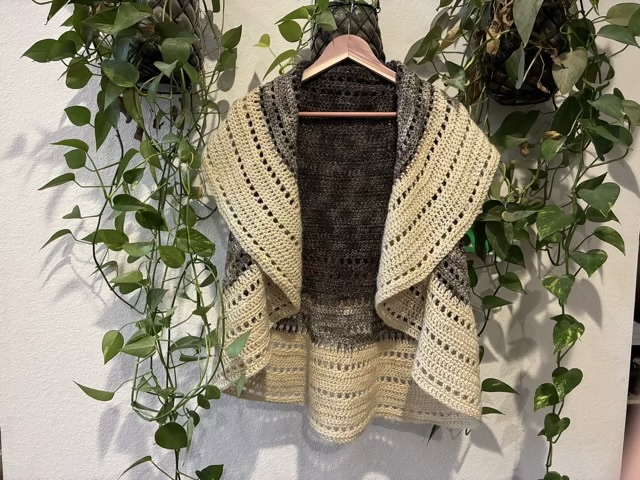
I crocheted several more rows onto LazyTCrochet’s circle vest pattern, past the “plus size” listed in the instructions. I followed the general feel of the pattern up to that point, and crocheted until I ran out of my hand-spun Teeswater yarn. It was still feeling small and tight.
Photo description: Circle vest crocheted from hand-spun Jacob and Teeswater wool showing three color variations, dilute calico cat photo bomb
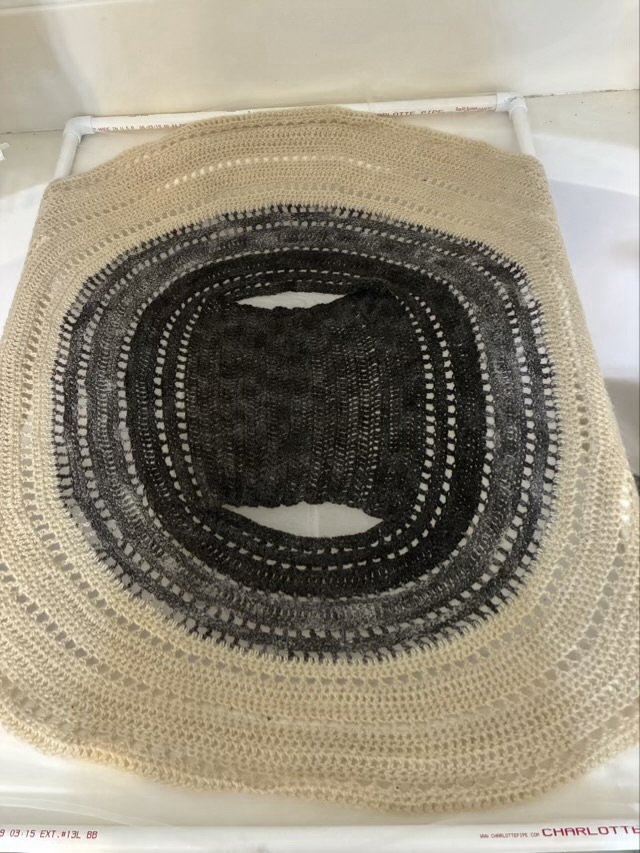
I do have more Teeswater roving, but need to spin it up. I decided to tie off the row and weave in the ends, then give the vest a good soak with some gentle fabric wash. I laid it out to dry on a homemade PVC and nylon mesh drying rack.
Photo description: same vest laid out to dry
The stitches relaxed and the vest increased in size.
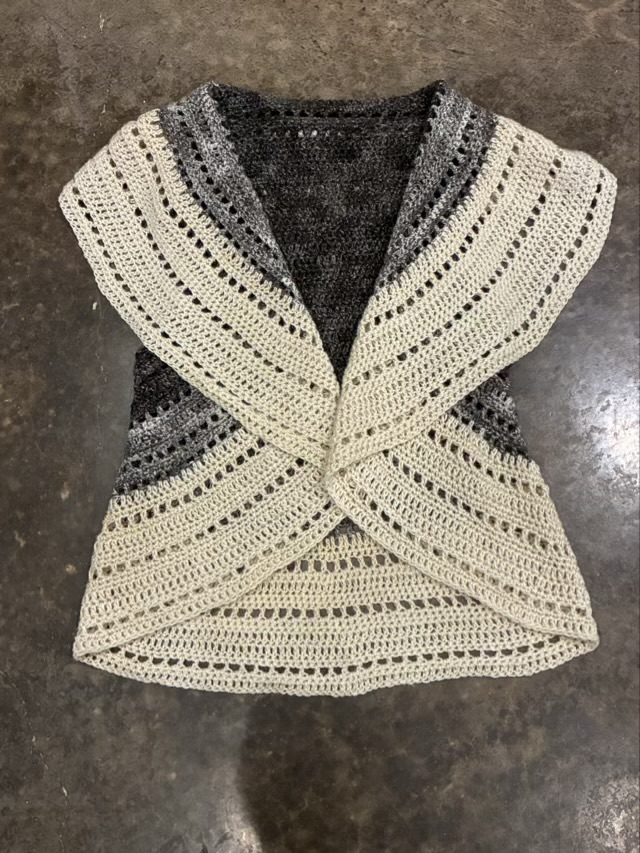
Photo description: same vest after blocking
It is now a wearable garment. The wool feels softer after blocking and has a beautiful drape. I call this my “Shave ‘Em Two Save ‘Em” vest because both Jacob and Teeswater sheep are on the Livestock Conservancy list of Heritage Sheep. Jacob is Threatened and Teeswater is considered Critical.
Photo description: same vest hanging on a cedar hanger to show the drape
I’m rather excited that I have created something I will actually wear and supports farmers raising endangered heritage breeds.
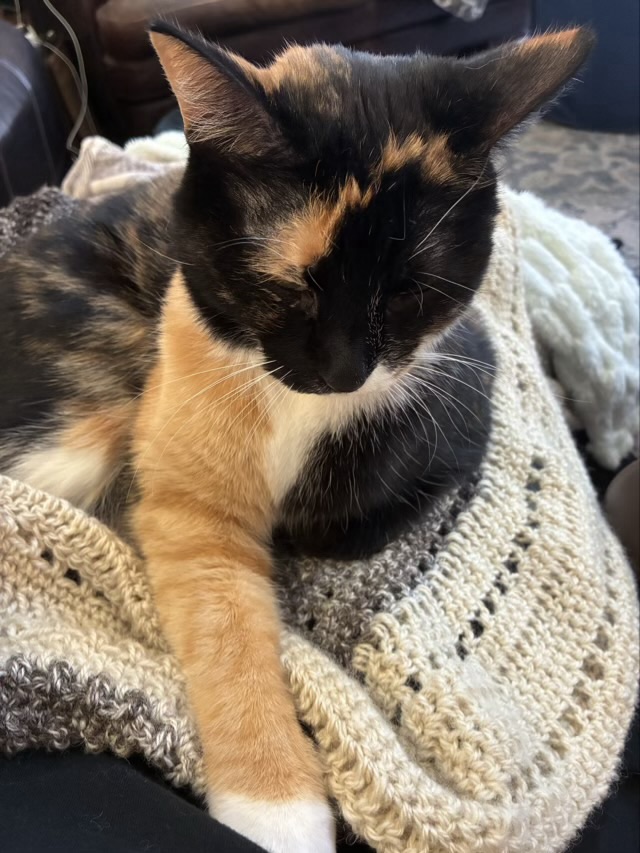
Photo description: calico cat sitting on crochet made with wool
Izzy the calico cat has been trying to lay on the wool vest I am crocheting for weeks. She finally found me distracted and cuddled in. I did continue to work on the piece and just rotated her as I went. She still stayed put. Purring.