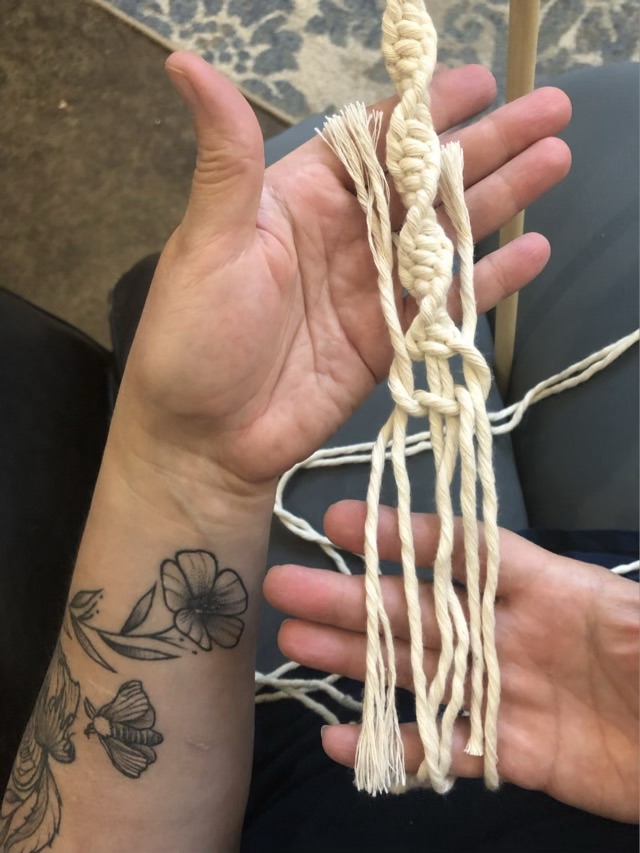
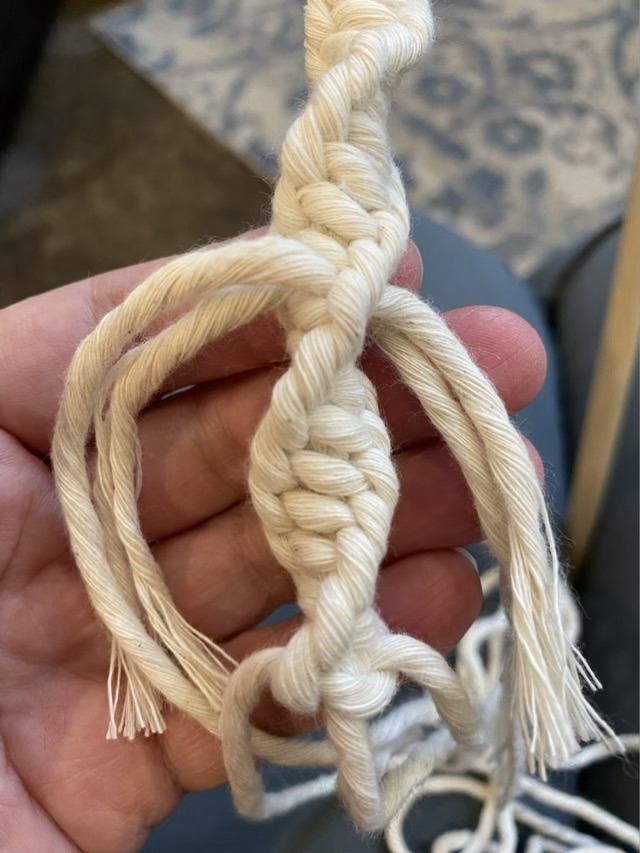
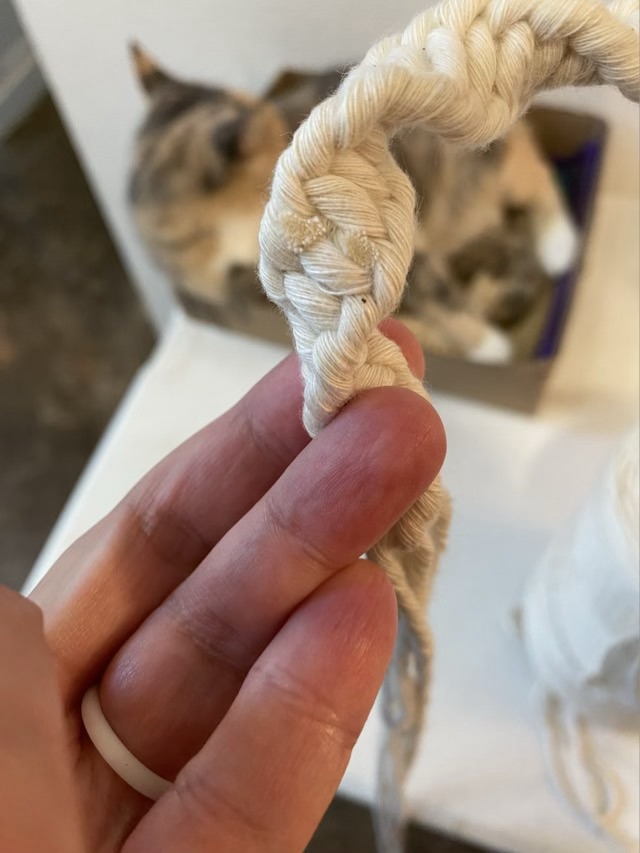
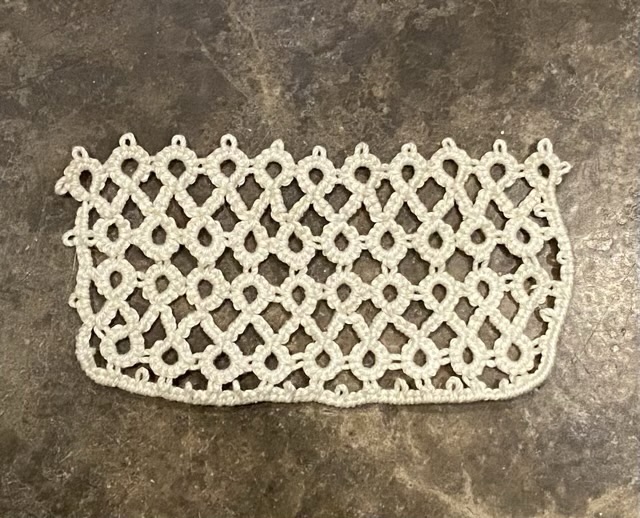
I have it in my mind to make a practical macrame hanging to store small musical instruments. I had the macrame cord and a quarter inch dowel already, so my start cost was zero. The twisted rope I knotted for the hanger went well, and I hung the dowel up in a small hallway on a utility rack. I then started adding long strands of cotton cord.

As I neared the number of strands of cotton I wanted, I noticed that the dowel had a visible bend. Uh oh. The slim dowel could barely hold the weight of the cotton, and certainly wouldn’t take more weight. I have to get a bigger dowel. Hm.
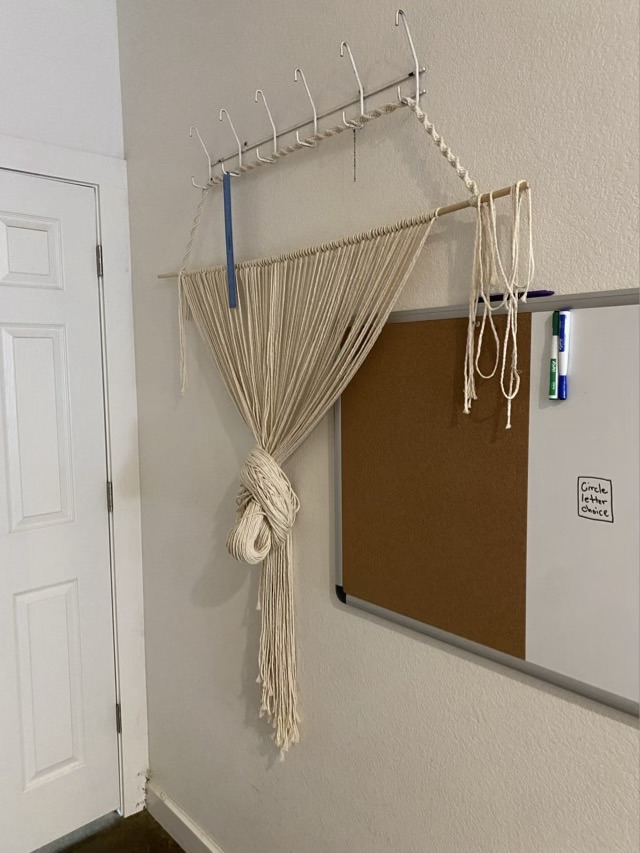
To keep the long dangling cords from becoming cat toys, I tied them up while I process my intentions.