
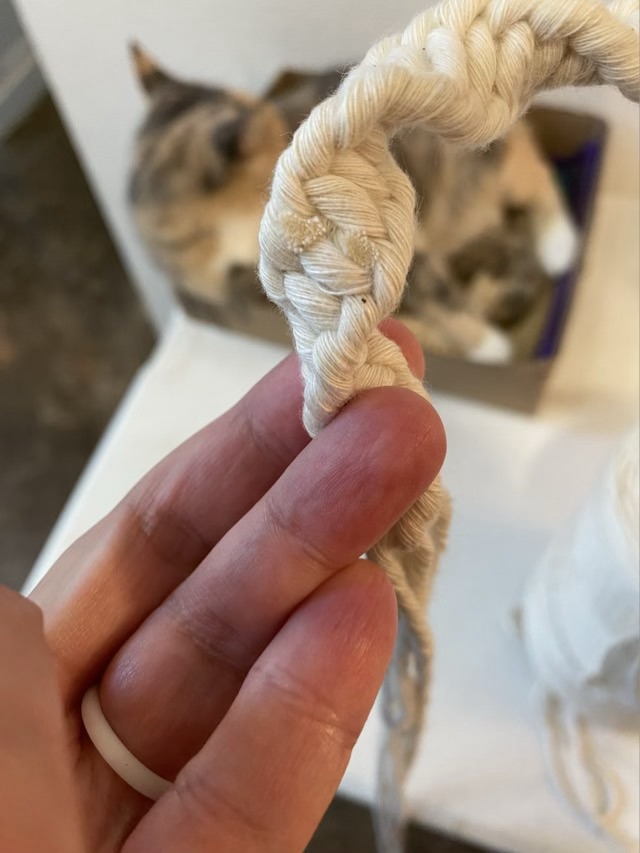
My love triangle: I love yarn projects, and I love cats, and cats love yarn. Sigh.

My love triangle: I love yarn projects, and I love cats, and cats love yarn. Sigh.
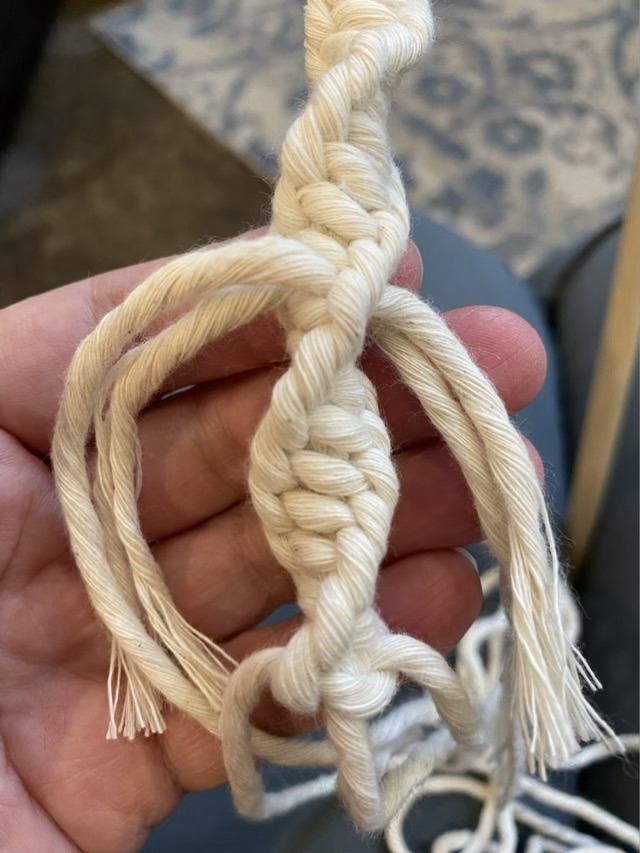
I wanted to make a macrame twisted rope with precut pieces. My center strands were long enough, but the decorative outside strands ran out after about a foot of knotting. I found that laying new strands into a knot in the same direction as the old strands then tightening the knot, trimming, and sealing with white glue made a near invisible join.
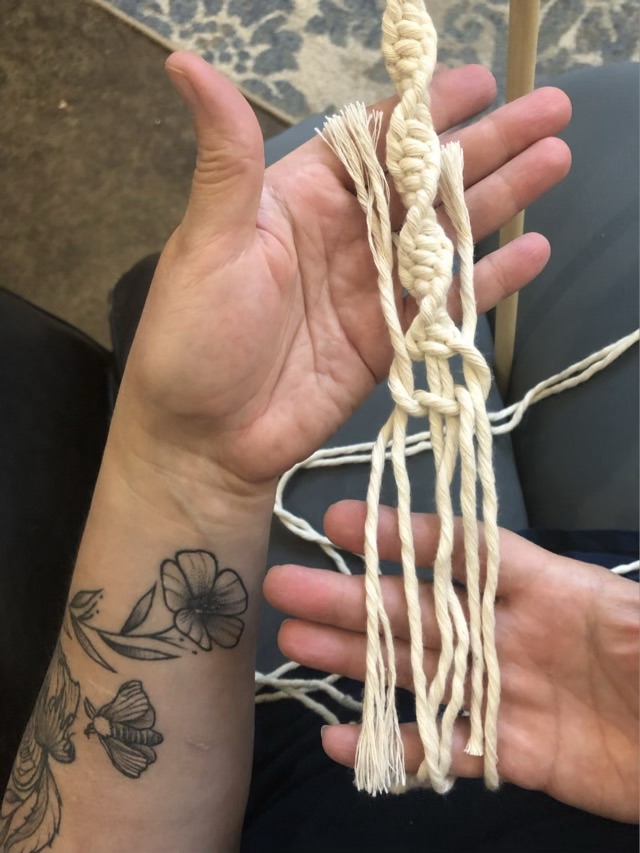
Since the knots are decorative and the un-spliced center strands bear the weight applied to the rope, I’m not concerned about the ends unraveling.
I tried a rectangular tatting experiment, connecting lines of opposite loops (there might be a name for it?) The picots line up well, but I need to work on my end turning techniques. I ran a solid edge around three sides, just for something to use up thread, and it helped me realize that tatting is a double edged craft. I need to be thinking of two sides as I knot. Knitting, crochet, and nålbinding in general work in single rows, making stitches that connect to previous stitches. Tatting “rows” are really connected motifs.
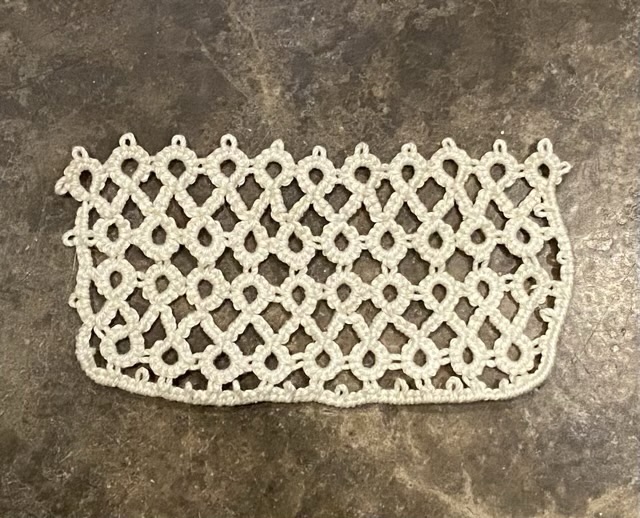
I did block the piece, but it didn’t even out the wonkiness. It is an odd bit of lace, but I might find a use for it, and it certainly helped me understand tatting construction better.
P.S. This is actually a variation on a Josephine knot; it just puts a closed loop in place of a picot in the middle of the chain.
I’ve been carrying around tatting supplies in my purse and using them when I have a few minutes of waiting. Rather than bother with the bulk and hassle of a pattern, I’ve been exploring how the forms of tatting go together. Such experimentation is very useful to develop my skills and also results in some learning opportunities. In tatting, motifs are connected using picots, or loops in the work. This requires preplanning or an abundance of loops on a useable side of the work. I was attempting a triangular piece, and merrily made a line of knots with no loops. Oops.
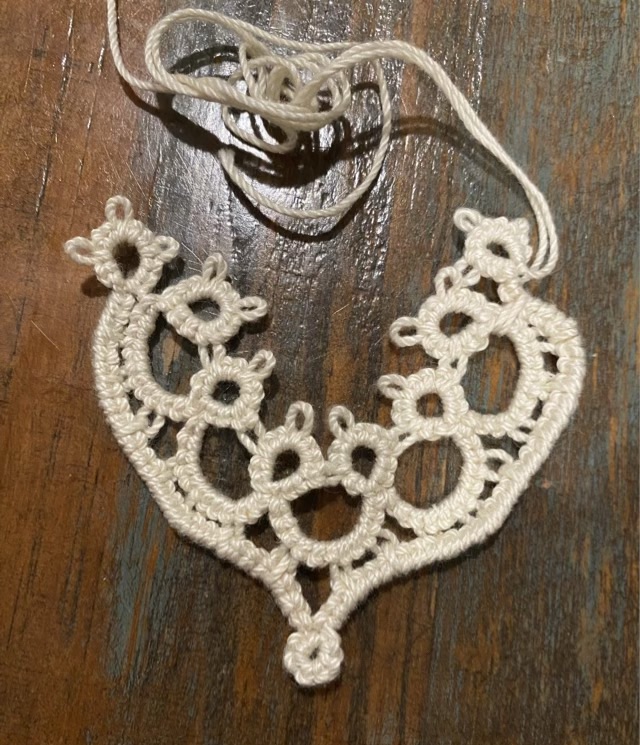
Although the line of the piece shows promise, I can’t add onto the smooth edge with my current level of knowledge (there may be a technique out there that gets around this conundrum).
As an added learning bonus, it seems tatting also has some play with tension. How tight you pull the center thread determines the motif radius, so even when following a pattern, if the arcs and loops differ from the author’s, the piece might not lay flat. Irish crochet had a similar artistic feel.
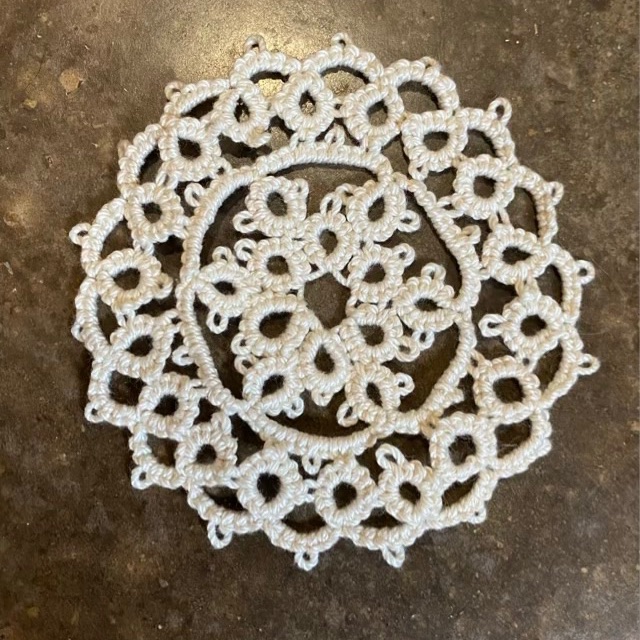
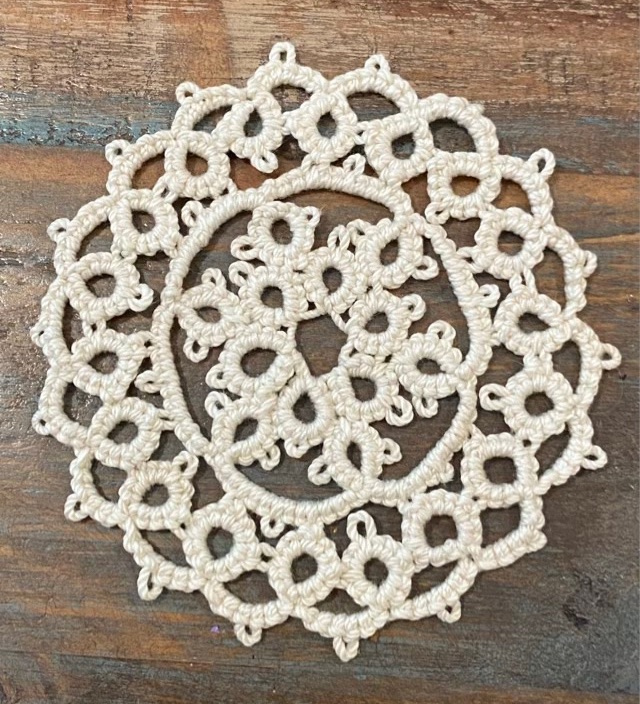
The urgent need cotton thread that I picked up on vacation because I ran out was a natural colored size 3. I haven’t worked with this size before, so it was an intriguing purchase. It didn’t take much thread to fill up my tatting bobbins, but the tatting work went well.
What drives me crazy about crochet thread is how it is wound around a cardboard tube. I’m sure this is a marketing thing, to make it look like you are getting more yarn. I have not figured out if it is possible to center pull from the factory wrapped tube, which is frustrating, and pulling thread from the outside is vexing because the tube jumps around. So I rewound it. Next time I will use a nostepinne style wrap, but this time I really wanted to try put my new laser cut plywood spool.

The thread is now much more compact and can fit in my small project bag.
