Chair reupholster

For our monthly craft day, my neighbor and I reupholstered two dining room chairs.

Photo description: before picture of a claw foot chair with worn velvet seat cushion

The seat was only laid into the chair frame, so lifting it out was easy, then we removed the staples with flathead screwdrivers and serrated needle nose pliers.

Photo description: underside of the chair pad showing the jute webbing used as support

There were so many staples. The velvet had a set of staples, then there were three layers of thick cotton surrounding cotton filler and each layer had a host of staples.

Photo description: cotton cloth layer with more staples
Photo description: padding made from raw cotton, which condensed and was no longer comfortable to sit on
Photo description: seat frame with jute webbing

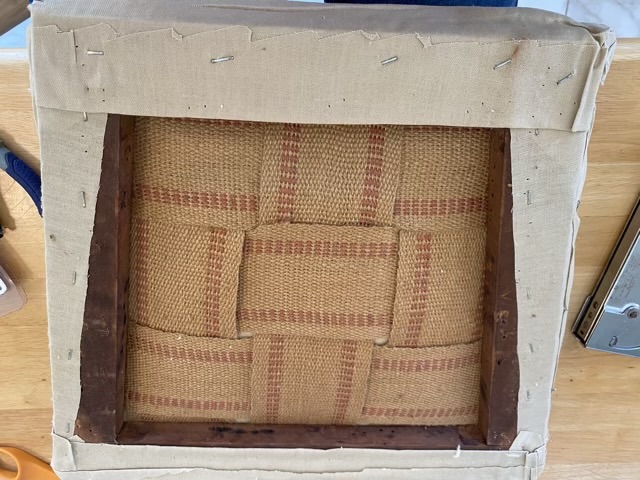
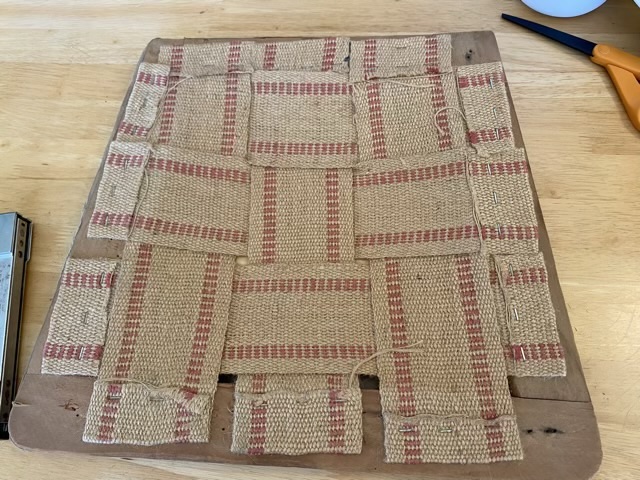
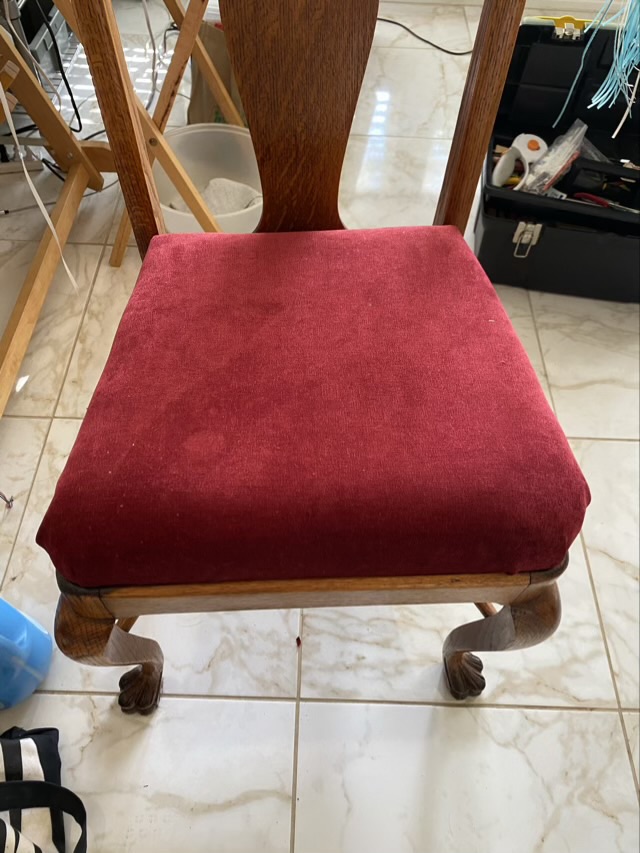
When we got down to just the frame, it was obvious that the seat had been reupholstered many times. The jute webbing was in good condition, so we left it in place. To rebuild the seat, we found a 3” dense foam chair cushion, some upholstery quality heavy cotton, and some beautiful red velvet. The cushion was the same depth and width as the chair seat, it just needed some trimming with an electric knife to match the profile. We secured the pad to the frame with the heavy cotton cloth and heavy duty staples.

Photo description: heavy cotton fabric securing the foam pad to the seat frame

Because we used a foam block, we didn’t need as many layers of cotton as was previously installed. The cotton layer did help to do the initial shaping of the pad and make applying the velvet easier.

Photo description: underside of seat frame with velvet secured with staples

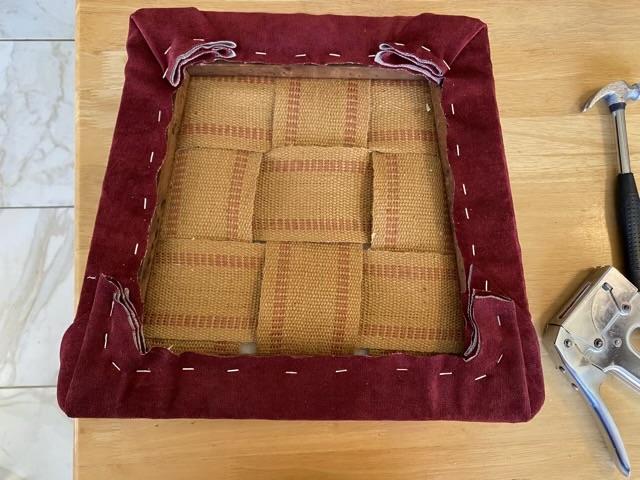
We did have to switch to longer staples, particularly in the corners, with the velvet. It was good that I brought along a selection.

Photo description: after picture of the reupholstered seat of a claw foot chair

We were able to refinish both chairs, including shopping for fabric, in about three hours. Chair seat reupholstery is a very doable project with a good heavy staple gun, selection of staples, and a pair of pliers.

Chain ply cotton

Since I had more spun cotton single than I needed for my crepe yarn, I tried chain plying it to make a three ply yarn sample. It did not go well. The cotton single was difficult to handle and kept breaking if the strands rubbed together. The resulting yarn is very haphazard with sections that coiled mixed in with the smooth ply.

Photo description: three ply cotton yarn on a wood bobbin

The chain ply and the crepe yarn don’t look that different on casual observation because of the irregularity of the single spin. The variations in width cause more visual texture than the plying techniques. I will have to try this comparison with a different fiber preparation.

Photo description: crepe yarn (left) and chain plied yarn (right) on a PVC niddy noddy

Cotton crepe yarn

I found out about crepe yarn, which is a three ply yarn with a different construction. A single is spun in the S direction, then two plied in the Z direction. Then another single is spun with a Z twist, the plied with the two ply in an S direction. The resulting yarn has an interesting texture. I decided to try this method with the natural cotton I am spinning on the Ashford Traveller wheel.

Photo description: two bobbins full of spun cotton, the top is a Z twist two ply, then bottom a Z twist single
Photo description: three ply crepe yarn on a jumbo bobbin on the left, and leftover Z twist single on a regular bobbin on the right

I grossly misjudged the amount of Z twist single and ended up with way more than I needed to ply the three ply. Sigh.

It will be interesting to see how the yarn knits up. It does have more texture than a standard three ply, but because my cotton was spun from raw bolls that had not been carded, the yarn already had a variations in the spin.

Photo description: four hand-spun cotton yarn samples, from the top down: Z twist single, S twist 2-ply, S twist single, crepe three ply

Cotton bolls

I’m enjoying spinning my cotton bolls. It is a meditative process, from picking the seeds out of the fiber to spinning it up. I have the time and no deadlines so I can enjoy the process. I absolutely see why cotton gins were invented, because seed picking bales of cotton by hand would be an arduous task.

For grins, I laid out a cotton seed head, then another with the bolls removed, then another with the seeds removed.

Photo description: three cotton seed heads, the left intact, the middle with the bolls separated, the right with the seeds removed from the fiber

I also did a video showing how I remove the boll and seeds, then spin the fiber. I have not been carding the fiber, but experimenting with the pulled fluff.

Plethora of Potholders

So I admit, I didn’t just get one set of potholder loops, but several, and experimented with color and weave pattern for weeks using a Pro Friendly Loom. This isn’t the smaller sized loom usually given to kids (which, if you want to give your kid the experience of weaving, wrap yarn around some cardboard and give them a blunt needle, then go to potholders). The Pro Loom produces large thick squares that are ideal in the kitchen. A nice touch is adding a metal or wood ring to the final loop, which is aesthetically pleasing and secure. Piglet’s Potholder Patterns has more ideas than you can make with 10 bags of loops, and is a lovely rabbit hole. Since the potholders are cotton, they are washable. Friendly Loom recommends washing them in a washing machine and hanging them up to dry.

Photo description: eleven pro sized potholders in purples and oranges with various patterns
Photo description; three more potholders in different colors

I still have a few odd loops left, which is OK, they might find their way into a potholder eventually, or be used in a different way.