Antler nål

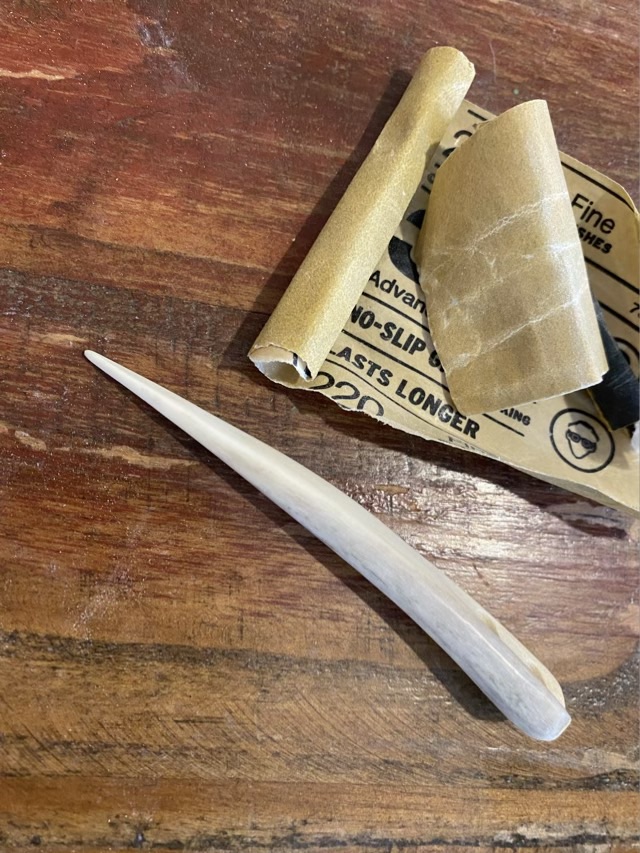
Awhile back I rough shaped several needles for nålbinding from deer antler I purchased from a neighbor. I need a smaller diameter nål for a new project, so did the final shaping and polishing with progressive grits of sandpaper on one.

Photo description: nål made from deer antler, approximately 7” long with curve and two holes for yarn

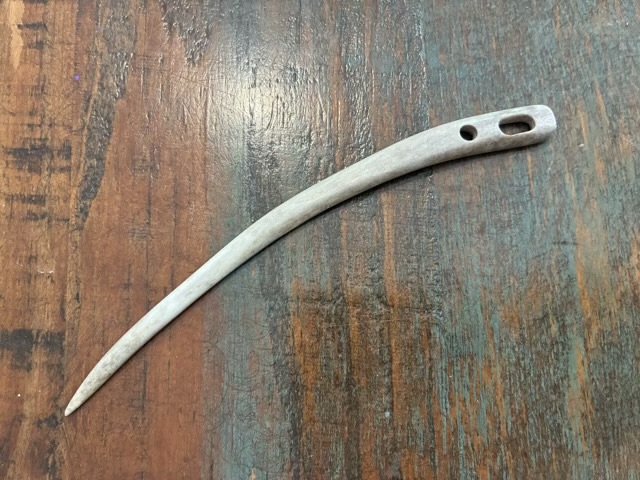
To make the nål I used a bandsaw to split the antler into narrow sections, then used a band sander to shape. The holes were drilled with a drill press. To get the elongated oval hole, I drilled two circular holes next to each other and then used the drill bit to mostly remove the remaining points. To finish, I shaped it using 120 grit sandpaper, then refined with 320 and finished with 400 grit sandpaper. I tested the smoothness of the holes and sides by running it through a wad of unspun wool.

Antler nål

I have made my first nål for nålbinding out of antler bone! I have made several out of wood, and was hesitant about bone, but it turns out it is easy to work. I do wear a dust mask at all times because I don’t want that bone dust in my lungs. I like how well it buffs to a shine without applying a finish coat.

Photo description: thick bone needle with two holes on a table with scraps of sandpaper.
Photo description: side view of the same nål, showing the natural curve from the antler tip.

This nål came out a little thicker than I care for, so I’m going to experiment with some other methods of construction. I just sanded this one down to shape; for the next one I’ll try cutting it lengthwise then sanding down, and I will try a different curve.