Second attempt

I tried again with the ombre brioche cowl, after I bound off my first botched attempt. This time instead of working from the inside and outside of the commercial pull skein, I divided the yarn into two nostepinne wound balls.
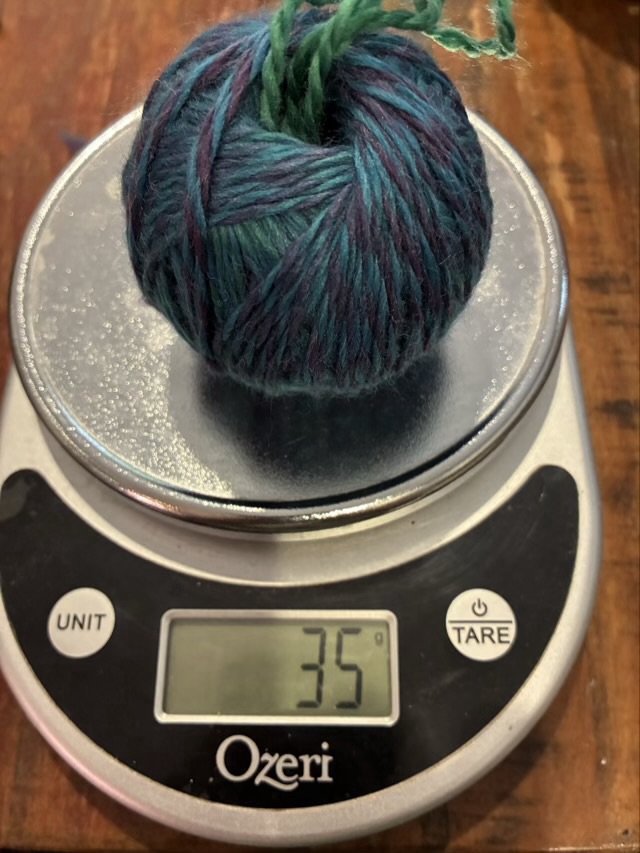
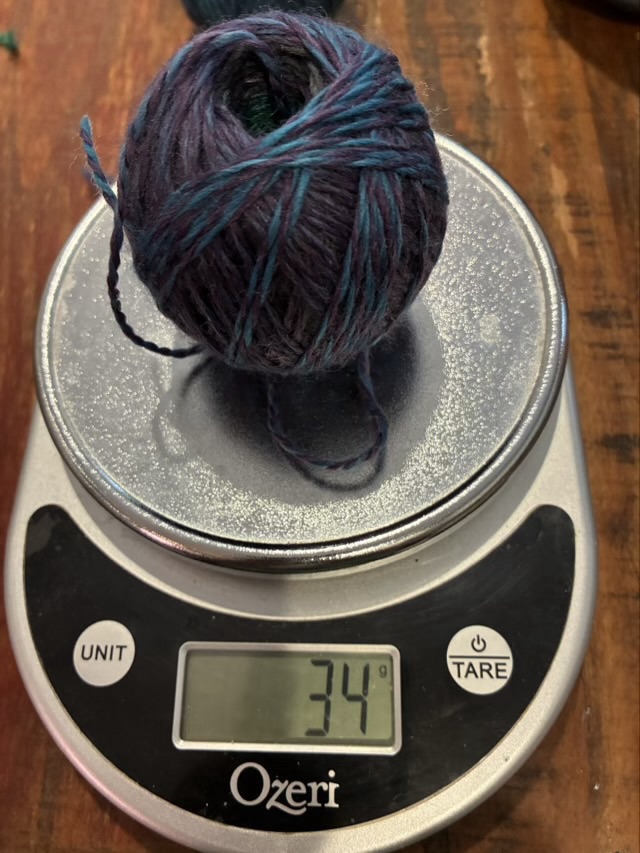
Photo description: center pull ball of yarn wound nostepinne style on a scale reading 35 grams
Photo description: center pull ball of yarn wound nostepinne style on a scale reading 34 grams

Because each ball will slowly change color as I knit, I marked ball “B” with a blue stitch marker so I could keep track of which one I was working with.
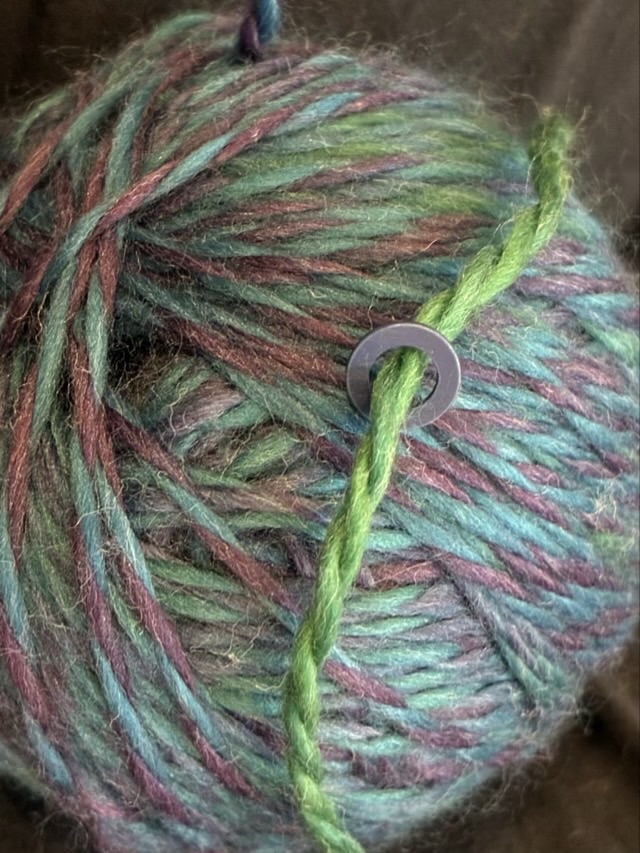
Photo description: blue stitch marker threaded onto the yarn of ball “B”

Brioche takes longer because each row is passed over twice: once to knit every other stitch, once to purl every other stitch, slipping the unstitched loops with an added yarn over, but I am quite pleased with the way the color changes play against each other in the fabric.
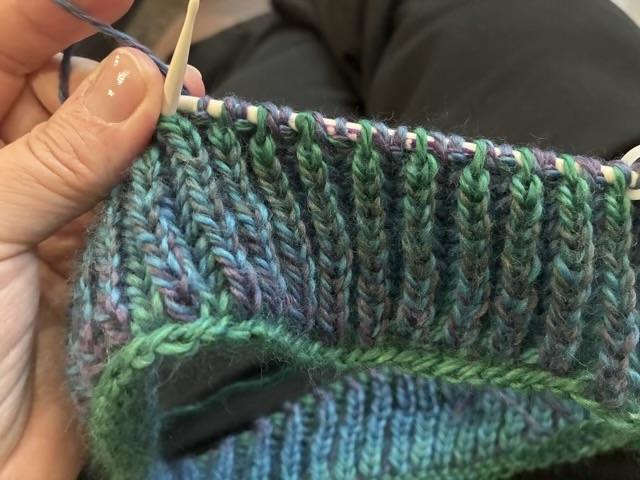
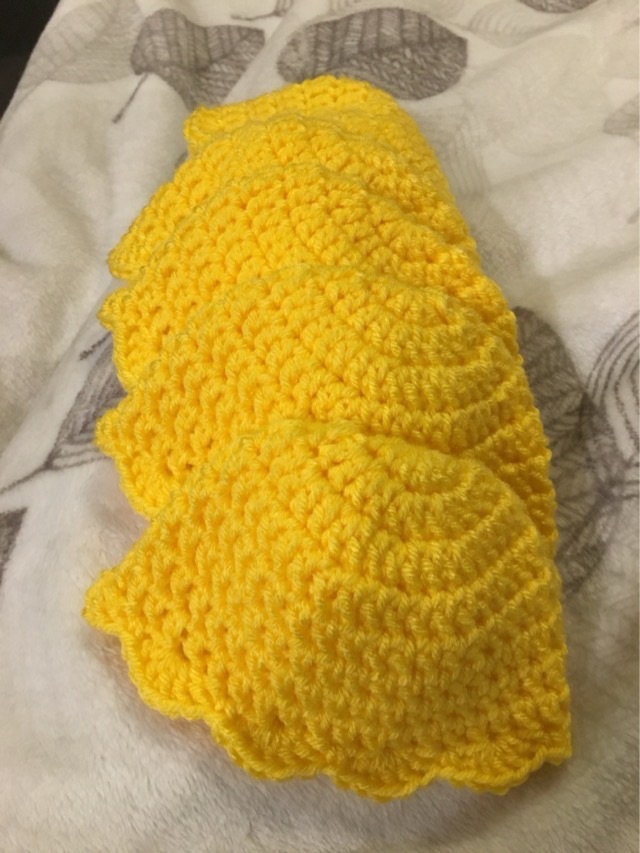
Photo description: brioche knit cowl in progress

Throwback Thursday: crocheted baby hats

In June 2017 I used up leftover acrylic yarn to make several baby hats.

Photo description: five yellow crocheted baby hats with rippled brims

The pattern is:

Row 1: In a magic circle make a standing double crochet (sdc), then double crochet (dc) 9 into the circle, slip stitch (ss) to sdc (10 stitches total).

Row 2: sdc, dc in same space, 2dc in each stitch, ss to sdc (20 stitches total).

Row 3: sdc, dc in same space, dc in next stitch, *2dc in next stitch, dc in next stitch*, repeat around, ss to sdc (30 stitches total).

Row 4: sdc, dc in same space, dc in next stitch twice, *2dc in next stitch, dc in next stitch twice*, repeat around, ss to sdc (40 stitches total).

Row 5-8: sdc, dc around (40 stitches total).

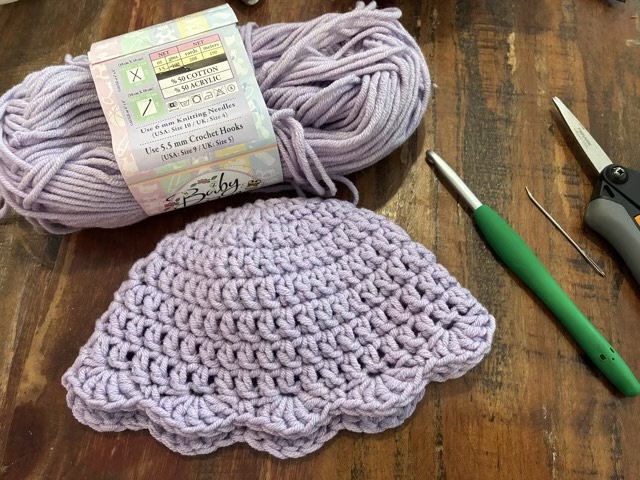
Row 9: *skip 1 stitch, 5dc in same space, skip 1 stitch, single crochet in next stitch*, repeat around, tie off, weave in end (10 shells.)

Photo description: crocheted baby hat, pattern test with acrylic/cotton yarn and 5.5mm hook, needle and scissors

I did a pattern test, and have to admit that it took me a couple tries. Counting stitches from a picture isn’t always easy.

1×1 color work

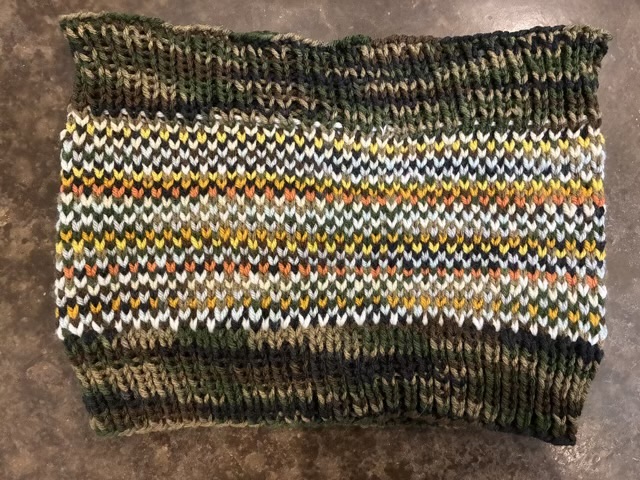
I’ve been collecting patterns from Wool & Pine that use 1×1 color work. I put my toe in the water using scrap acrylic yarn: a variegated green/tan/black as the main color and then sun and sky colors (blue, white, gray, yellow, orange) for the secondary colors.

Photo description: cowl knit with 1×1 rib bands and 1×1 color work between.

I love the look of the broken horizontal stripes, it isn’t hard, but it isn’t fast. I don’t like the large number of yarn ends and dealing with them at the end of the project. Full disclosure, on this project I didn’t neaten them, just tied knots and left the fringe inside. I

t does make a thicker fabric, which isn’t ideal here in Texas. I do want to use the technique for a larger project, but ideas are still brewing.

Crochet flower experiment

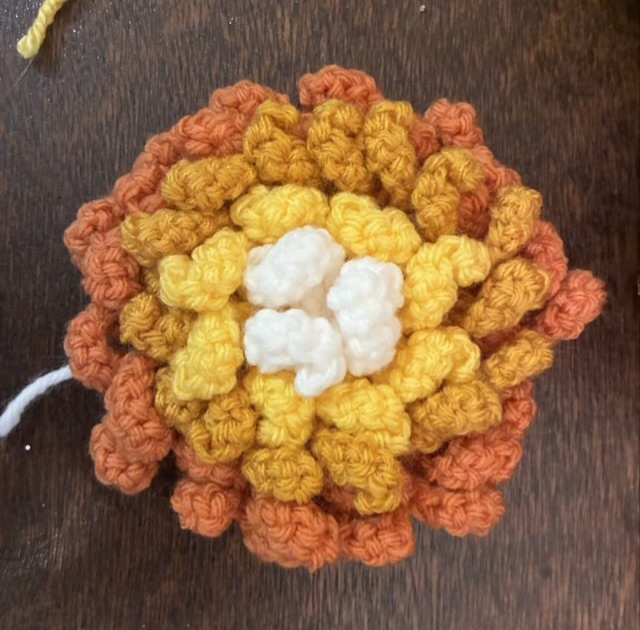
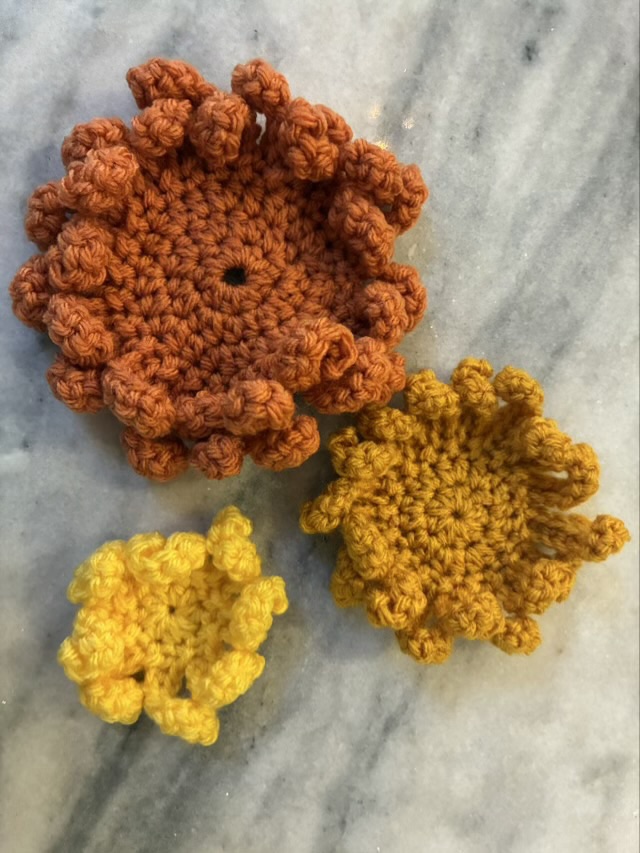
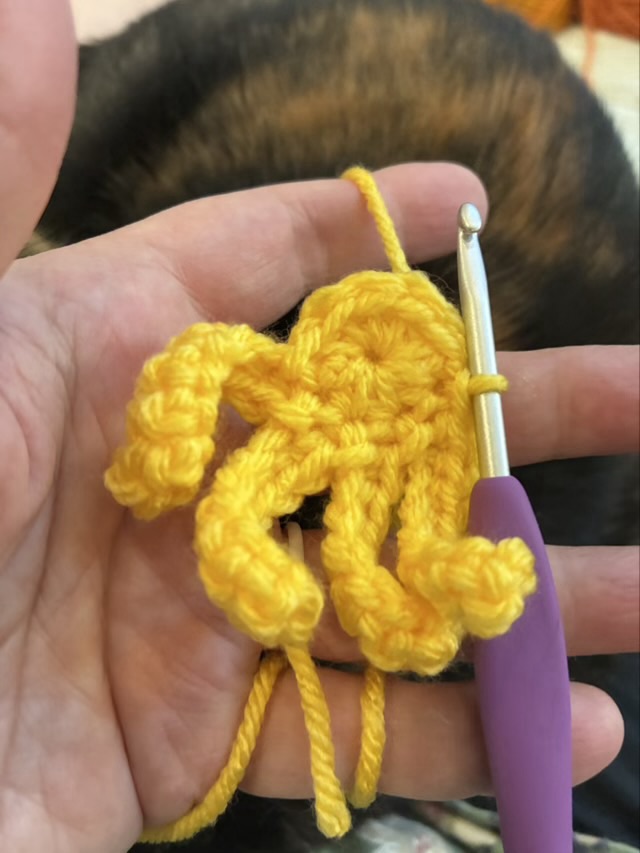
I’m experimenting with crocheted flowers for my wreath. To make a mum-like flower I used four colors of acrylic yarn and made four layers of petals, each with the same type of “petal” but with different diameter centers and thus different numbers of petals.

Photo description: first three layers for the crocheted mum in shades of yellow and orange showing the difference in center size and petal count
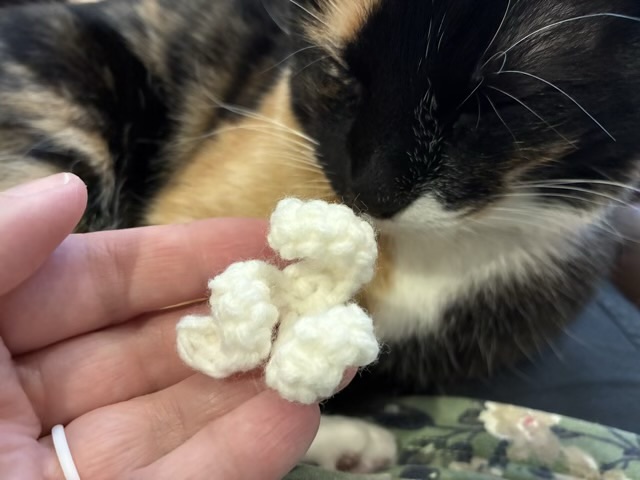
Photo description: center layer in white acrylic yarn with no center and just three petals
Photo description: the assembled crocheted mum with four layers of color from white to yellow to
orange

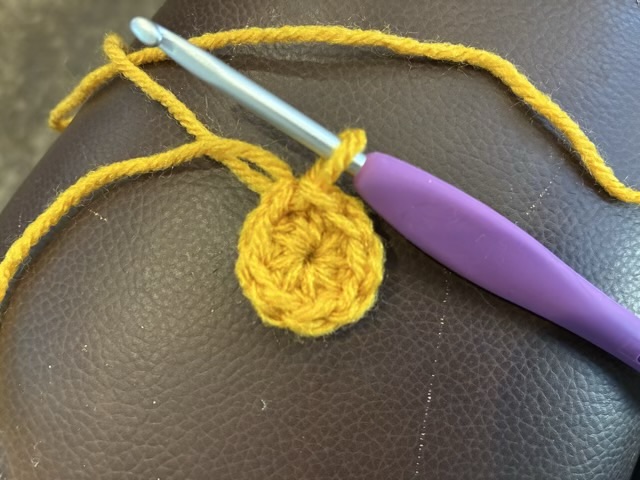
To make the layers, half double crochet into a magic circle eight times, slip stitch to join.

Photo description: eight half double crochets into a magic circle, with the circle pulled tight and slip stitched into the first half double crochet

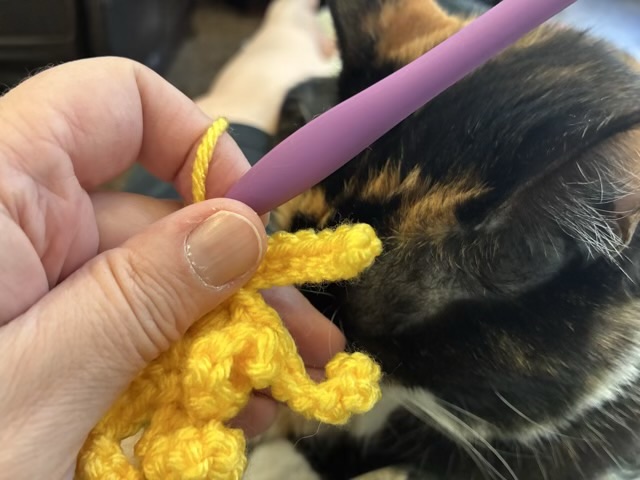
To make the petals, chain 9.

Photo description: yellow petal layer with the start of a petal with nine chain stitches

Skip the first chain and single crochet eight along the rest of the chain.

Photo description: single crochets along the chain to give the petal width

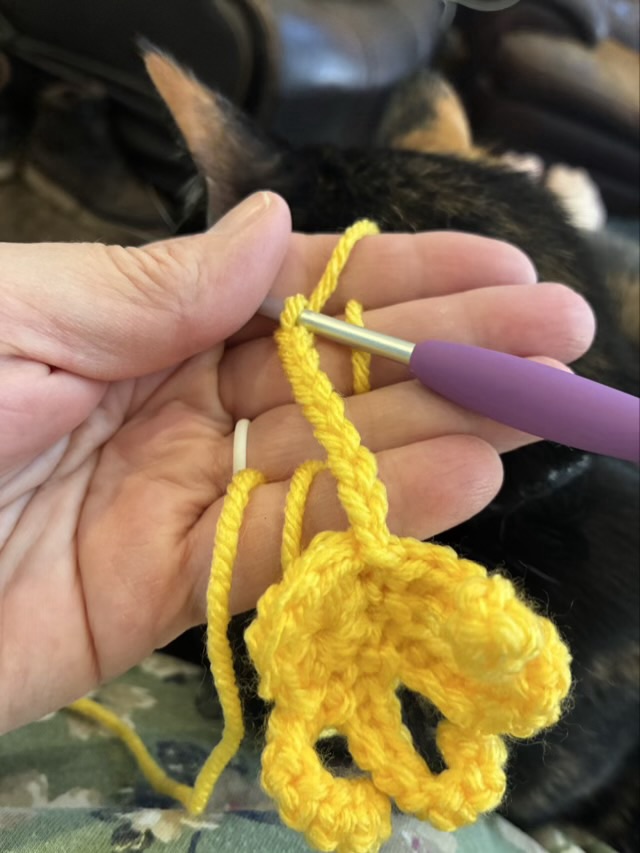
Slip stitch into the next double crochet on the round. Then make the next petal.

Photo description: four petals completed on the yellow round

For the other layers, add a round of half double crochet increases to the center before adding the petals.

Wreath crochet base

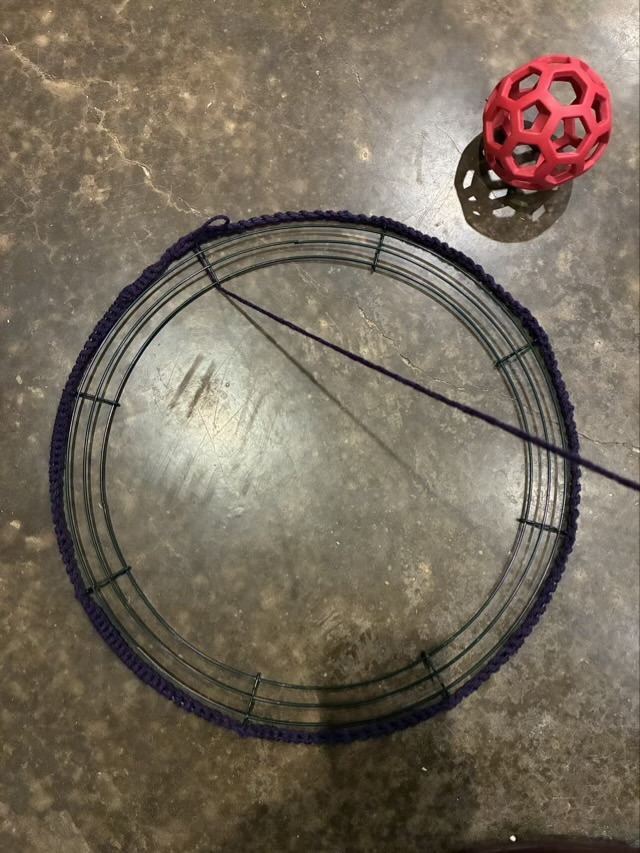
It might be easier to secure the elements of my Spring crochet wreath if I had a solid foundation to sew to, so I crocheted a cover onto a wire wreath frame. I started with a single crochet all along the outer edge.

Photo description: wire wreath frame with single crochet around the edge with dark purple acrylic yarn, red holey-roller bag ball upper right waiting to be thrown

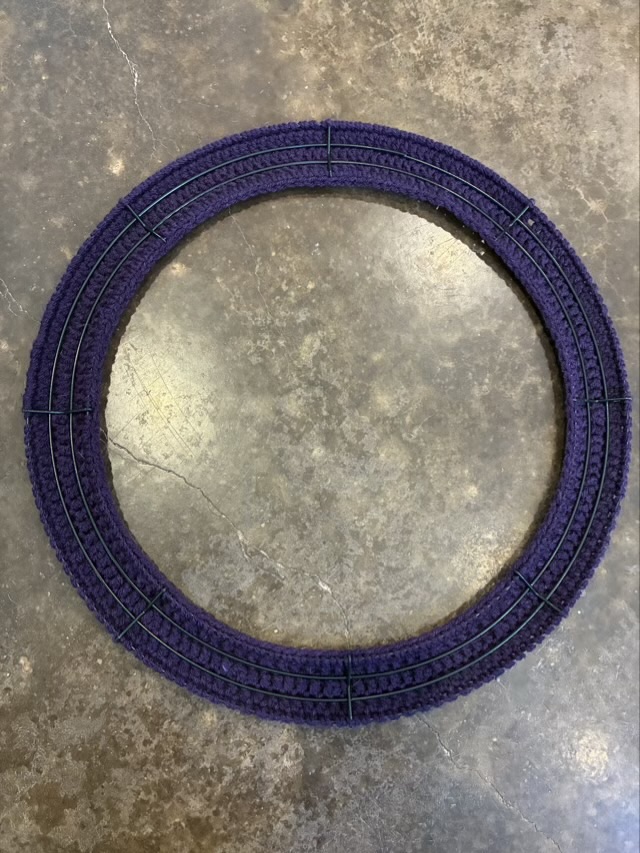
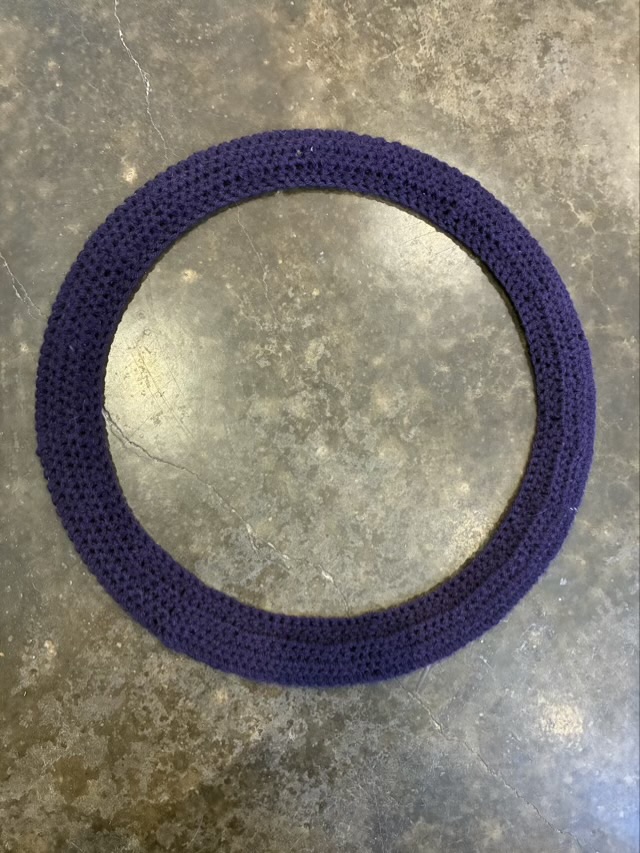
I added rows of double crochet around the frame, using decreases every fifth or sixth stitch to adjust the fit. To finish, I did another row of single crochet to the inside wire. Here is a video short demonstrating the technique.

Photo description: back of a wire wreath showing that the crochet is connected to the frame on the outside and inside wire only
Photo description: front of the wreath frame covered with crochet using dark purple acrylic yarn

Now I will have more options when securing my botanical elements to the frame.