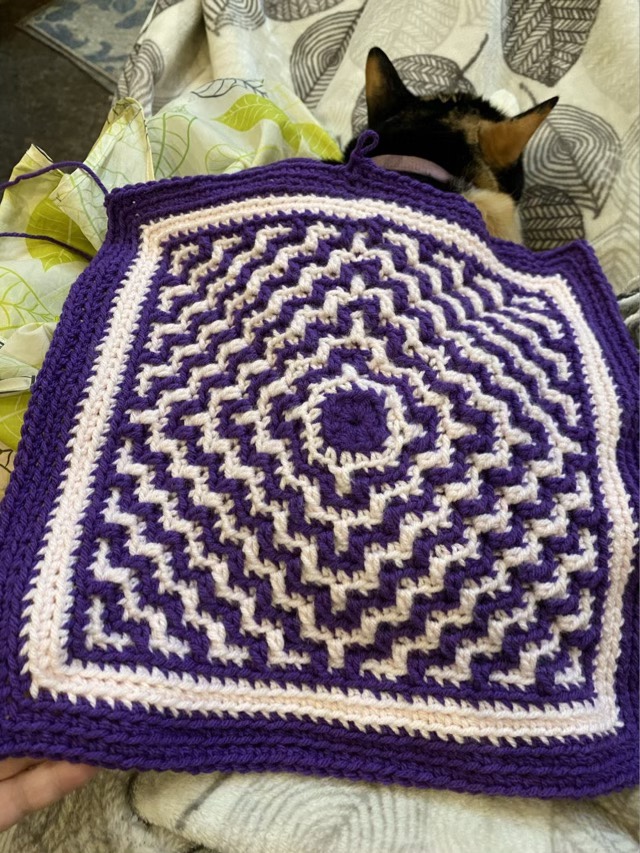
After experimenting with mosaic crochet in rows, I decided to try a pattern in the “round”. These are built in a similar manner to granny squares, working from the inside out and producing a flat fabric. I followed a terrazzo pattern from a YouTube video.
Photo description: Mosaic crochet square in purple and light pink with diagonal wavy lines and a wide border covering a sleeping Calico cat.
I have to admit that although I really like this pattern, it makes my eyes vibrate. I finished off the square with a solid round of pink, then a wider band of purple to offset the trippy. The neat part of mosaic crochet this way is that you don’t have to cut the ends of the yarn for each round. I switched colors, but didn’t cut, so it worked up without dealing with multiple ends.
Relatively recently, I discovered the concept of mosaic crochet. Then a few weeks later, actually met someone at a craft fair that does mosaic crochet, and she showed me pictures of the stunning blankets she had made, and explained to me the difference between mosaic and tapestry crochet. Another name for mosaic crochet is overlay crochet, and it consists of alternating rows of color in back loop single crochet, with double crochet stitches that dip down over previous rows to block out color. What fascinated me most? No floats. No loose loops of yarn along the back to catch at fingers and toes. I had to try. (For those interested, tapestry crochet carries threads along the row, hiding them in the stitch until needed. That is a future project.)
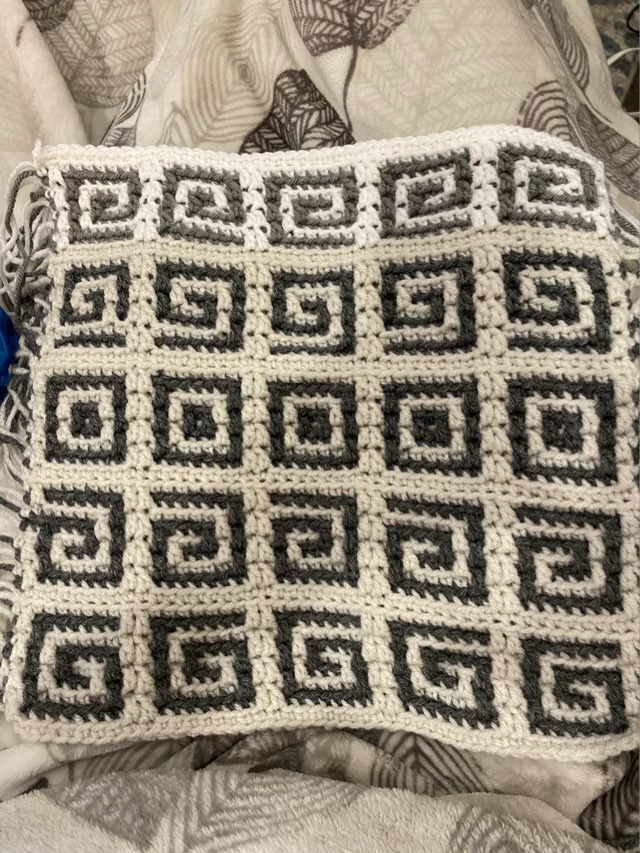
Photo description: Gray and cream crochet square with rows of spirals in different orientations and square bullseyes along the center row. There are a couple errors in the execution.
I recently acquired a bag of odds and ends yarn from a fellow crafter. This is the perfect stash to draw from for experimentation! I looked up some basic mosaic crochet instructions, and settled on trying a simple spiral (because I like them). I did the first row of motifs with little problem, so did the next row with a reverse motif. The little problem was a counting and repeat issue, but rather than starting over, I adjusted the pattern to my change. It is an experiment. I left long ends on each side, because I wasn’t sure if I wanted fringe, and it actually made me loose at yarn chicken and I had to slightly switch yarn color for the last row. Ah well. The back of the piece is nearly as exciting as the front, neat lines!
Photo description: Back of same crochet square, showing horizontal lines of alternating color.
One of the other techniques I learned in this project is a standing single crochet. As the mosaic crochet is worked from the front only (I worked from right to left on every row), the first stitch starts with a new strand every time. To make things neat, tidy, and secure, it helps to start each row with a slip knot on the hook, then single crochet into the first space. Very cool technique.
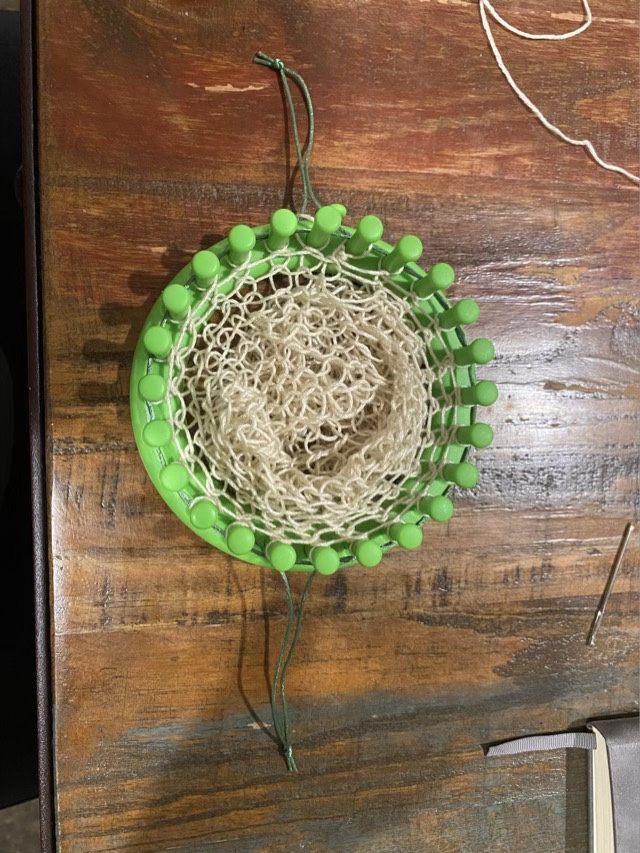
I have found a use for my knitting looms: string bags. I had some acrylic Luster Sheen yarn by Coats and Clark in my stash, and I probably inherited it since the price tag is from Woolworth for $1.49! It is strong and thin, which is great for string bags. I follow the included instructions to start knitting. These looms recommend a twisted stitch, which also works better for bags as they retain their spacing better. After the first pass, I run the tail through the first round to close off the bag. The end won’t completely close until the fifth round or so, but it is easiest to find the loops after that first yarn over. I then continue to knit until I have about 12 inches of fabric, pulled straight. To finish the bag, I run two lengths of satin cord through the last round to make drawstrings.
Photo description: Small round plastic knitting loom with string bag attached and satin cord hooked through each loop on the pegs.Photo description: Same loom shown from the top, with two knotted loops coming off opposite sides of the bag.Photo description: Finished empty string bag with drawstrings closed sitting on a table.Photo description: String bag filled with four large apples, showing how the twisted loop structure stretches.